Best Free Text-to-Tattoo AI Generators in 2026 (With a Try‑On Workflow)
In 2026, getting from “I have an idea” to “this could actually work on my forearm” is faster than ever. Text‑to‑tattoo AI tools can take a short description—your theme, your style, your vibe—and generate multiple tattoo‑styled options in seconds.
But there’s a catch: not all tattoo AI is tattooable. Some tools create gorgeous images that fall apart when you scale them down, stencil them, or imagine how they’ll age on skin.
This guide will help you:
- Pick a truly useful free text‑to‑tattoo generator (not just a generic art generator)
- Write prompts that produce clean linework and readable designs
- Refine results quickly without “overcooking” the idea
- Preview placement with a realistic try‑on step
If you want one simple workflow that covers both generation and placement preview, the easiest place to start is Tattoo Design AI—especially its AI Tattoo Generator and AI Tattoo Try On tools.
What “free” really means for tattoo AI in 2026
When a tool says “free,” it usually means one (or more) of these:
- Free credits each day/week
- Limited generations before you need to wait or upgrade
- Lower resolution exports on free tier
- Watermarked downloads
- Login required for saving history
That’s not necessarily bad. For tattoo planning, you can do a lot with free: generate ideas, explore styles, and build a solid brief for your artist.
What makes a “best” text-to-tattoo AI generator (not just “AI art”)
Tattoo design has rules. If the tool can’t respect them, you’ll waste time.
1) Tattoo readability
A good tattoo design is readable at real size and stays readable over time.
Look for results that have:
- Clear outlines
- A strong silhouette
- Minimal micro‑details (especially for small placements)
- Intentional negative space
2) Style control
The best tools in 2026 can reliably generate consistent styles like:
- Fine‑line / single‑needle
- Blackwork / bold contrast
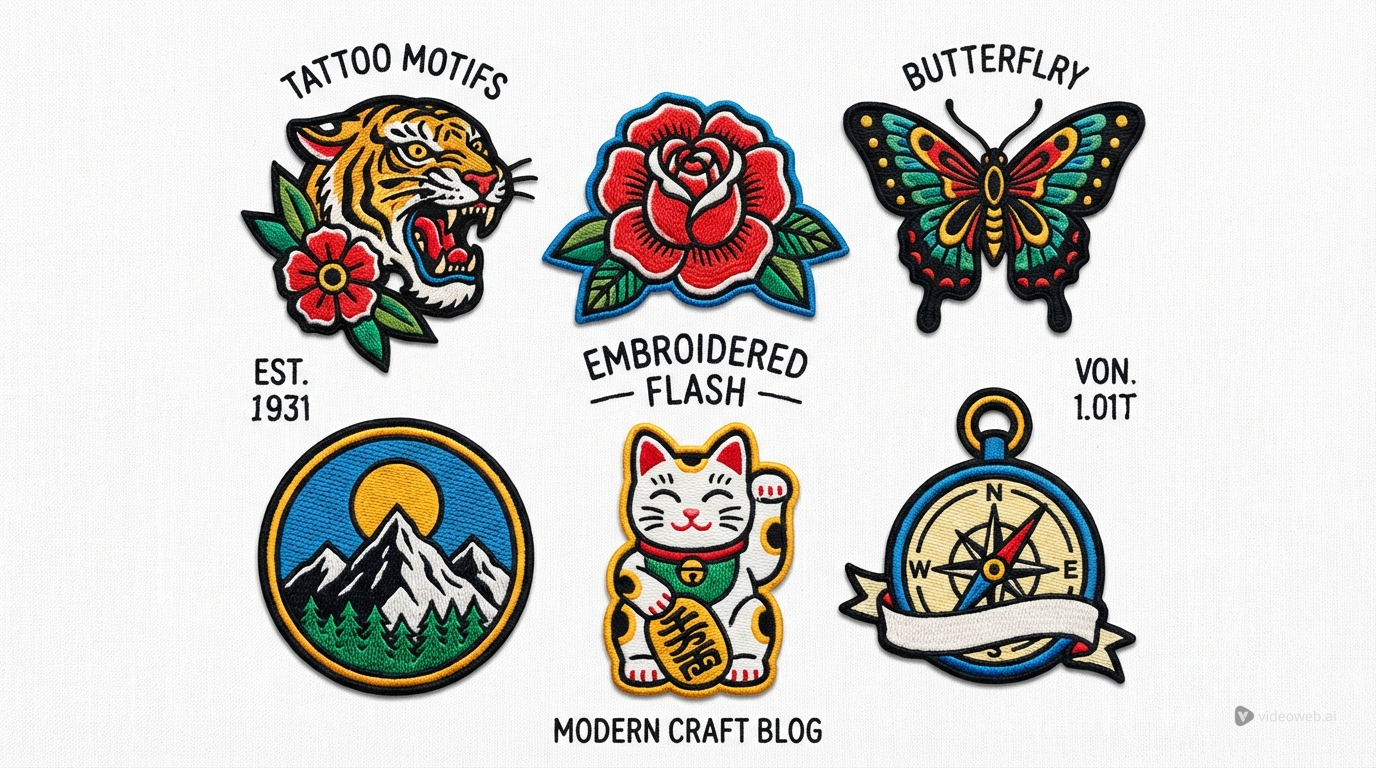
- American traditional flash
- Japanese‑inspired flow
- Geometric + ornamental
- Lettering + icon combinations
3) Controls that actually matter
For tattoo work, the controls that matter most are:
- Ratio / framing (forearm vs upper arm vs back panel)
- Complexity (simple emblem vs detailed sleeve element)
- Color options (black & grey vs color)
- Background (white background helps stencil clarity)
4) Fast iteration
The best tattoo designs rarely appear on the first try.
A good generator makes it easy to:
- Create variations quickly
- Adjust one variable at a time
- Save and compare your favorites
Quick comparison: which workflow do you actually need?
Most people fall into one of these categories:
“I need ideas fast.”
You want 10–20 options quickly so you can find your direction.
“I need a stencil-friendly draft.”
You already know the idea, and you want clean lines, solid composition, and minimal noise.
“I need to preview placement.”
You want to see what it looks like on your body—size, curve, angle, realism—before you commit.
The easiest route is using one platform for both steps: generate your design, then immediately try it on. That’s exactly why Tattoo Design AI is a strong 2026 pick.
Editor’s recommendation: Tattoo Design AI
If your goal is text → tattoo concepts → placement preview, Tattoo Design AI gives you a clean, beginner‑friendly workflow.
Why it stands out in 2026
-
It responds well to tattoo-specific prompt language (line weight, stencil-friendly, negative space)
-
It produces fast variations without making you rebuild your prompt from scratch
-
You can go from idea to try‑on preview using two focused tools:
-
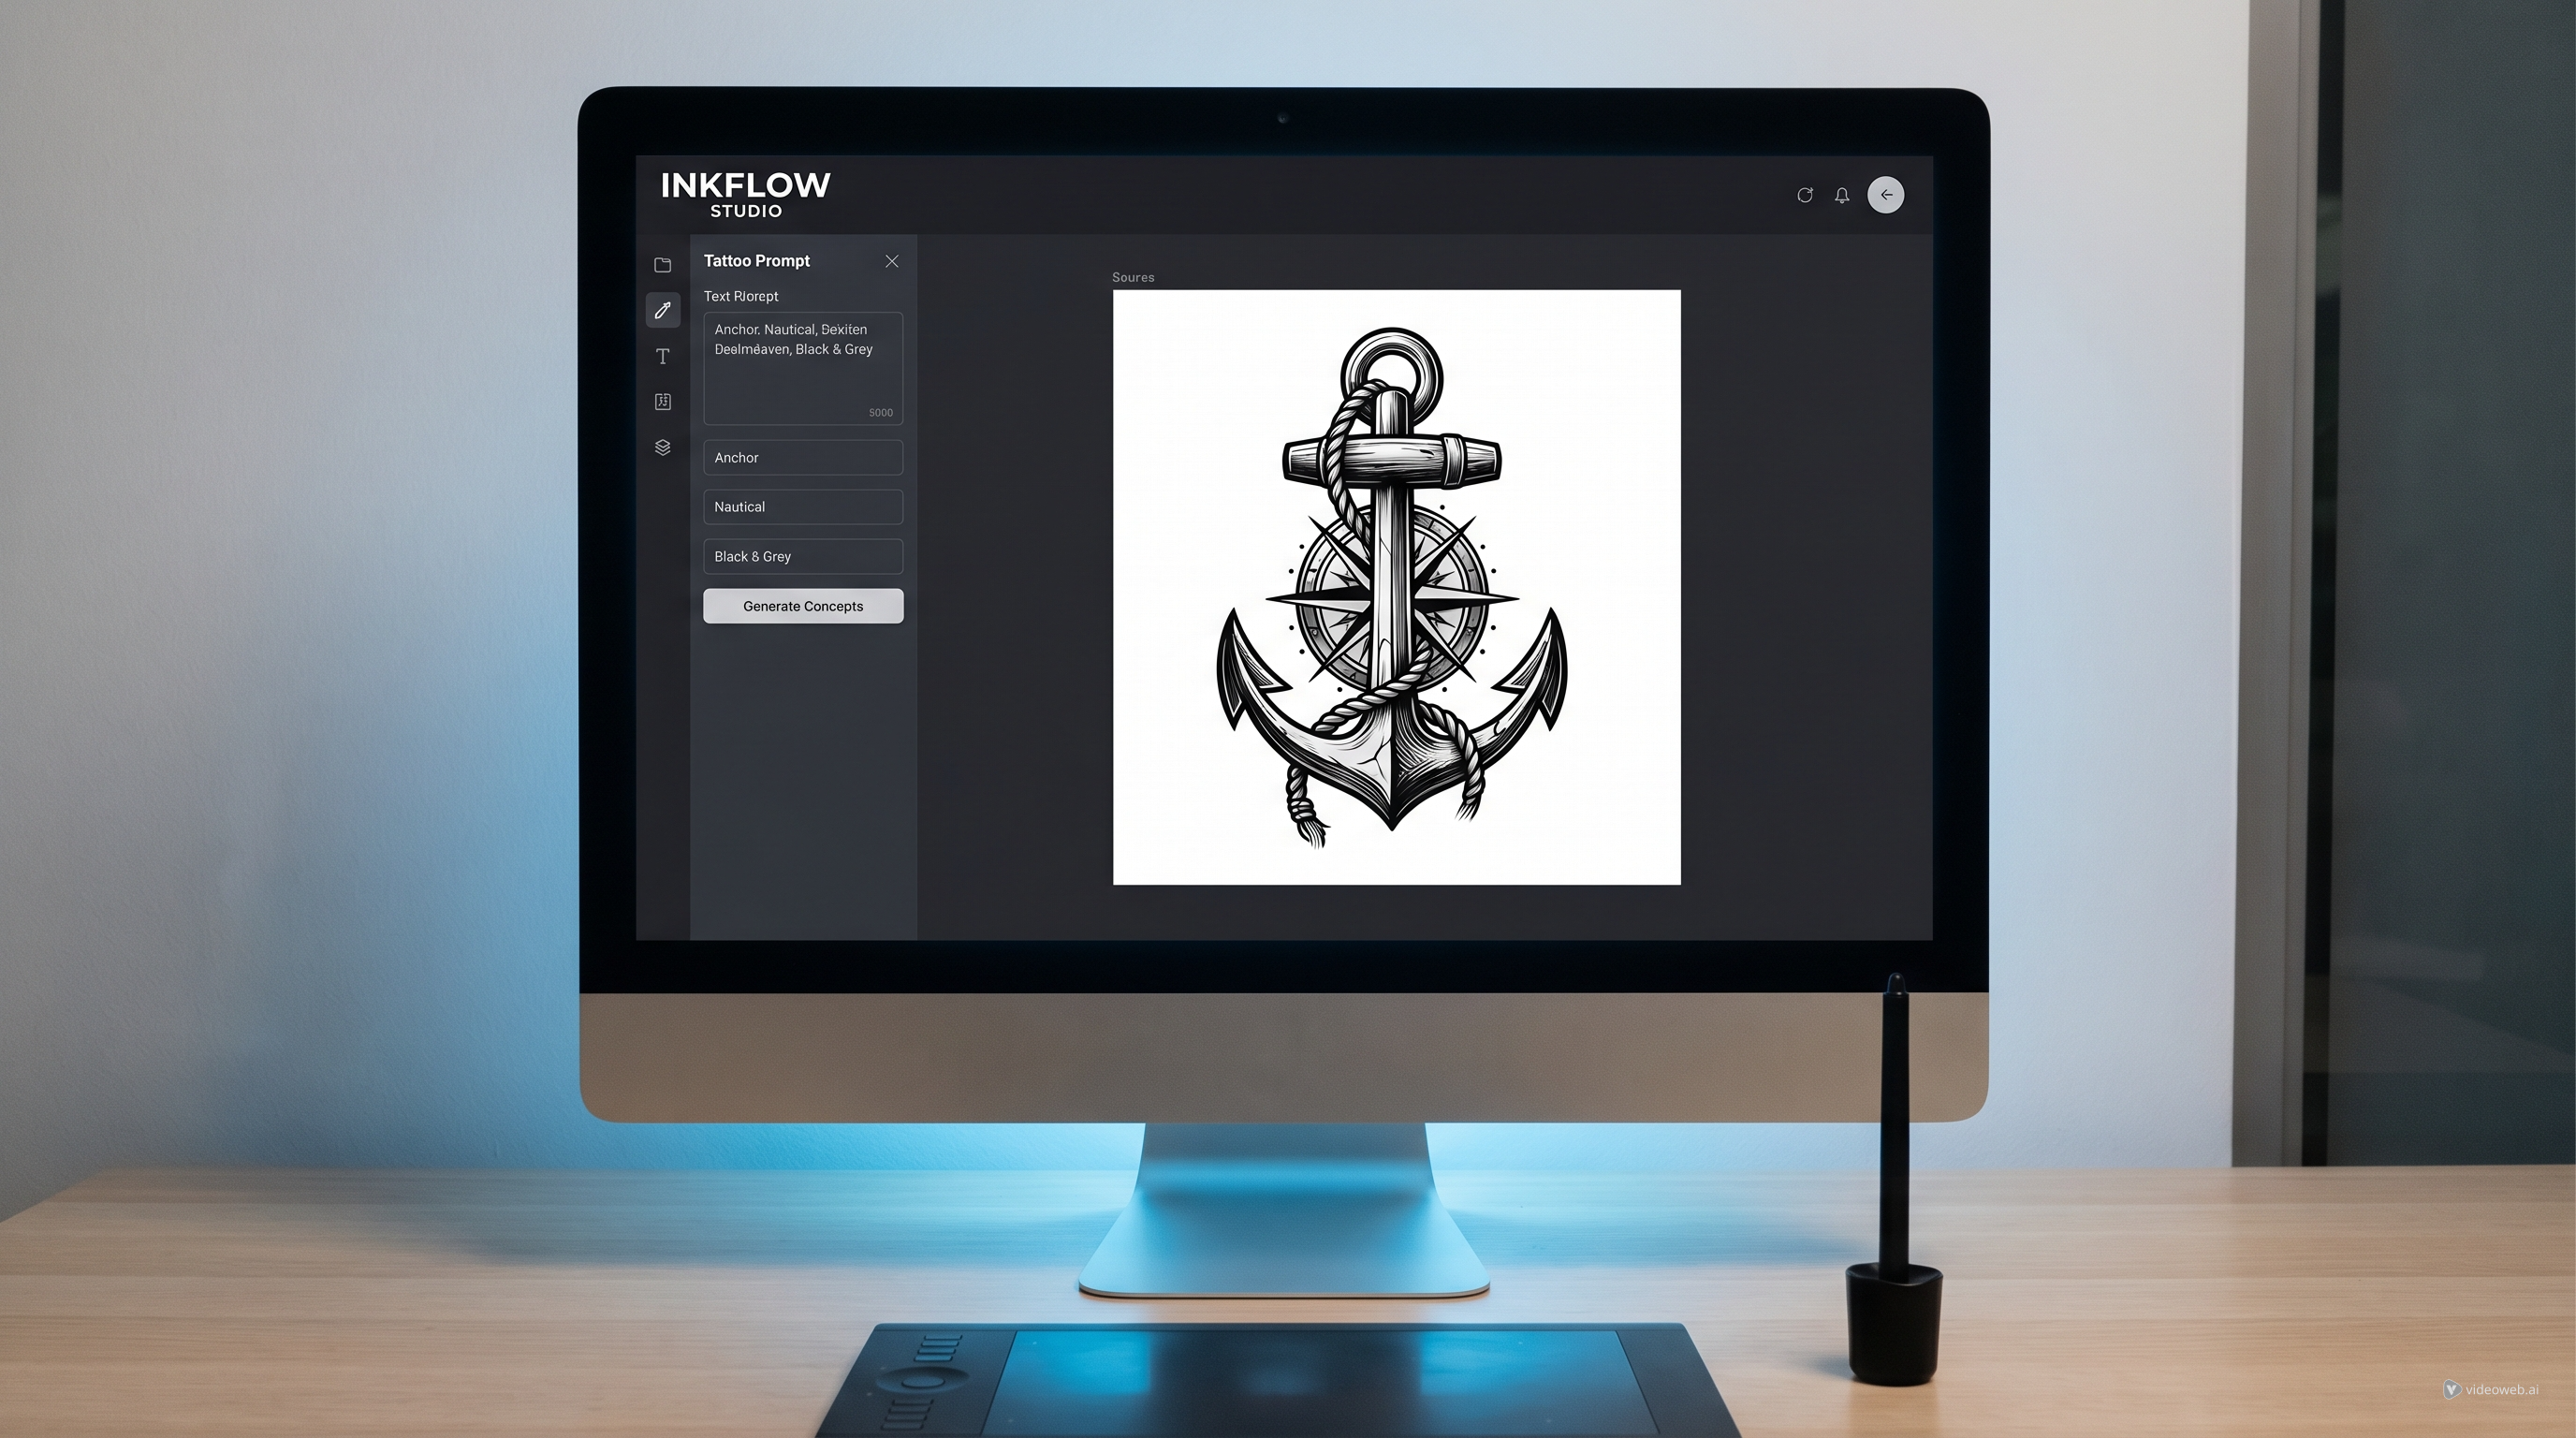
AI Tattoo Generator — turn text into tattoo designs
-
AI Tattoo Try On — overlay the design on real body photos
Even if you test other generators, this “generate + try‑on” pairing is a practical workflow that helps you choose designs you’ll actually like on skin.
Step-by-step: generate a tattoo from text using AI Tattoo Generator
Here’s the simple method that works—even if you’ve never written a prompt before.
Step 1: Write a clear one-liner
Use this format:
Subject + symbolism + mood
Examples:
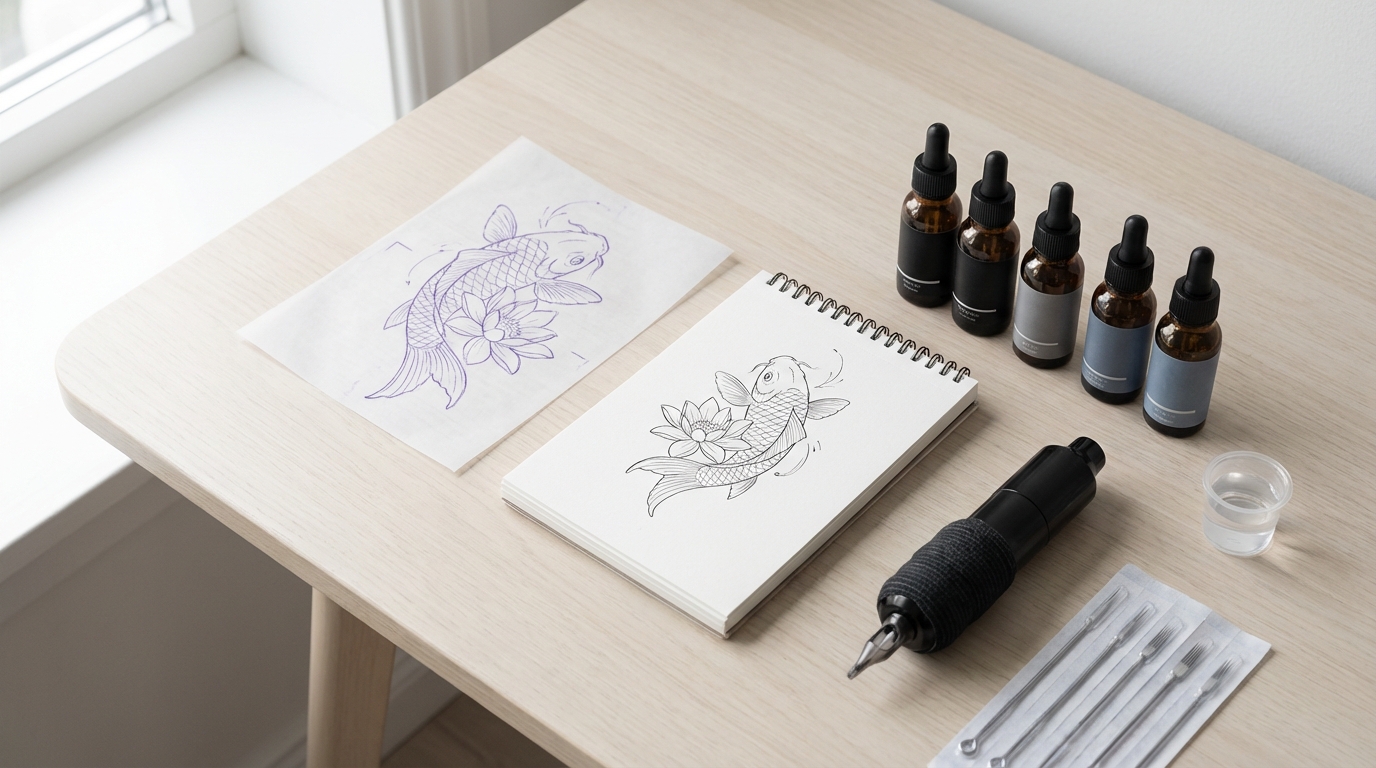
- “Minimalist koi fish with lotus, calm and elegant.”
- “Bold raven with crescent moon, dark and powerful.”
- “Traditional dagger and rose, classic flash vibe.”
Step 2: Add a style label
This is what turns “a drawing” into “a tattoo style.”
Add one:
- “fine‑line single needle”
- “bold blackwork”
- “American traditional flash”
- “Japanese-inspired composition”
Step 3: Add tattoo rules
This is where most people level up.
Add phrases like:
- “clean outline, stencil-friendly”
- “high readability, no tiny details”
- “limited shading, strong silhouette”
- “negative space emphasized”
Step 4: Add composition constraints
This prevents random floating objects.
Try:
- “centered emblem”
- “vertical totem layout”
- “circular badge framing”
- “wrap flow for forearm placement”
Step 5: Generate 3–6 variations
Don’t stop at one. Choose the best silhouette, then refine.
Use AI Tattoo Generator to batch variations quickly, then shortlist your top 2–3.
The prompt formula that prevents “random AI art”
If you only remember one thing, remember this 4‑part structure:
- Subject + symbolism
- Style label
- Composition
- Tattoo rules
Here’s a clean skeleton you can copy:
“Tattoo design of [SUBJECT], featuring [SYMBOLISM], [STYLE], [COMPOSITION], clean outline, stencil-friendly, high readability, minimal micro-details, balanced negative space.”
This works especially well for AI tattoo generator prompts because it tells the model what matters for ink.
Copy/paste prompt templates (ready to use)
Below are reliable templates. Replace the bracketed parts with your own idea.
1) Fine-line minimal
Use this when you want clean, subtle results:
Prompt: “Fine-line single-needle tattoo of [SUBJECT], clean contour lines, minimal shading, lots of negative space, elegant and subtle, high readability, stencil-friendly.”
2) Bold blackwork symbol
Use this when you want strong contrast:
Prompt: “Bold blackwork tattoo of [SUBJECT], simplified shapes, high contrast, thick outlines, strong silhouette, minimal texture, stencil-friendly, no tiny details.”
3) American traditional flash
Use this for classic tattoo energy:
Prompt: “American traditional flash tattoo of [SUBJECT], bold outlines, classic shading, limited color palette, vintage flash sheet aesthetic, strong composition, high readability.”
4) Japanese-inspired flow
Use this for sleeves, upper arm, back pieces:
Prompt: “Japanese-inspired tattoo composition of [SUBJECT], balanced flow, optional wind bars/waves background, strong silhouette, clean linework, designed for [PLACEMENT], stencil-friendly.”
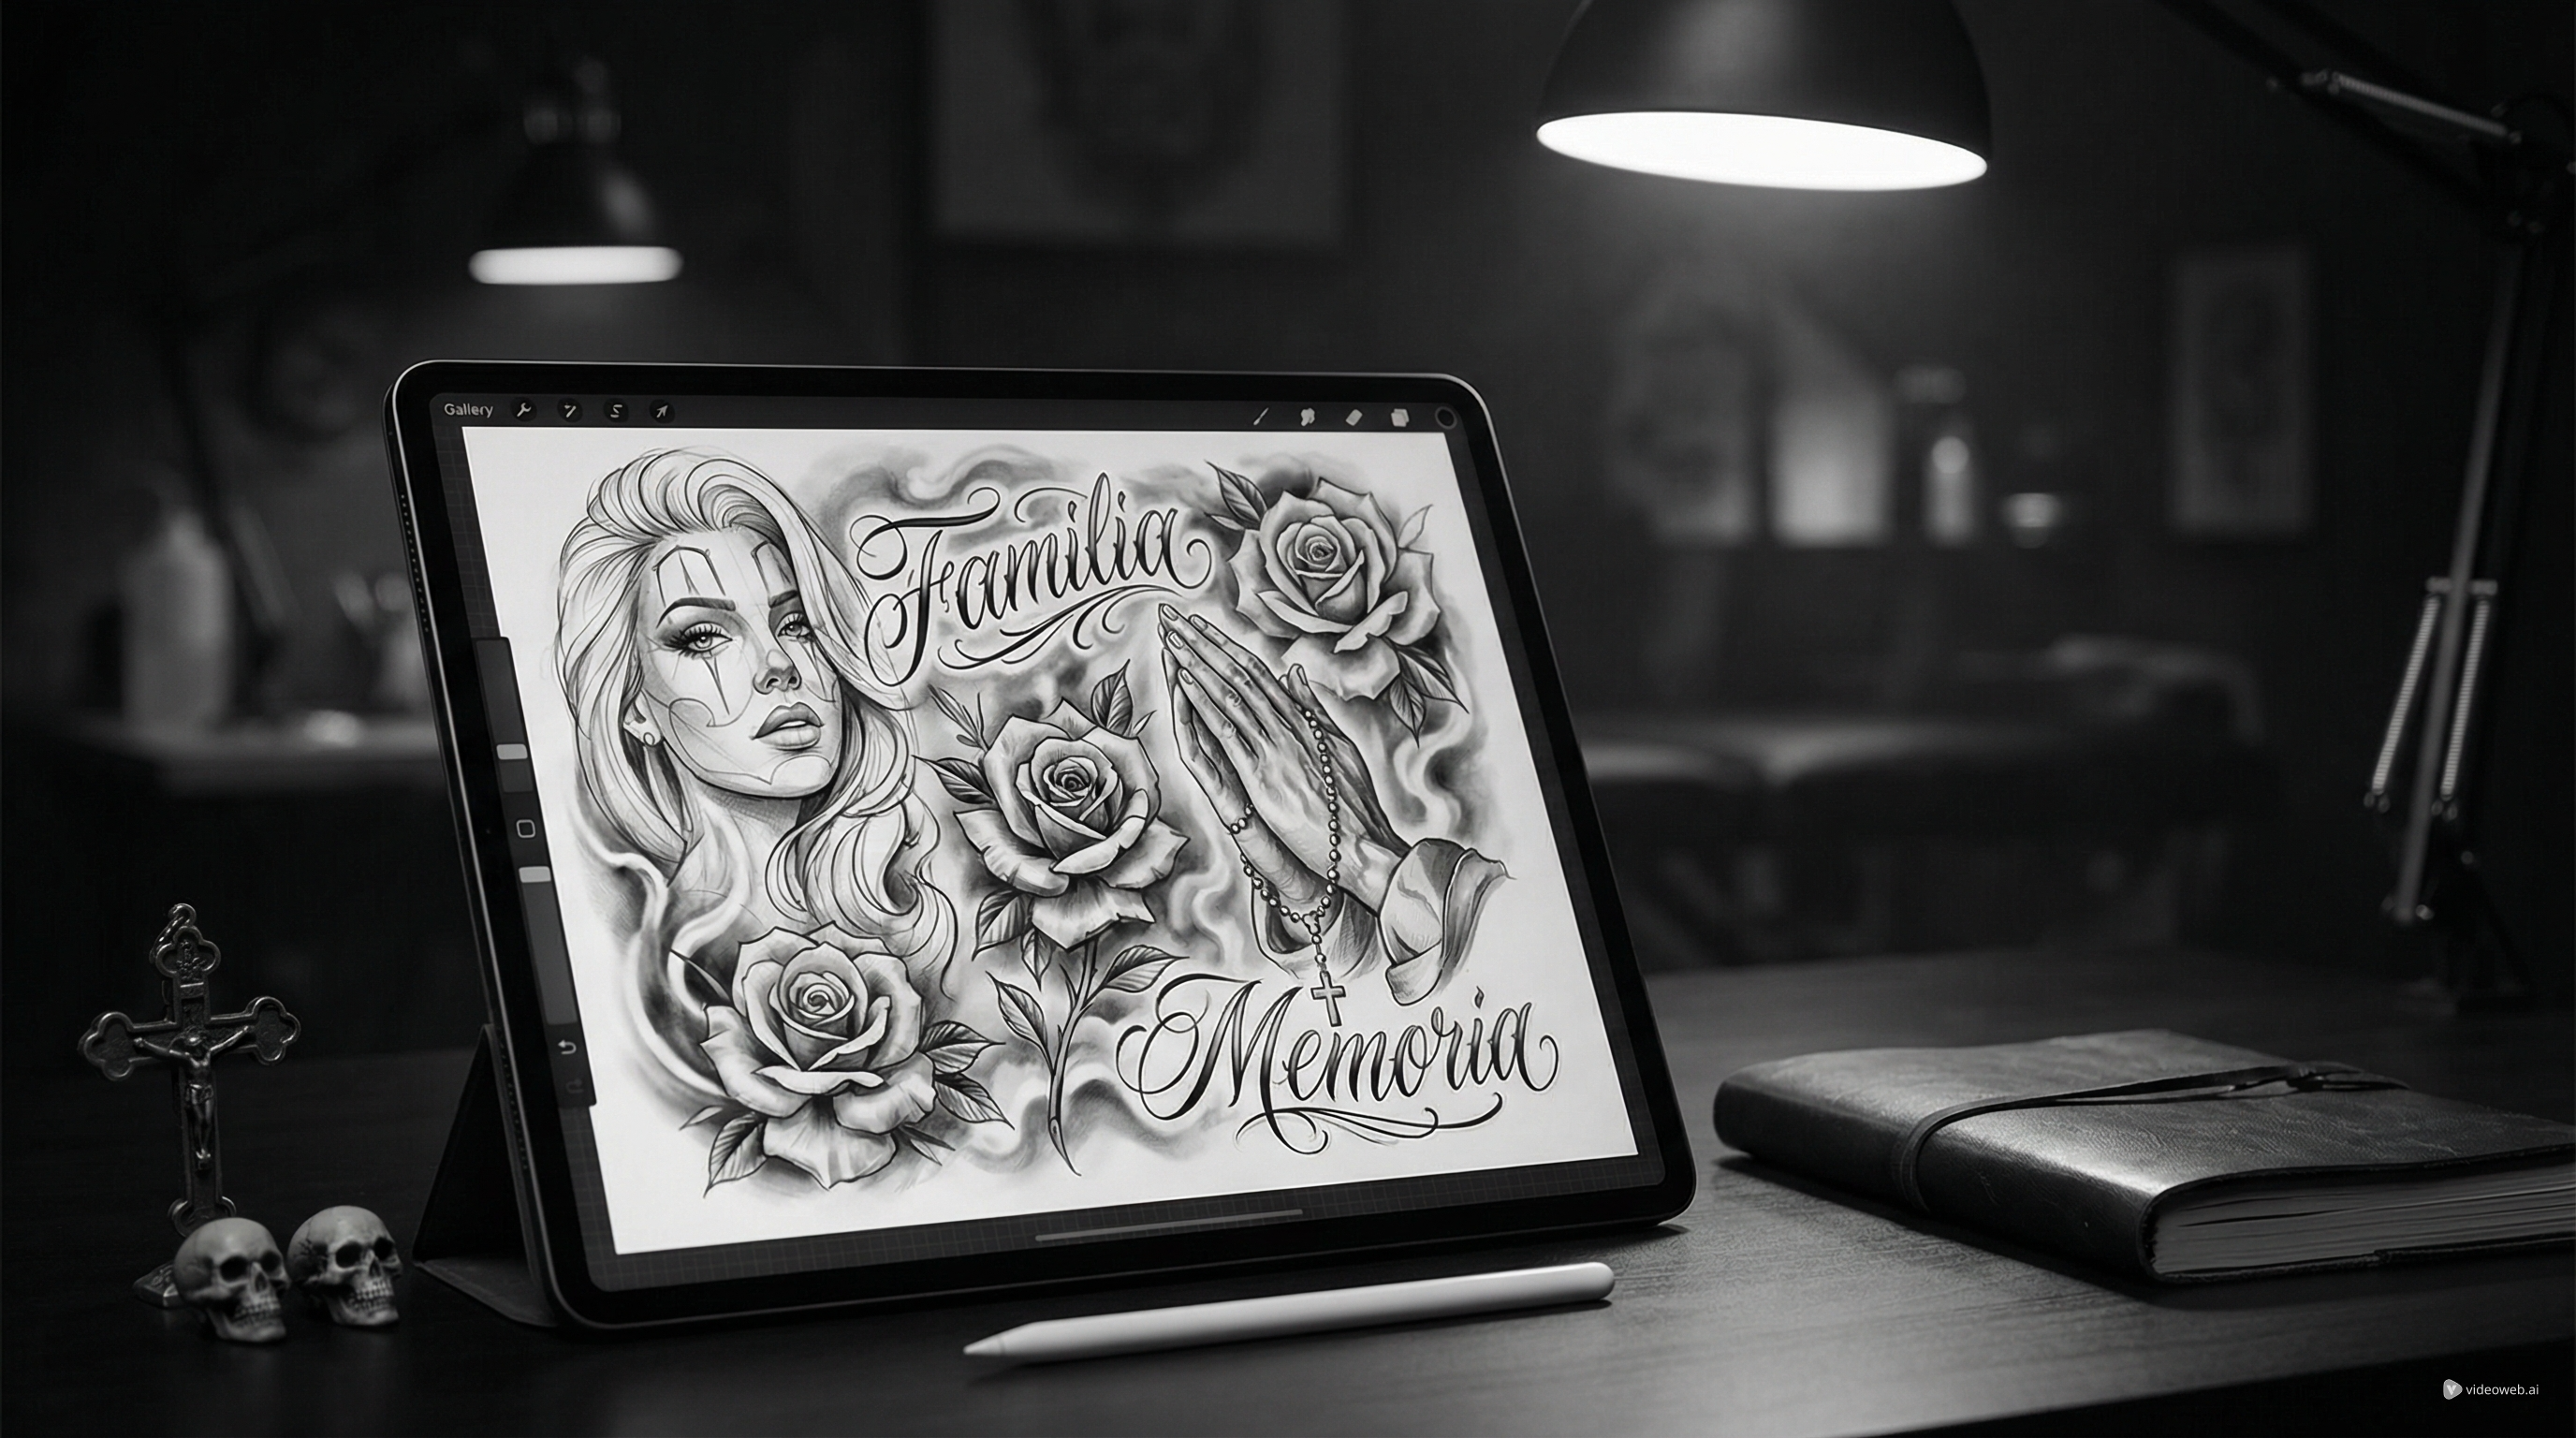
5) Lettering + icon
Use this for clean quote tattoos:
Prompt: “Tattoo lettering design featuring the phrase ‘[TEXT]’ with a small [ICON] integrated, clean readable typography, balanced spacing, suitable for 2–3 inch size, minimal ornamentation, high readability.”
Then generate variations using free text-to-tattoo generation and save your best 2–3.
Refinement workflow: turn a good concept into a tattooable draft
A pro‑looking tattoo concept usually comes from 3 passes.
Pass 1: Lock the silhouette
Ask for:
- “Simplify shapes”
- “Stronger silhouette”
- “Remove tiny details”
Pass 2: Clean the linework
Ask for:
- “Cleaner linework”
- “Even line weight”
- “Stencil-ready outlines”
Pass 3: Control shading
Ask for:
- “Minimal shading, no blurry gradients”
- “Dotwork shading only”
- “Traditional shading, simple and bold”
Golden rule: change one variable at a time (style or complexity or composition). This keeps your iterations under control.
Preview placement with AI Tattoo Try On (the confidence step)
A design can look perfect in a square image—and totally wrong on your body.
That’s why the try‑on step is a game‑changer. It helps you judge:
- Scale (is it too big or too tiny?)
- Placement angle (does it follow the muscle line?)
- Readability (does it stay clear on curved surfaces?)
How to use AI Tattoo Try On
- Upload your tattoo design image
- Upload a clear photo of the body part you want (or choose a template)
- Adjust size, rotation, and position
- Compare 2–3 design variants in the same spot
Use AI Tattoo Try On to test forearm vs upper arm vs back, and you’ll immediately see which design actually fits.
Try-on tips for more realistic previews
If your try‑on looks “fake,” it’s usually a photo issue—not the tool.
Use evenly lit photos
Avoid harsh shadows and strong highlights. Soft, even lighting makes blending look realistic.
Pick a clear angle
Keep the body part centered, not too zoomed out, and avoid motion blur.
Choose contrast that matches skin
Bold linework reads better in previews. If your design is too light, it may disappear.
Compare multiple photos
If possible, test 2 angles (front + side). The best placement is the one that looks good from different views.
That’s how virtual tattoo try on AI becomes a real decision tool, not just a fun feature.
Best free alternatives to consider (quick, honest tradeoffs)
It’s smart to test a couple alternatives—different generators can spark different ideas.
Here’s the honest reality:
- Many “free tattoo generators” are really just general image generators.
- They may struggle with line clarity, stencil‑friendliness, and style consistency.
That’s why a tattoo‑focused workflow—generate, refine, then try on—is often more useful than browsing endless random outputs.
If you want a clean, practical starting point, Tattoo Design AI is a strong 2026 option because it supports both the concept stage and the placement confidence stage.
Tattoo readiness checklist (before you show an artist)
AI should help you get direction, not replace a real tattooer.
Before your appointment, bring:
- Placement + size: forearm, bicep, shoulder cap, calf, back panel
- Line weight preference: fine‑line vs bold outline (aging matters)
- Shading plan: dotwork / black & grey / traditional
- Must-keep list: 3 things the design must include
- Must-avoid list: 3 things you don’t want (too much detail, too dark, too busy)
- 2–3 best variants: plus one try‑on preview from AI tattoo try-on online
A great artist will rebuild your favorite concept properly and make sure it lasts.
Mini FAQ
Is a free tattoo AI generator actually usable in 2026?
Yes—for concepting, style exploration, and creating a clear brief. Free tiers are usually enough to find your direction.
How do I avoid designs that won’t age well?
Use tattoo rules in your prompt: “high readability,” “no tiny details,” “strong silhouette,” and “clean outline.”
Can I generate clean lettering tattoos?
You can generate lettering concepts, but final lettering should be refined by an artist for spacing and readability.
What’s the fastest workflow from idea → preview → artist brief?
Generate 10 concepts in AI Tattoo Generator, shortlist 3, then test placement using AI Tattoo Try On.
Final thoughts: the best free tool is the one that helps you iterate
In 2026, the real magic of text-to-tattoo AI isn’t perfection—it’s momentum. You can explore styles quickly, discover what you actually like, and walk into a studio with a clear direction.
If you want a simple, practical workflow that covers both design generation and realistic placement preview, start here:
Generate, refine, try it on, and bring your best 2–3 options to a professional tattoo artist. That’s the fastest path from words to ink.