Every tattoo designer knows the moment.
Your client loves the idea… but their eyes drift. They tilt their head. Then comes the line that slows every consult down:
“I like it. I’m just not sure how it’ll look on me.”
That gap — between a beautiful concept and a confident yes — is where short video previews shine. A clean 3–5 second motion clip does what twenty static mockups often can’t: it lets the client feel the placement, scale, and flow.
In this guide, I’ll walk you through how an ai tattoo video generator helps tattoo designers create client-ready previews, what inputs actually produce the best results, and how to get a reliable “on-skin” look without the usual distortion and wobble.
At the end, you’ll see why I recommend running your workflow on Tattoo AI using the tattoo video generator ai when you want fast iterations and consistent previews.
Why tattoo designers are moving to video previews
Tattoo design is emotional, but the decision is practical. Clients want certainty.
A still image shows style. A short clip shows belief:
- the tattoo reading correctly at a real viewing angle
- the way curves change the proportions (forearm taper, shoulder cap, calf roundness)
- whether the design sits naturally where the body moves
- whether the “weight” of black looks too heavy or perfect in context
That’s why a tattoo designer video generator has become a modern add-on to the consult. You’re not replacing your craft. You’re adding a quick visualization step that reduces hesitation.
And it’s not only for clients.
Video previews also help you:
- show multiple placements quickly (Option A vs Option B)
- build portfolio reels that feel alive
- create scroll-stopping social posts without spending an hour in motion software
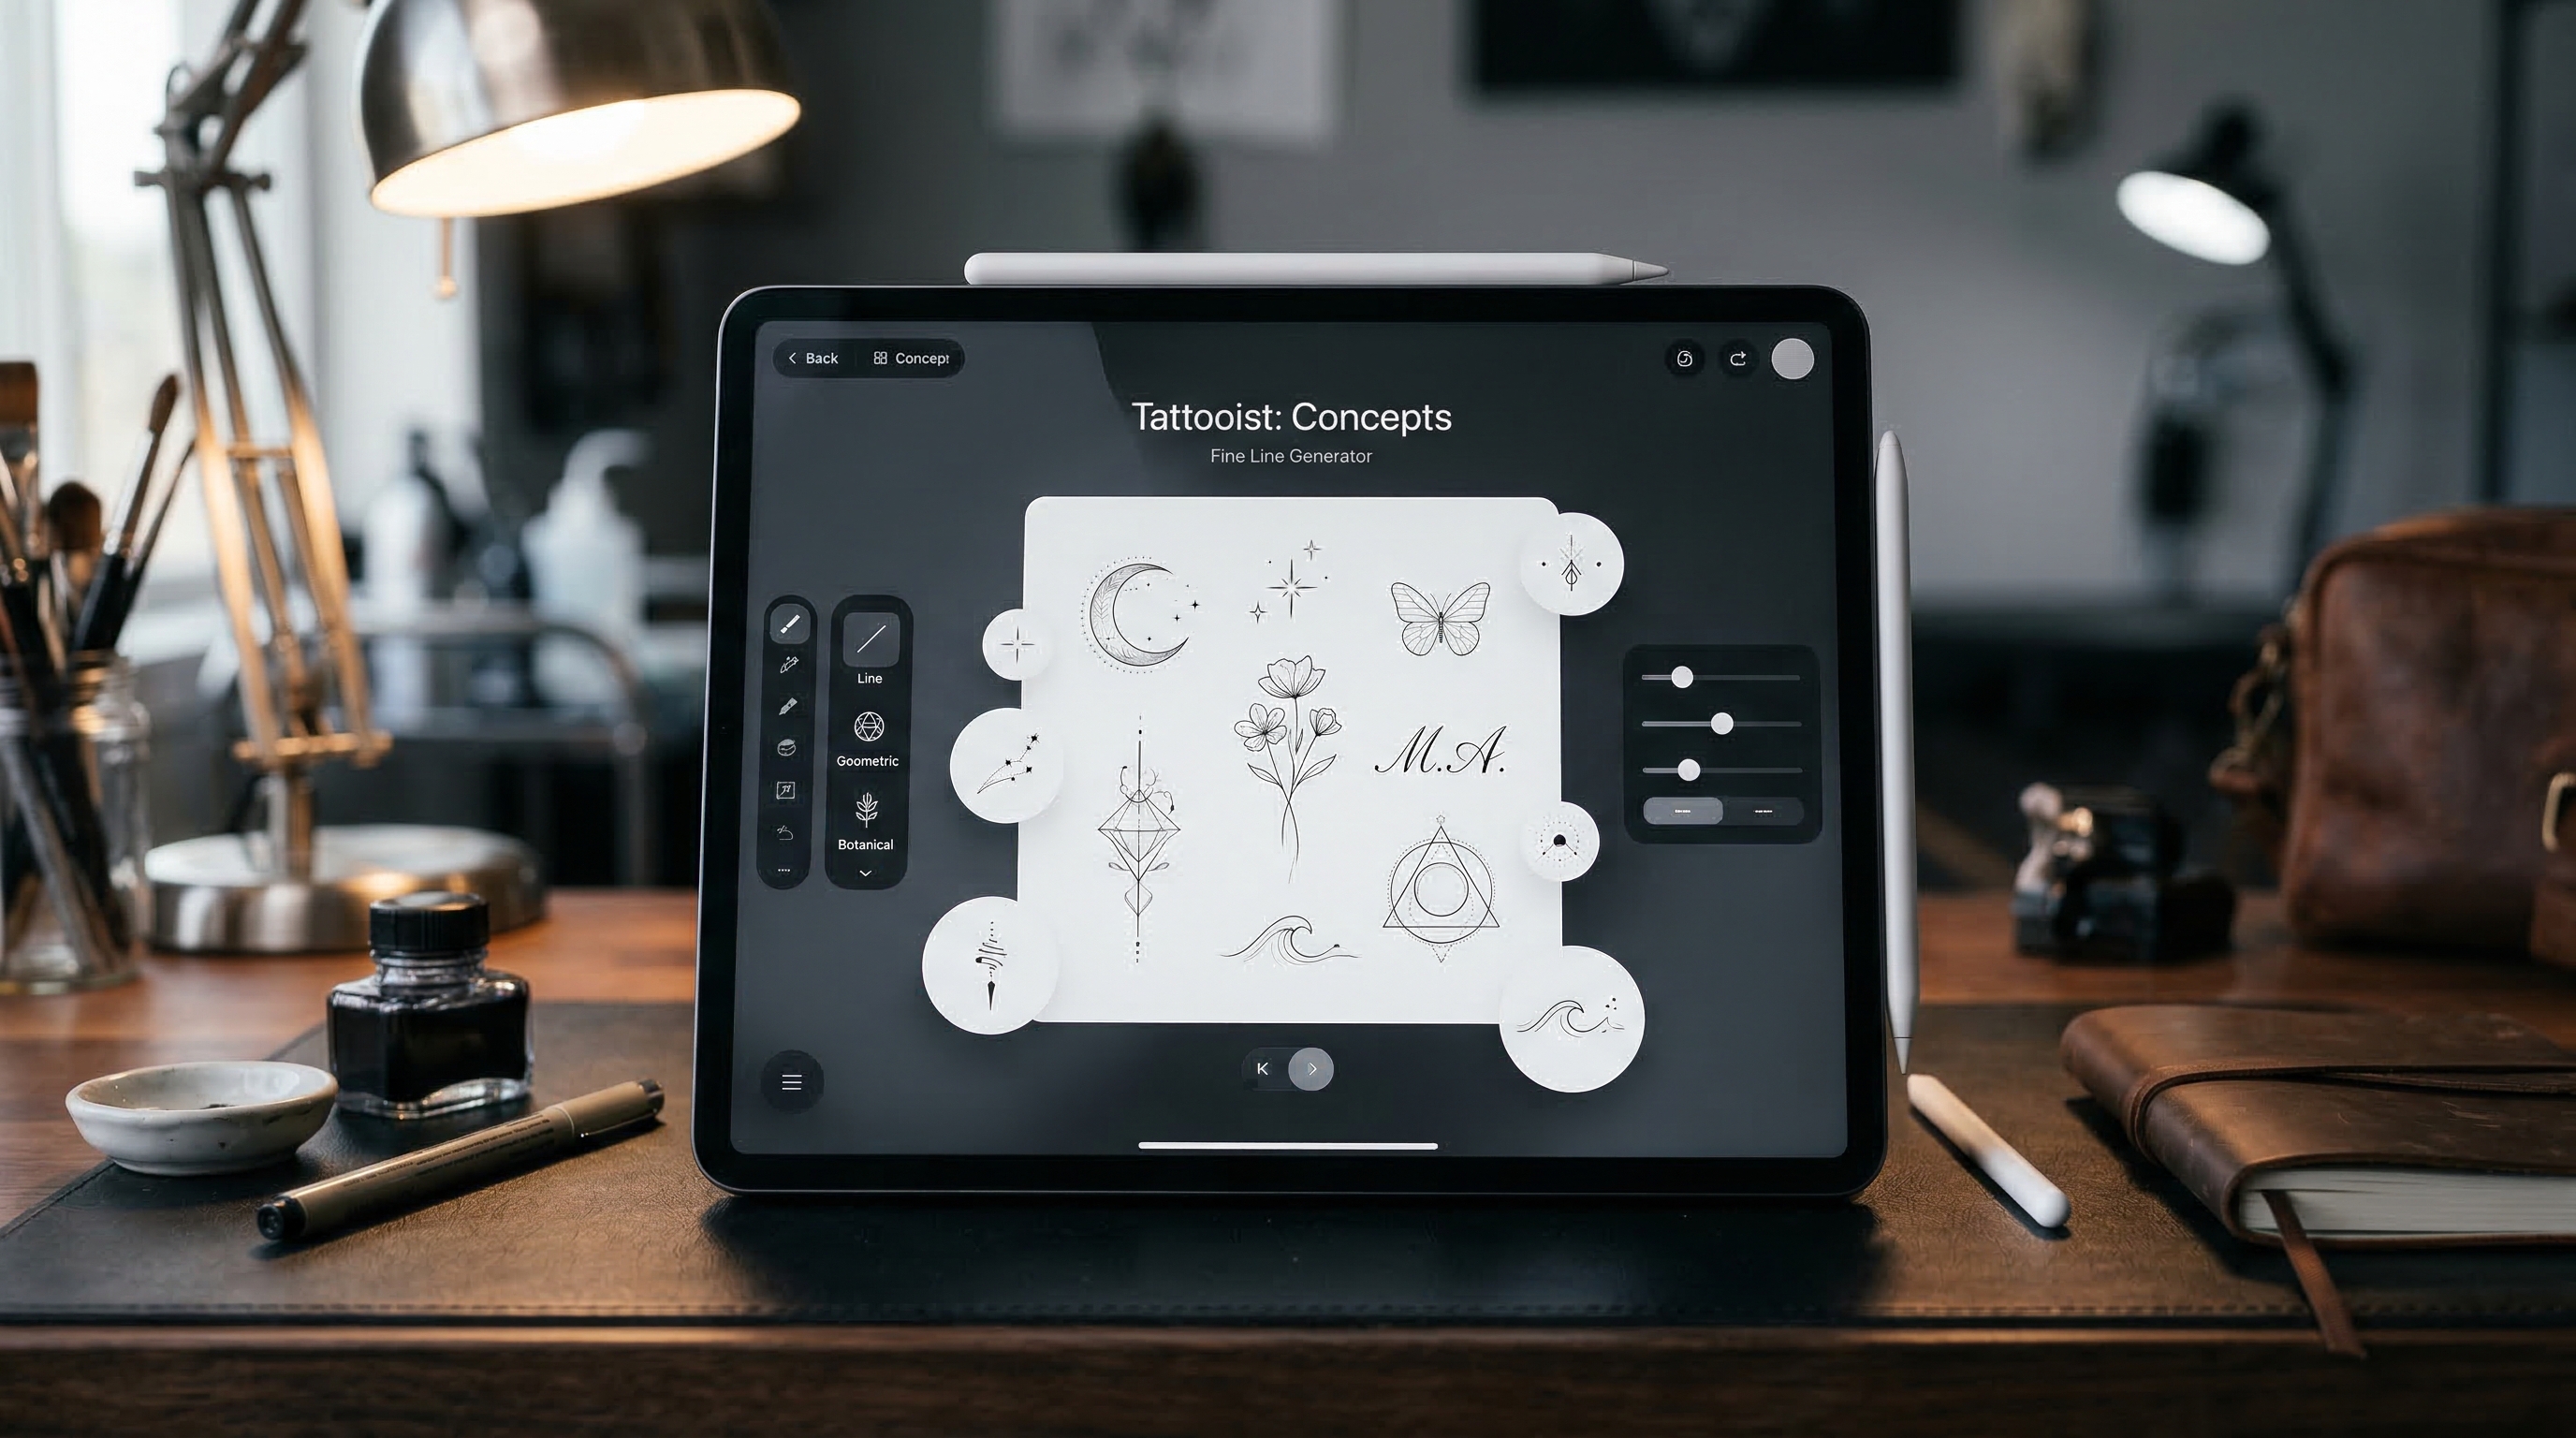
What an AI Tattoo Video Generator actually does (plain English)
An AI tattoo video tool takes a still image (your design, or a body photo with your design) and generates a short animated clip based on your prompt.
Think of it like this:
- You provide the composition (the design, the placement, the base image)
- The model provides motion (a camera move, subtle body movement, lighting shifts)
The best results happen when you treat it like a single-shot commercial, not a full movie.
This is why people search for a tattoo on skin video generator or tattoo overlay video generator specifically — they’re asking for a visual that reads like a tattoo on a real body, not just a tattoo design floating on top of a photo.
The five use cases tattoo designers actually care about
1) Client consultation previews (the “decision-maker”)
A quick clip can turn uncertainty into clarity.
Instead of showing a static overlay and hoping they imagine the movement, you show:
- slow camera drift across the placement
- the design staying locked to skin
- realistic lighting that makes the tattoo feel integrated
This is the most practical use of a tattoo video generator ai: it shortens consult time and improves confidence.
2) Placement testing on common body zones
Some placements are deceptive in still images.
- Forearm: taper and twist
- Shoulder: roundness and shoulder cap curve
- Upper arm: muscle swell + rotation
- Calf: asymmetry
- Rib/side: expansion with breath
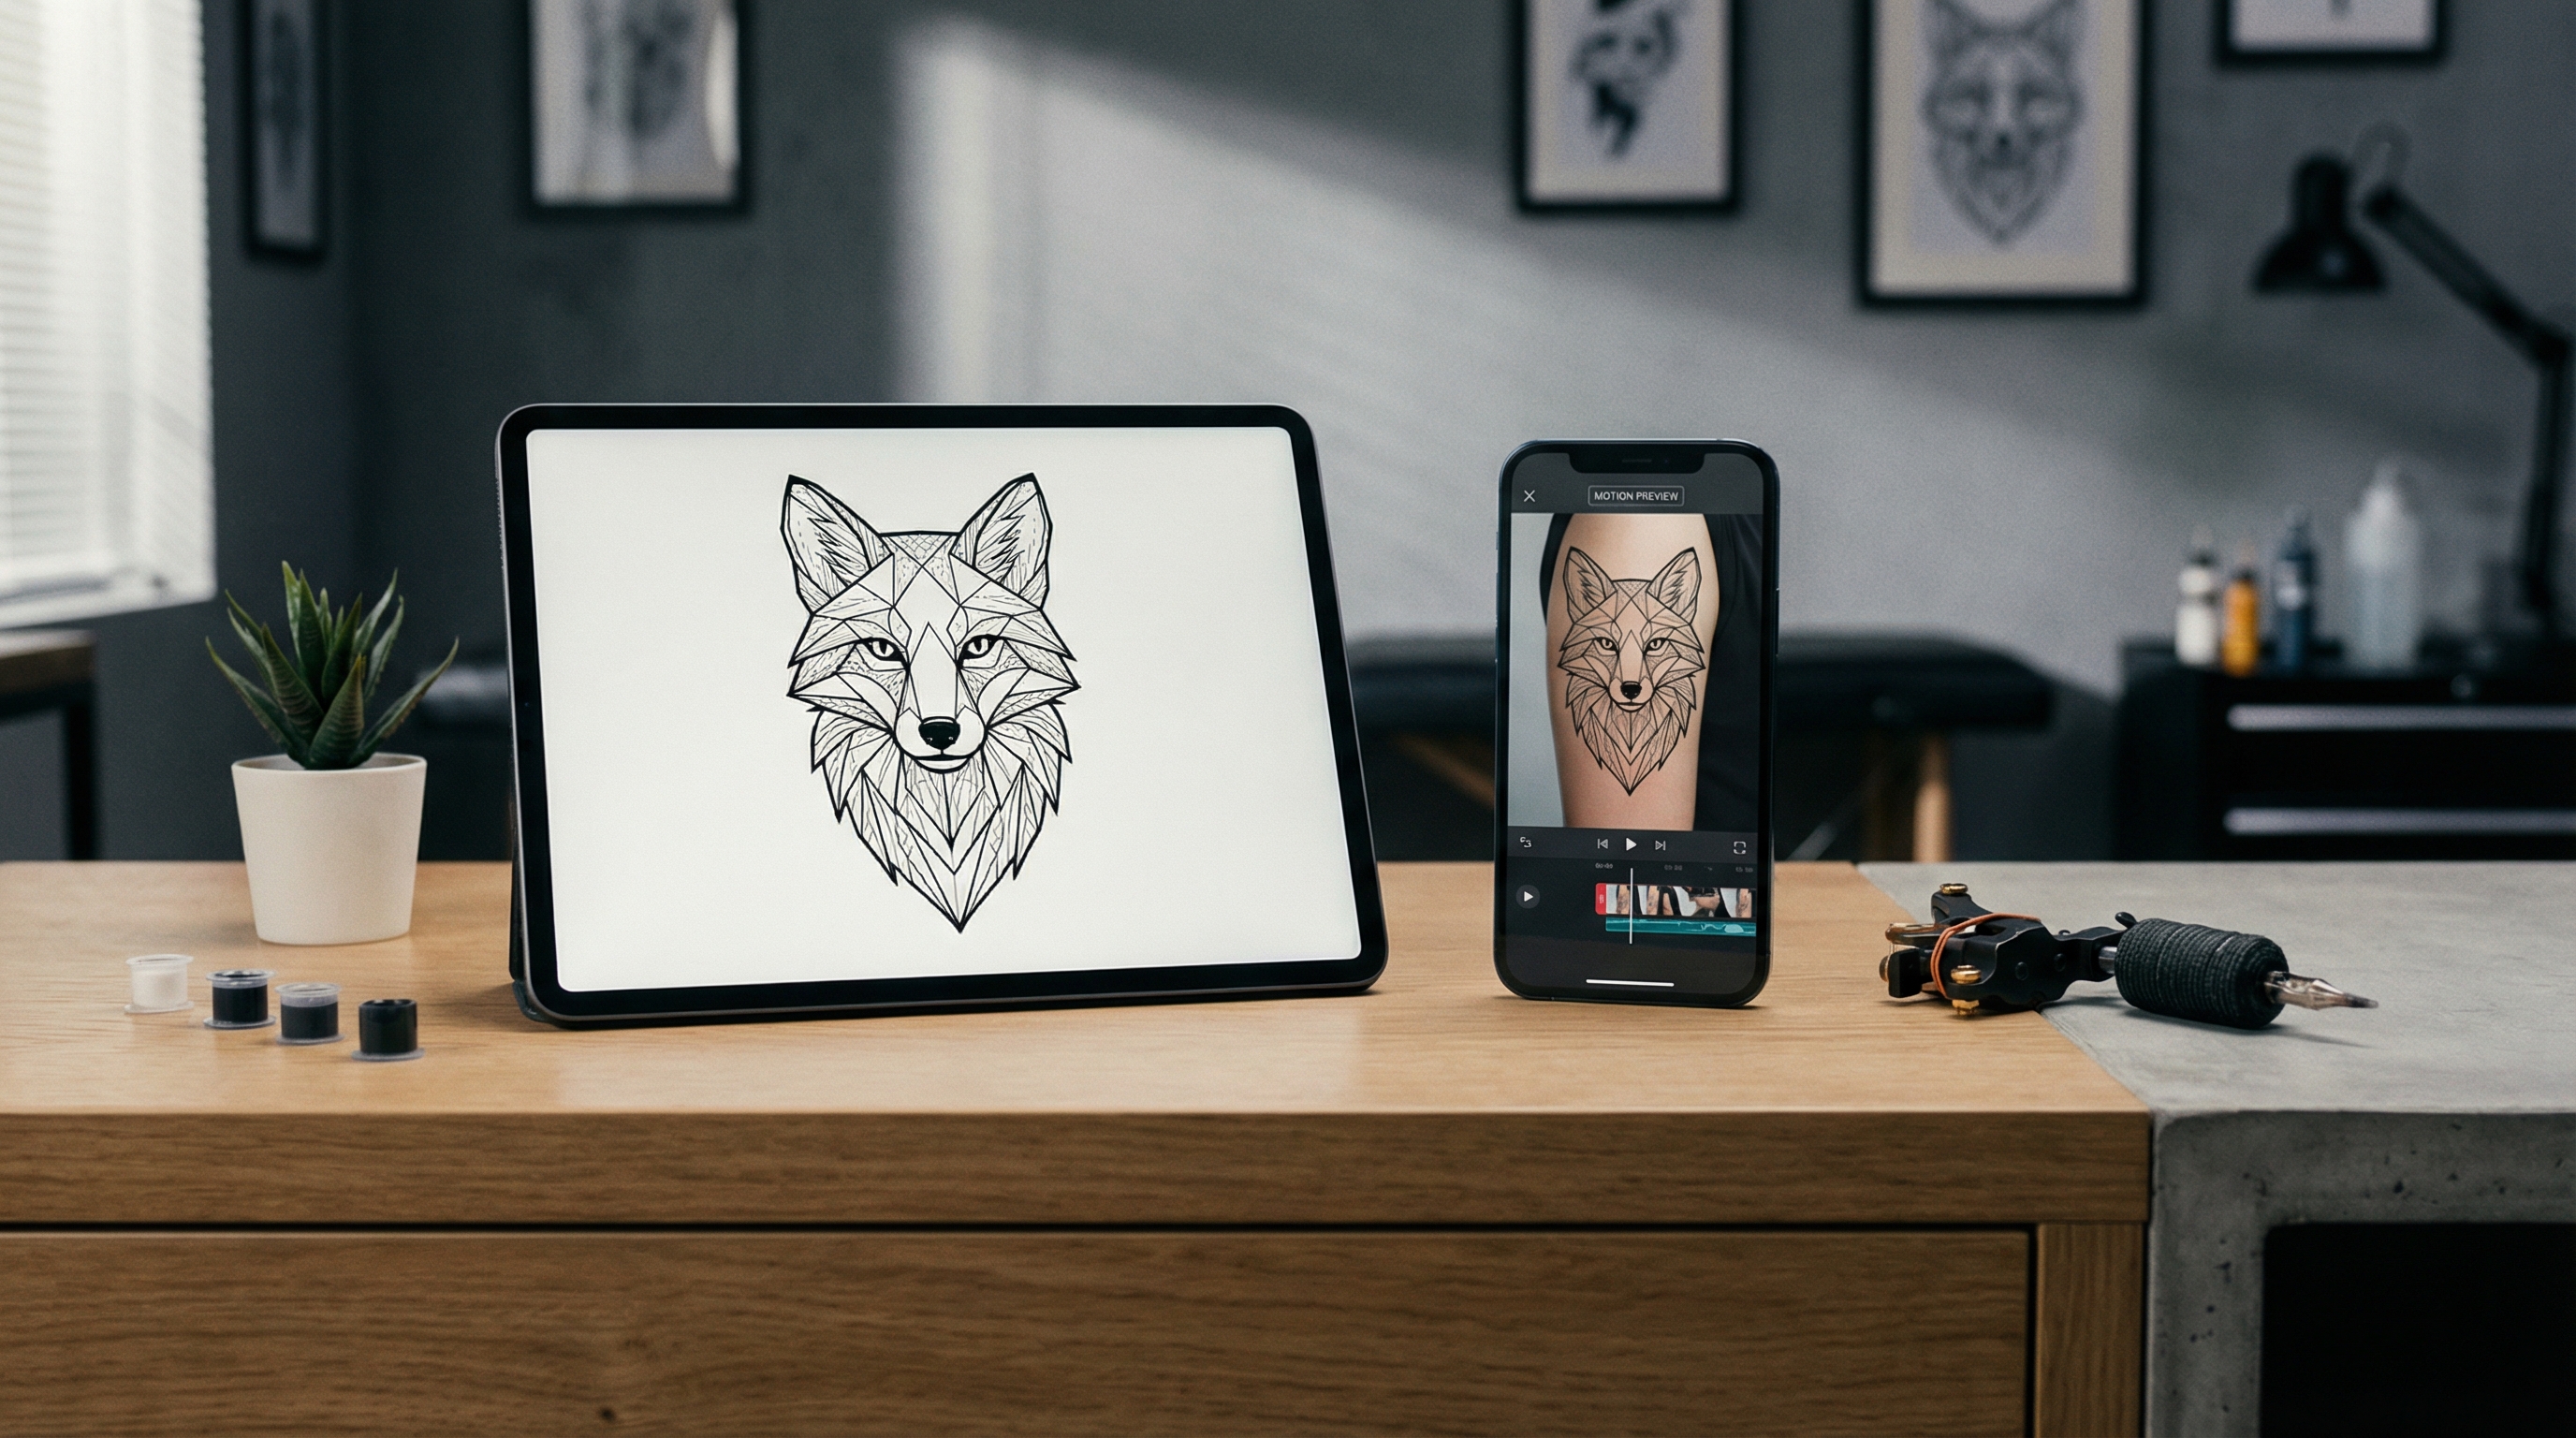
A tattoo on skin video generator preview helps you sanity-check whether the design still reads cleanly when the body isn’t perfectly flat.
3) Overlay-style realism for “looks like it’s already there” mockups
Clients often want that “already tattooed” feeling — especially for larger pieces.
An tattoo overlay video generator workflow focuses on:
- matching the skin’s lighting direction
- letting skin texture show through
- keeping edges crisp without looking like a sticker
4) Portfolio reels that don’t feel templated
Video is your best portfolio medium now — but not every piece needs a full edited montage.
A clean 3–5 second clip showing a design settling onto skin can be a premium portfolio beat:
- concept → clean line → shaded → on-skin preview
- flash sheet → one design gets a “living frame” moment
5) Booking content for social
Short motion previews are ideal for stories, reels, TikTok, and pinned posts.
They’re also the easiest way to explain what you do:
- “Here’s the concept.”
- “Here’s how it looks on the body.”
- “Here’s the vibe in motion.”
That is, essentially, a tattoo try on video experience without needing an app-native AR workflow.
A viewer-first workflow that produces clean results
If you take one thing from this article, take this:
The input image quality and the motion plan matter more than fancy wording.
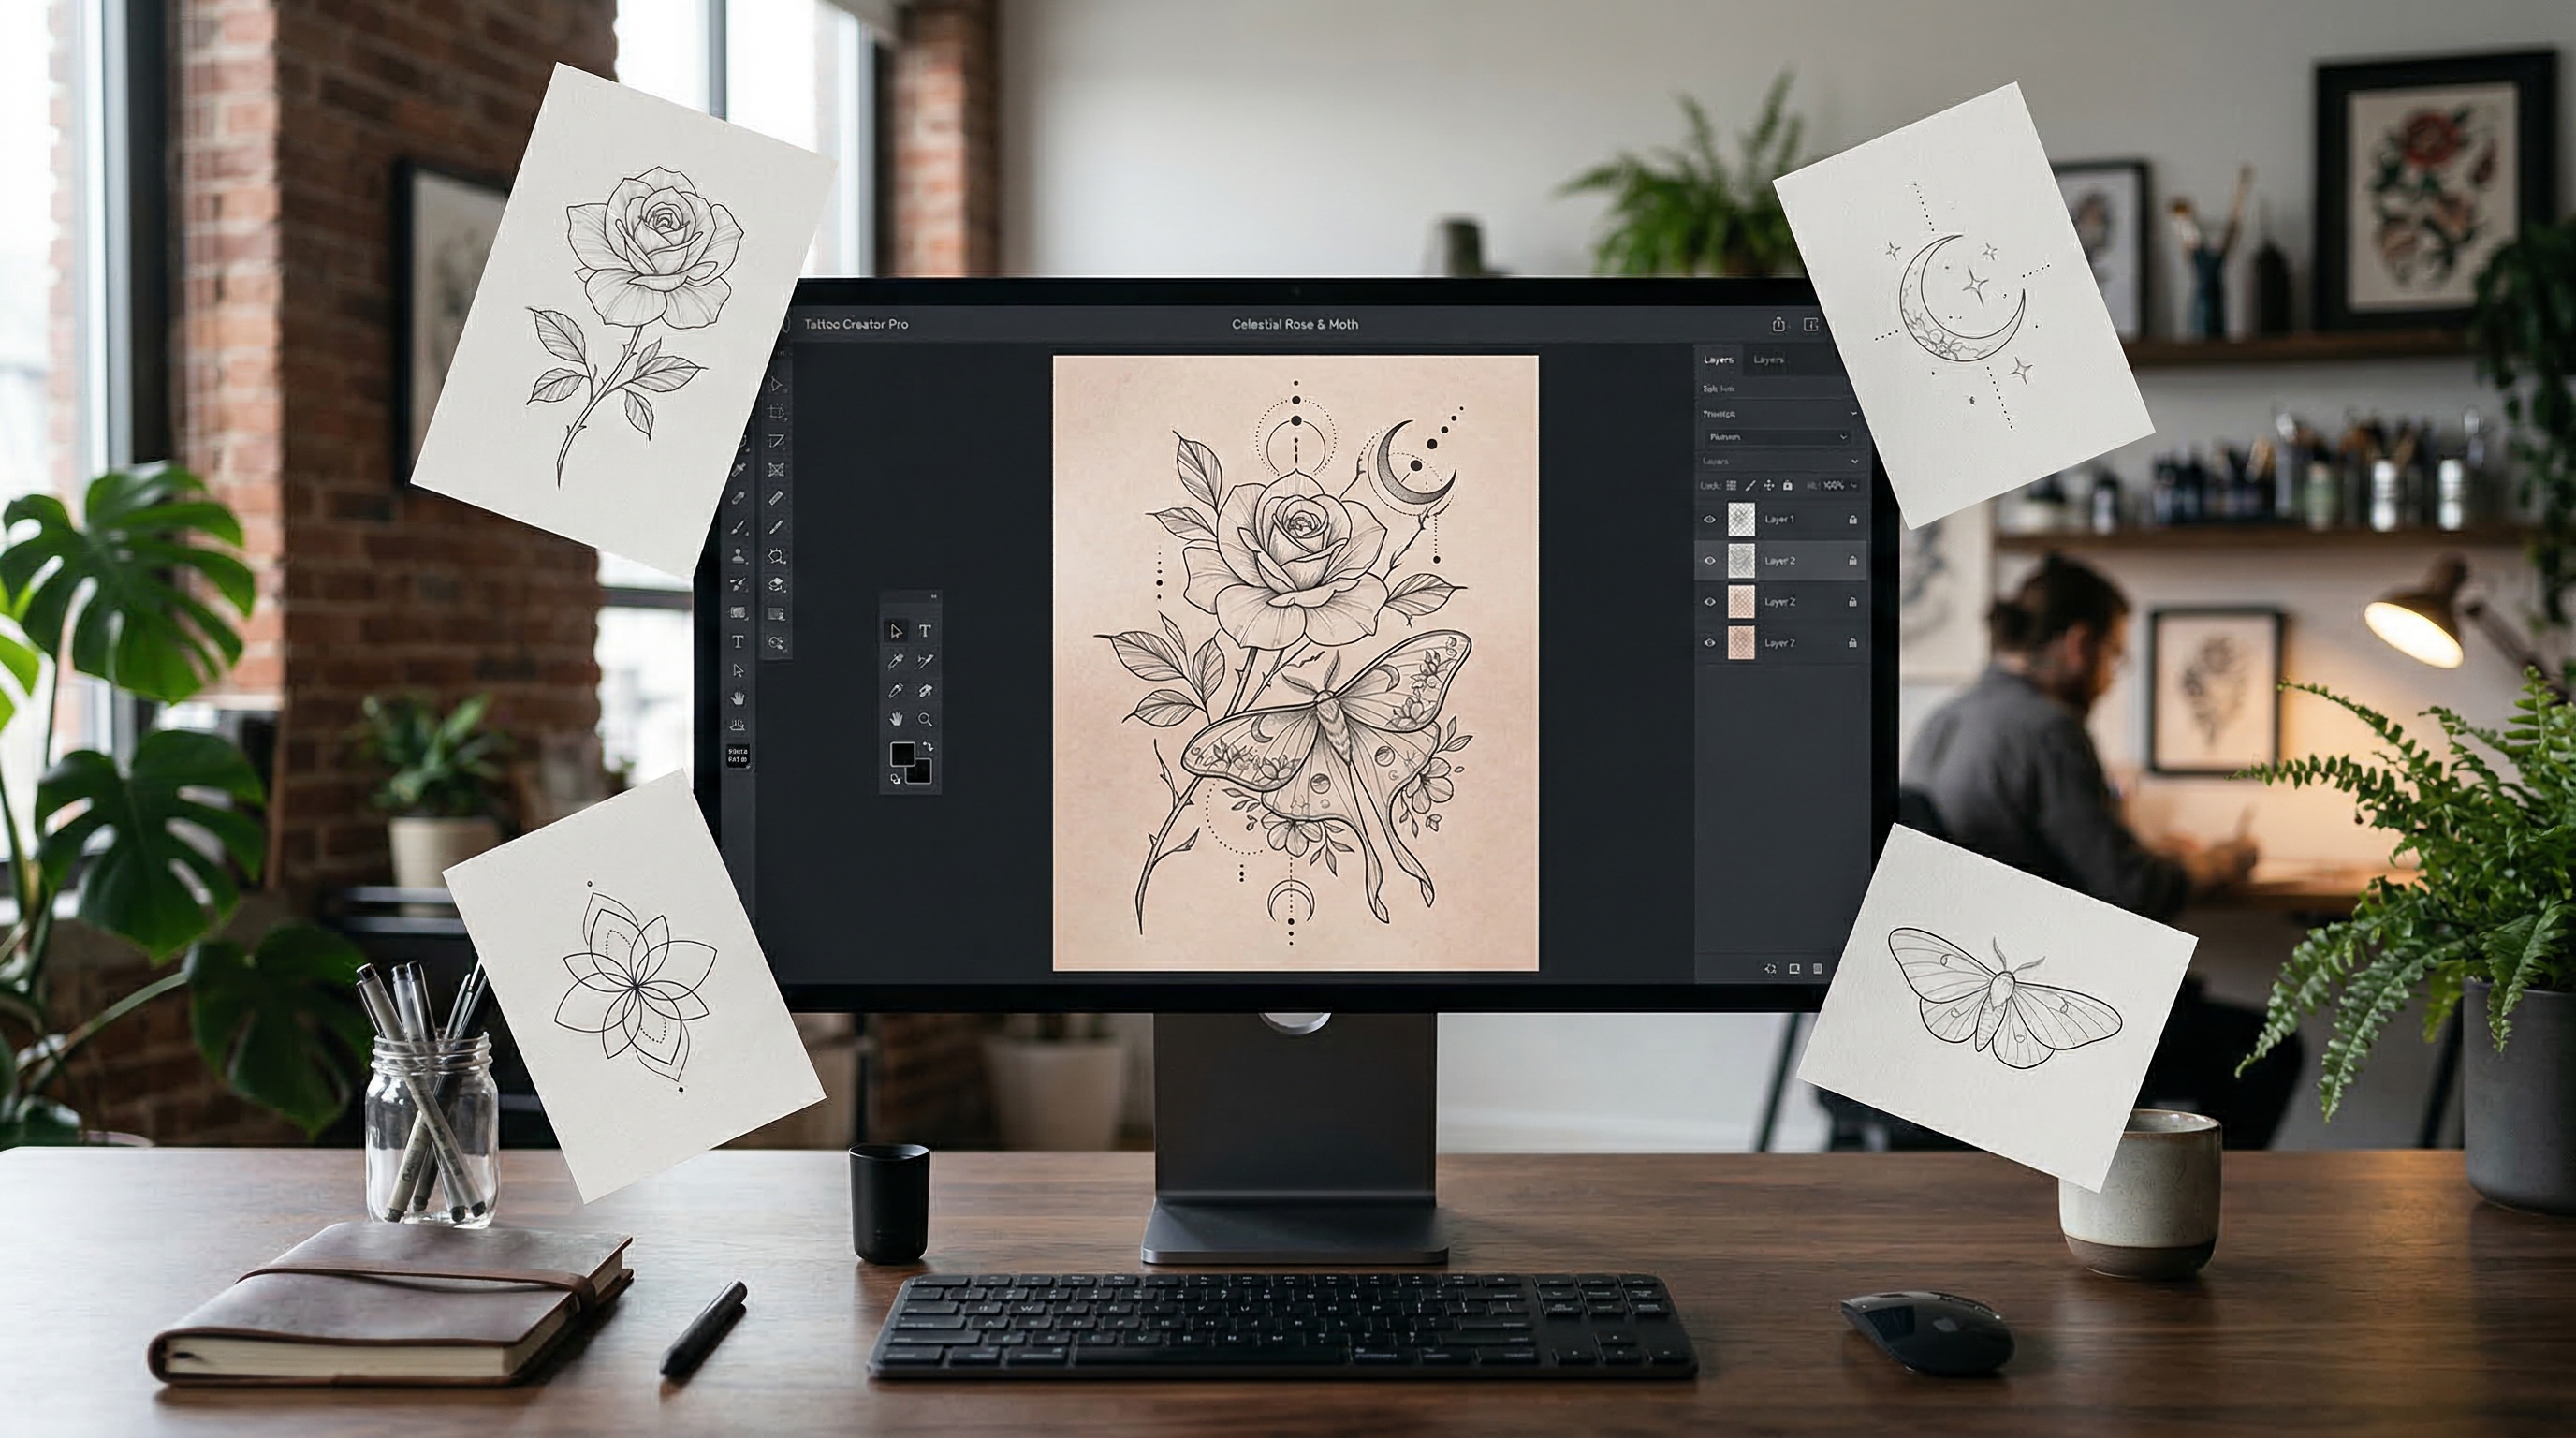
Step 1: Prep your inputs (quality starts here)
You typically have two input routes:
Route A: Design-first (fast and clean)
- upload your tattoo design (transparent PNG if possible)
- choose a neutral base or template skin image
Route B: Client-photo try-on (most convincing)
- use a real photo of the client’s body zone (with permission)
- overlay the design at the right angle and scale
Input rules that help immediately:
- use sharp, well-lit photos (avoid heavy shadows or low light)
- keep the body area unobstructed (avoid busy clothing patterns)
- match the tattoo angle to the photo perspective (don’t fight physics)
Step 2: Choose one motion plan (one shot, one idea)
Reliable motion choices for tattoo previews:
- slow push-in
- gentle pan left/right
- slight handheld sway (very subtle)
- micro breathing movement (especially ribs/side)
What to avoid:
- fast spins
- whip pans
- extreme zooms
- complex body motion
You want the client watching the tattoo — not noticing the AI.
Step 3: Use a controllable prompt structure
A repeatable prompt order:
Placement + realism + camera + motion + quality constraints
Example skeleton:
“Tattoo design placed on [body area], realistic skin texture, lighting matches the photo, tattoo stays locked to skin, [camera move], [subtle motion], crisp edges, minimal distortion, stable placement.”
Step 4: Generate → review like an editor → iterate smart
The fastest way to improve results is to change one variable at a time:
- first try: basic realistic prompt
- second try: adjust camera move
- third try: reduce motion intensity
Avoid prompt bloat. The more directions you stack, the more the tool improvises.
Ready-to-use prompts (Tattoo Designer Edition)
Below are prompts designed for an ai tattoo video generator workflow. Replace bracketed fields.
Quick tip: Keep it to one shot and 3–5 seconds for the cleanest consult preview.
Prompt 1: Realistic on-skin preview (premium, subtle)
“Realistic tattoo placed on [body area], natural skin texture and pores visible, lighting matches the photo direction, tattoo ink looks integrated into skin, tattoo stays locked to skin with minimal warping, slow dolly-in, subtle breathing movement, crisp edges, stable placement, smooth motion, no flicker.”
Prompt 2: Consultation overlay look (clean and believable)
“Tattoo overlay on [body area], soft realistic blending, preserved highlights and shadows of skin, no sticker look, tattoo stays aligned and stable, gentle pan left, minimal distortion, clean lines, consistent exposure, smooth motion.”
Prompt 3: Placement A/B test (fast decision tool)
“Tattoo design on [body area] with accurate scale, realistic skin texture, stable placement, slow pan across the tattoo, subtle natural movement, crisp edges, minimal warping, smooth motion, client-preview style.”
(Repeat with Placement A then Placement B — keep everything else the same.)
Prompt 4: Flash-to-portfolio “living frame”
“Tattoo flash design showcased on [body area], clean presentation, cinematic soft lighting, tattoo ink integrated into skin, slow push-in, subtle parallax, crisp linework, stable edges, smooth motion, premium portfolio reel look.”
Prompt 5: A quick “tattoo try on video” style clip
“Short tattoo try on video preview: tattoo on [body area], realistic blending into skin, stable placement, gentle handheld sway, subtle breathing, clean edges, minimal distortion, smooth motion, no flicker, no warping.”
Optional negative prompt (artifact control)
Use a short negative list to reduce common issues:
“wobbling edges, warped lines, drifting placement, flicker, jitter, sticker look, plastic skin, distorted body shape, double outlines, blurry ink, heavy noise, text artifacts, watermark”
Common problems (and fast fixes)
Problem: The tattoo edges wobble
Fix: reduce motion intensity + add “crisp edges, minimal warping, stable lines.”
Problem: The tattoo slides or drifts off placement
Fix: choose a simpler camera move + add “tattoo stays locked to skin, stable placement.”
Problem: The tattoo looks like a sticker
Fix: add “natural skin texture visible through ink, preserved highlights and shadows, soft blending.”
Problem: Flicker and jitter
Fix: fewer motion cues + consistent lighting notes + shorter clip duration.
Problem: Skin looks too smooth / plastic
Fix: specify “realistic pores and skin texture, natural lighting, soft shadows.”
Best practices tattoo designers can reuse every day
- Keep previews short (3–5 seconds) for the most stable output
- Use one camera move per clip
- Save “style presets” (Fine Line, Blackwork, Traditional, Realism)
- Present 2–3 options max in consultations (avoid decision fatigue)
- Label previews clearly as concept visualization (client trust matters)
Ethics and consent (important)
- Use client photos only with permission.
- Don’t promise healed outcomes — this is a visualization tool.
- If you post previews publicly, avoid implying the tattoo already exists unless it does.
Final recommendation: Use it on Tattoo AI for a fast, designer-friendly workflow
If you want a clean “upload → prompt → generate → iterate” workflow without turning your consult into a tech demo, I recommend using the generator directly on Tattoo AI.
Here’s a simple repeatable flow:
- upload the body photo (or your mockup)
- generate a realistic on-skin clip
- generate an overlay-style variant for clarity
- export the best 3–5 second preview for the client
That’s exactly where an ai tattoo video generator becomes practical — not as a gimmick, but as a consultation accelerator and a portfolio builder.
If your goal is to deliver confident previews quickly, the tattoo video generator ai on Tattoo AI is a strong place to start, especially when you want stable placement, clean edges, and easy iterations for real client decisions.