A tattoo stencil is not just a cool image turned black and white. It is a working blueprint. If the silhouette is muddy, the line hierarchy is weak, or the details collapse at real tattoo size, the design may look impressive on screen but become frustrating in practice. That is why Seadream 5.0-style prompting is useful for tattoo creation: it pushes you to think about composition, readability, and placement before you chase polish.
There is one practical note to keep in mind. On TattooDesign AI, the live model page currently centers on Seedream, which is the on-site tool you can actually use for generation and iteration, while the blog’s Seedream 5.0 content is better understood as a workflow guide and prompting reference. In other words, you can use Seadream 5.0 ideas to plan the design, then run the workflow through the available model and supporting tools on the platform.
Start with the stencil goal, not the artwork fantasy
The fastest way to get a weak stencil is to begin with a vague idea like “make it dramatic” or “make it super detailed.” A stronger approach is to define what the stencil must do.
Ask three simple questions first. Is this an outline-only stencil? Is it a stencil with secondary internal detail lines? Or is it a flash-style concept sheet meant to explore several options before refinement? Once you know that, define the intended placement and approximate size. A calf piece can hold different density than a wrist tattoo. A sternum design needs balance. A forearm piece needs flow.
If you are not fully sure about subject, mood, or style direction, begin with an ai tattoo workflow first. That is often easier than forcing a stencil prompt too early. You can use it to test concepts like “blackwork snake,” “fine-line peony,” or “ornamental moon sternum piece,” then take the most readable result into a more stencil-focused pass.
Write prompts for linework, not for glossy illustration
This is where many people lose the tattoo feel. They write prompts as if they are making poster art, fantasy concept art, or polished digital painting. A tattoo stencil needs a different language.
Instead of describing cinematic lighting, lush rendering, or painterly texture, build your prompt around line quality and structure. Good phrases include: clean black ink linework, high-contrast tattoo design, strong outer silhouette, controlled internal detail, negative space preserved, tattoo-ready composition, stencil-friendly layout, and body-placement aware design.
A useful prompt formula looks like this:
subject + style + placement + line quality + detail restraint + stencil intent
For example: “blackwork serpent wrapped for outer forearm, clean black ink linework, bold outer contour, limited internal scales, negative space preserved, tattoo stencil layout, high readability.”
When you want a more design-specific workflow, this is a good moment to use a tattoo stencil maker. It helps translate the idea into a clearer tattoo layout instead of leaving it at the level of a general image prompt.
Build around silhouette first, then detail
A strong tattoo stencil is readable from a distance. Before you care about ornaments, textures, or tiny secondary marks, check the silhouette. Can you still understand the subject if you blur the design mentally? Does the main shape carry the idea?
This matters because AI often over-decorates. It fills space simply because it can. But tattooing rewards restraint. Too much detail can make the stencil harder to place, harder to scale, and harder to cleanly execute.
That is why the smartest workflow inside Seedream is usually not “generate one perfect image.” It is “generate several compositions, compare the silhouettes, and keep the clearest structure.” Once you have the right shape language, then refine secondary details.
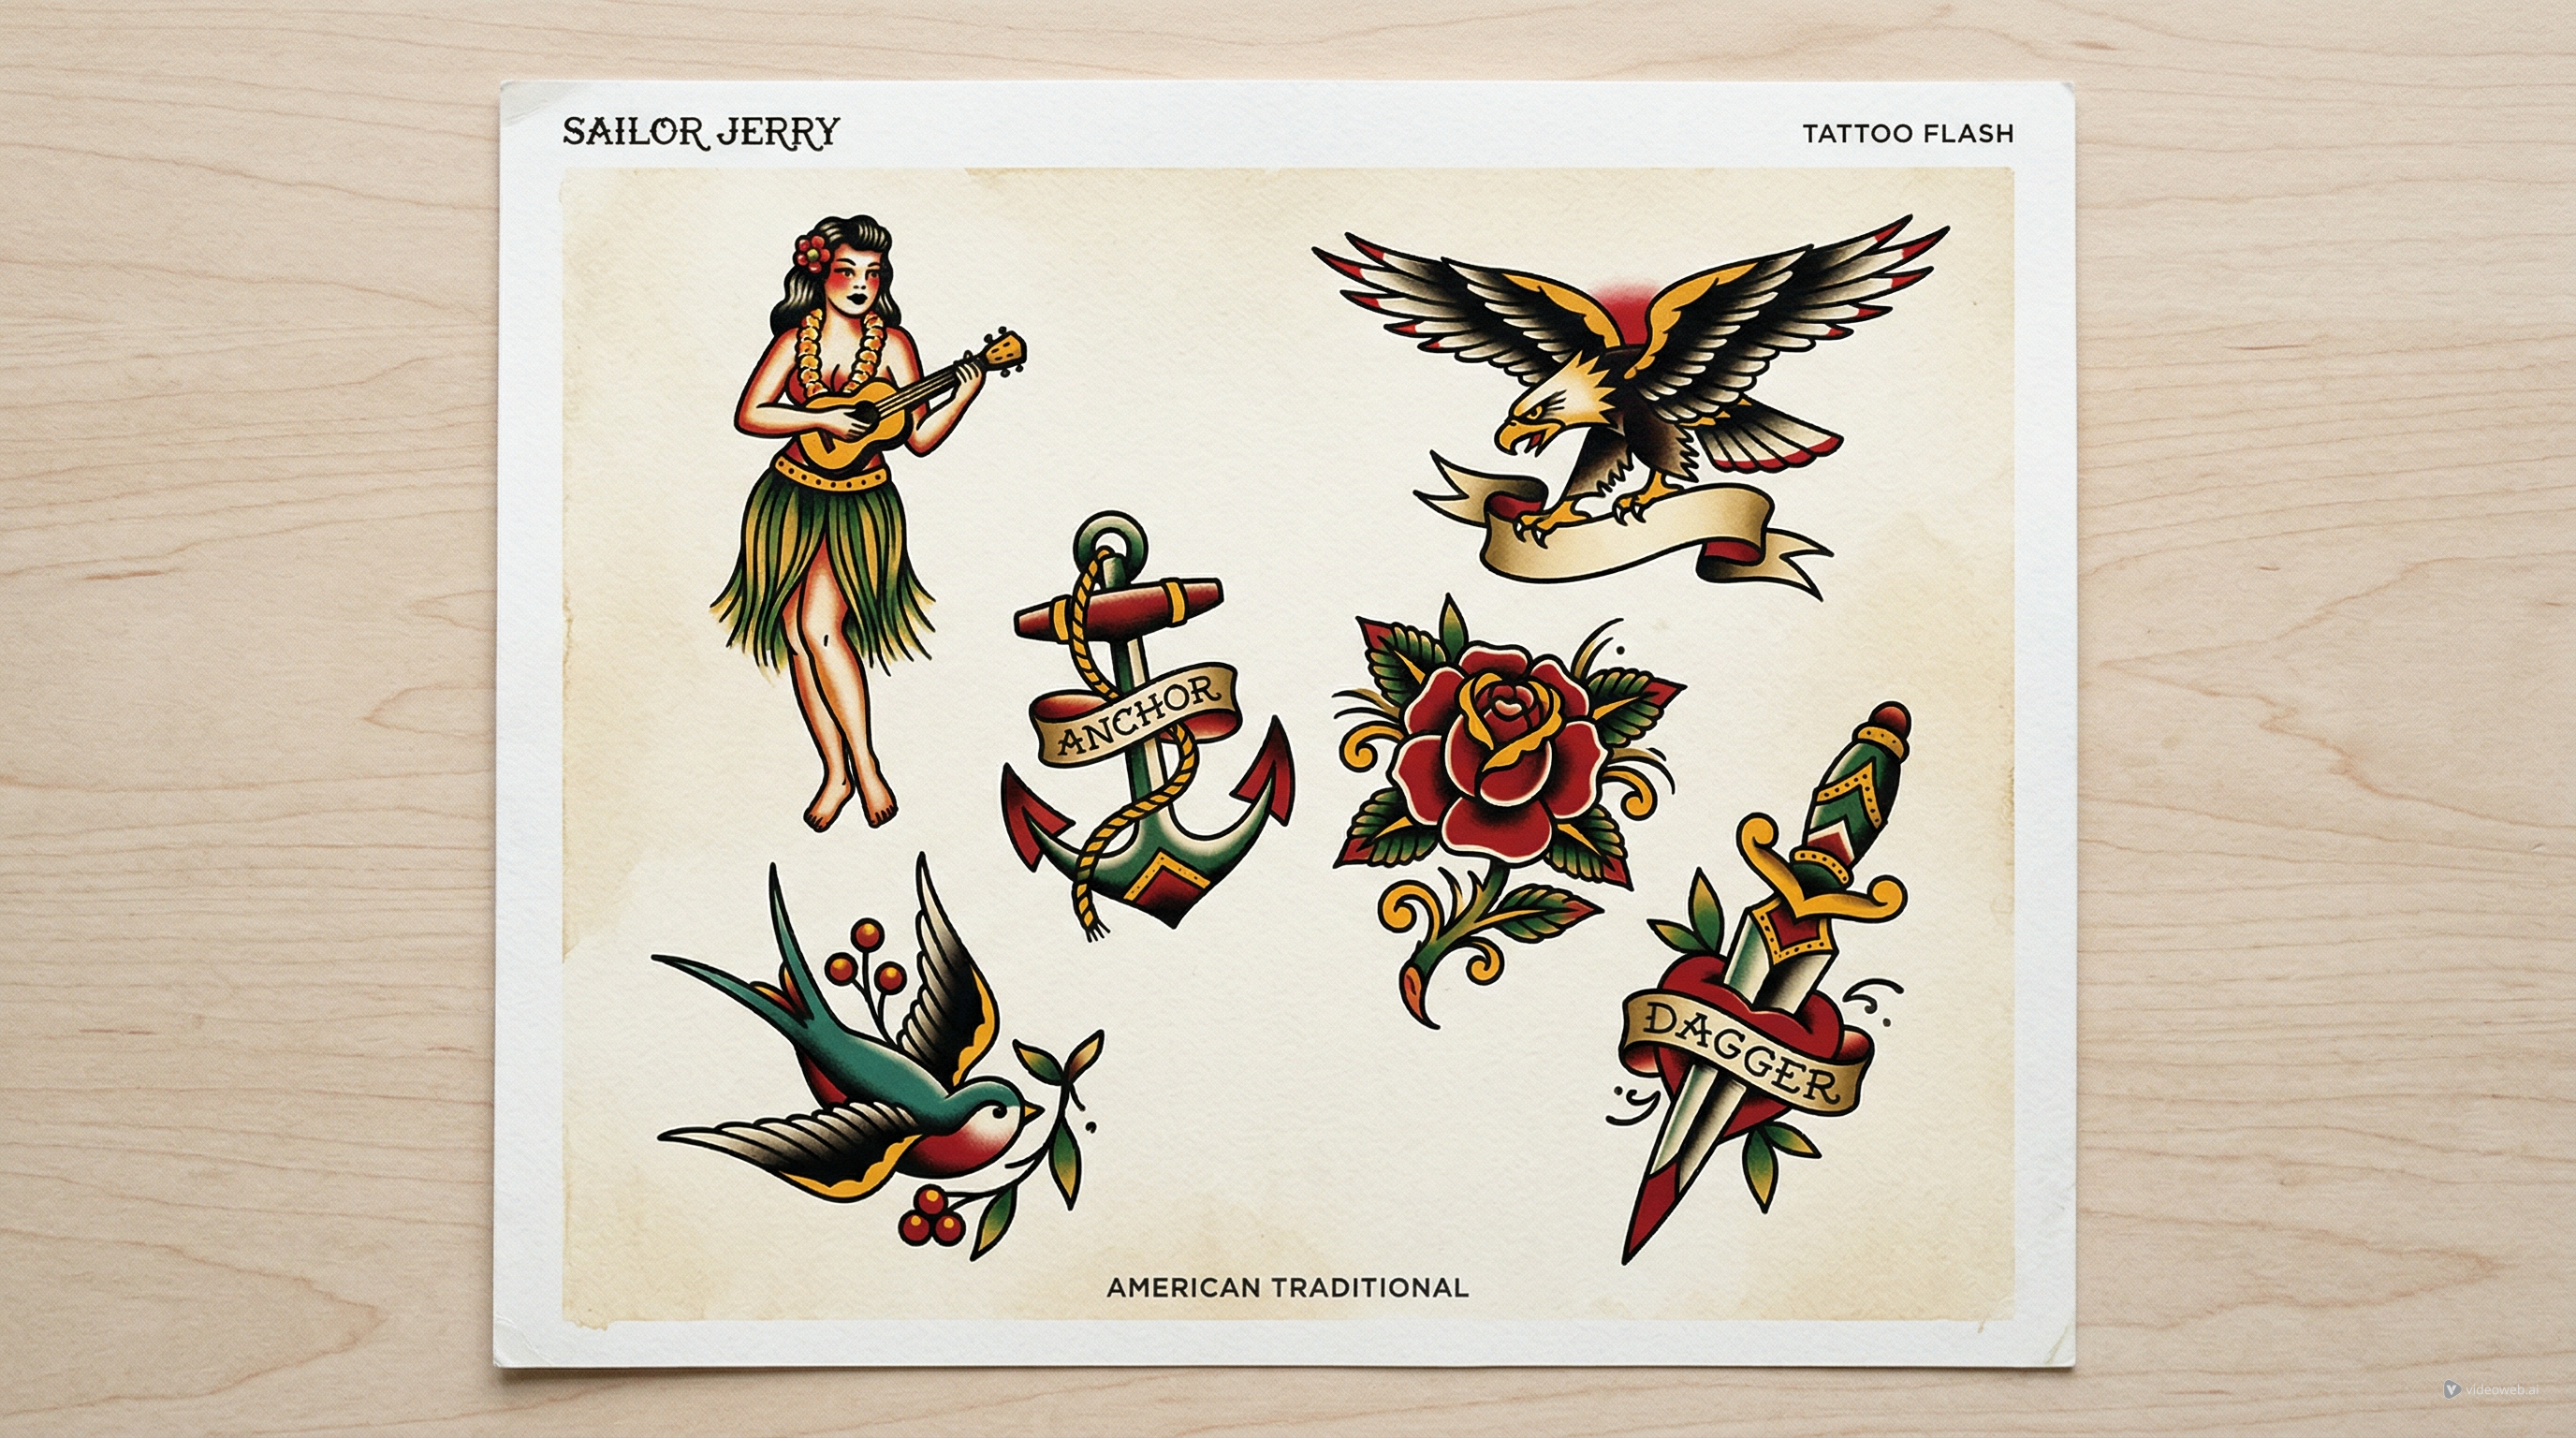
For example, a rose-and-dagger design may need only three things to succeed: a clean central axis, petal masses that read clearly, and enough open space to separate blade, stem, and bloom. The best stencil version is often the simplest one, not the most decorated one.
Avoid the mistakes that make AI tattoo stencils unusable
Most bad AI stencil attempts fail in predictable ways. The first is micro-detail overload. Fine textures, tiny background elements, and overly busy shading may look exciting in a preview, but they often make the design less practical.
The second is weak hierarchy. If every line has equal visual importance, the eye does not know what to read first. Strong tattoo stencils usually have a clear dominant contour, secondary form lines, and only then optional small accents.
The third is body mismatch. A design that looks centered and beautiful on a blank canvas may twist awkwardly on an arm, collapse on a curved shoulder, or lose balance at smaller sizes.
A more reliable workflow is to generate broad variants first, reject anything muddy, and then simplify aggressively. That is also where an ai tattoo tool can help again: it is useful for fast concept branching before you commit to a more exact stencil pass.
Refine for placement before you call it finished
Tattoo stencils do not live in a vacuum. They live on skin, across muscles, around joints, and at sizes that change how detail behaves. So before you finalize a design, translate the idea from “screen composition” into “body composition.”
A forearm stencil benefits from vertical flow. A shoulder cap needs a shape that wraps cleanly instead of flattening awkwardly. A sternum piece depends on symmetry and central balance. A calf design often works better when it has a strong central mass with a taper at top or bottom.
This is why TattooDesign AI’s other tools matter. After you create the design, use AI Tattoo Try On to preview how the piece behaves on a body photo. That step often reveals problems that are invisible in the original generation stage, such as dead space, awkward tilt, or excessive density.
If you want a cleaner result after the first draft, return to the tattoo stencil maker and simplify again. In tattoo design, simplification is not a downgrade. It is often the point where the image becomes usable.
Why Seadream 4.5 is still the practical recommendation on TattooDesign AI
Even if your article or creative process is framed around Seadream 5.0 techniques, the practical recommendation on TattooDesign AI is still Seedream. That is the live model page designed for generation and editing tasks where consistency, structure, and visual continuity matter.
For tattoo work, that makes sense. Stencil creation is less about flashy rendering and more about predictable shape control. A model that holds structure well can be more useful than one that simply adds more texture or complexity.
That is the best way to think about the Seadream 5.0 discussion here: not as a contradiction, but as a workflow bridge. Use the Seedream 5.0 tattoo guide mindset for prompting, then use the available model and TattooDesign AI tools for execution.
A practical TattooDesign AI workflow from idea to stencil
A simple workflow looks like this.
First, explore ideas with ai tattoo. Use it when your concept is still broad and you need subject, style, or mood direction.
Second, move into Seedream for more controlled image generation and iteration. Focus on silhouette, line hierarchy, and negative space rather than decorative polish.
Third, refine the best concept with the tattoo stencil maker so the design shifts from inspiration image toward a clearer tattoo plan.
Fourth, preview placement with AI Tattoo Try On to see how the piece behaves on real body positioning.
Finally, if you are preparing client-facing content or social media previews, turn the idea into motion with AI Tattoo Video Generator. That is not necessary for stencil design itself, but it can help communicate the concept more clearly.
Final takeaway
Using Seadream 5.0 to create a tattoo stencil is really about adopting a tattoo-first mindset. The goal is not maximum detail. The goal is readable structure, controlled linework, smart negative space, and a design that still works once it leaves the screen.
That is why the most useful workflow is practical rather than theoretical. Use Seadream 5.0-style prompting to think better. Use Seedream on TattooDesign AI to generate and refine. Use an ai tattoo tool when you need faster concept discovery. Use the tattoo stencil maker when you are ready to turn an image idea into a more usable design plan.
If you treat the stencil as a working tattoo blueprint instead of a pretty AI picture, your results will improve immediately.
Reading recommendation
To go deeper into this topic, continue with these related guides on TattooDesign AI:
- Seedream 5.0 Tattoo Design Guide: Prompts, Styles, and Pro Tips on
- Seedream 4.5 Unrestricted for AI Tattoo Generation: A Learner Guide
- Best Free Text-to-Tattoo AI Generators in 2026 (Plus a Top Pick)
- How to Use an AI Tattoo Generator to Create Needle-Ready Designs in Minutes
- How to Try On the Tattoo on Your Body Photos: A Complete Guide to Virtual Ink