If you’ve ever tried generating tattoo ideas with an image model and thought, “This looks cool, but it won’t tattoo well,” you’re not imagining things. Tattoo-ready designs need different rules than posters or concept art. They need clean silhouettes, readable linework, intentional negative space, and a composition that still looks good when it’s wrapped around a human body.
This guide walks you through a practical, tattoo-first workflow using Seedream 5.0 image generation for tattoo design—including copy/paste prompt packs, stencil-friendly tricks, placement-aware prompting, and how to finish your idea using tools on TattooDesign AI.
Why Seedream-style image generation works well for tattoos
A good tattoo design usually has these traits:
- A strong silhouette (you can recognize it from a distance)
- Clear line hierarchy (primary outlines + optional secondary details)
- Controlled detail density (tiny details blur over time)
- Breathing room (negative space that keeps the design readable)
- Composition that fits placement (forearm flow ≠ shoulder cap flow)
Image generation is great for exploring motifs, composition, and style direction quickly. The key is to prompt for tattoo constraints from the start. That’s why using a tattoo-ready workflow on Seedream 5.0 for tattoo concepts is more productive than prompting like you’re making a wallpaper.
Before you generate: define your tattoo constraints first
This is the part most people skip—and it’s why their results look “AI-pretty” but not tattooable.
1) Placement
Pick one:
- forearm (vertical flow, readable from arm’s side)
- upper arm / bicep (rounded composition)
- shoulder cap (curved, radial)
- calf (tall, slightly curved)
- sternum / ribs (symmetry or graceful vertical)
- back (large-scale storytelling)
2) Size tier
Be honest about size. It determines detail:
- micro (coin-sized): bold shapes, minimal lines
- palm-sized: simple shading or dotwork
- half sleeve: layered motifs, medium detail
- full back: complex scene, multiple focal points
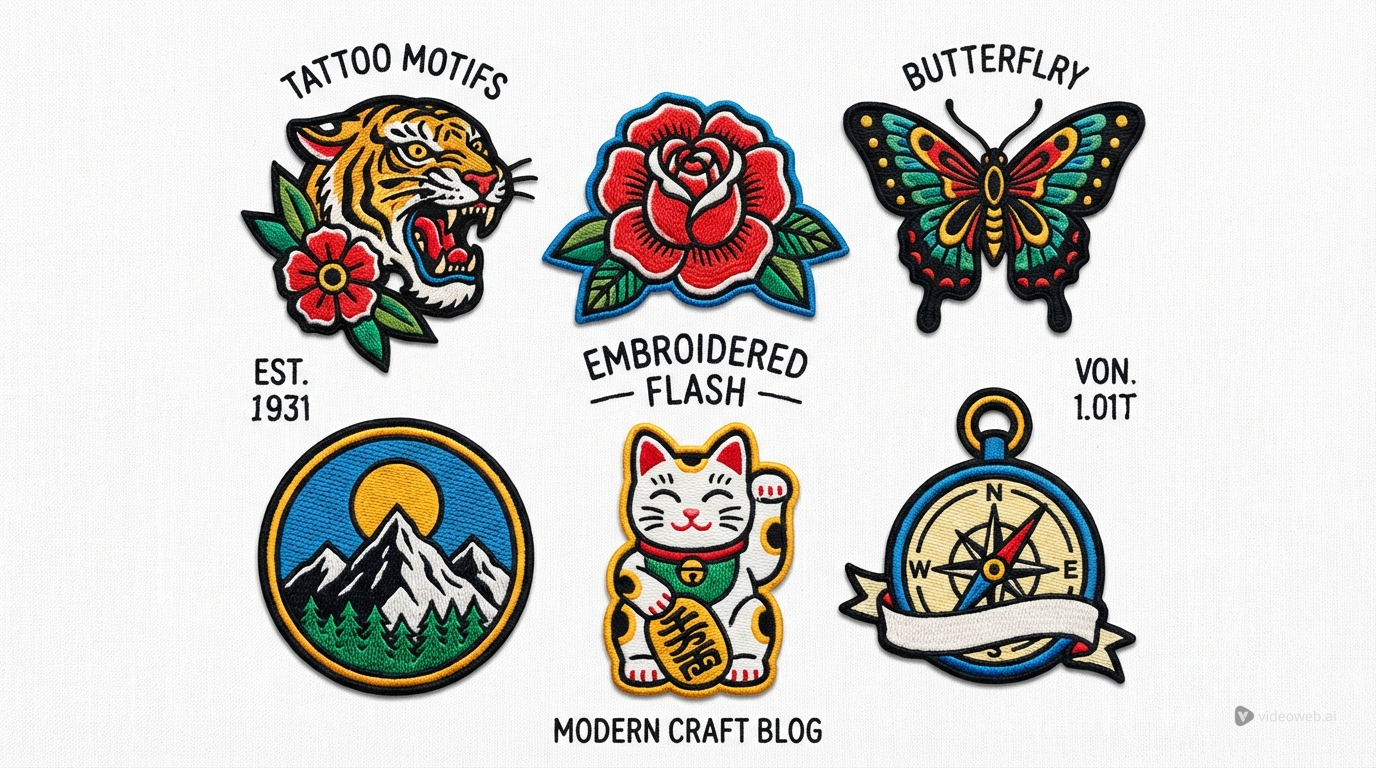
3) Style target
Choose one style as your “north star”:
- fine line / minimal
- blackwork
- dotwork
- geometric
- neo-traditional
- illustrative
- irezumi-inspired (Japanese-inspired)
Then open the generator: Seedream 5.0 image generation for tattoo design.
A prompt framework that produces tattooable results
Here’s a format that consistently improves outputs:
Subject + Style + Line Quality + Shading + Composition + Placement + Tattoo constraints
Add these “tattoo constraints” to your prompts
- “clean outlines”
- “high contrast”
- “tattoo stencil friendly”
- “balanced negative space”
- “no background clutter”
- “no text”
- “black ink only” (if you want it)
Example master prompt
A coiled snake around a peony, blackwork tattoo design, crisp clean outlines, bold silhouette, high contrast, dotwork shading only, centered vertical composition for forearm placement, balanced negative space, tattoo stencil friendly, no background, no text.
Run it on Seedream 5.0 for tattoo design, then iterate with small edits instead of rewriting everything.
Tattoo prompt packs (copy/paste)
Use these as starting points. Swap the subject words and placement.
Fine line / minimal (clean and elegant)
Template
[SUBJECT], fine line tattoo design, delicate single-needle style, clean thin outlines, minimal shading, lots of negative space, centered composition, no background, no text.
Examples
- “Botanical sprig of lavender, fine line tattoo design, delicate single-needle style…”
- “A small dagger with a tiny crescent moon, fine line tattoo design…”
- “Moon phases in a vertical line, fine line tattoo design, minimal shading…”
Generate variations with Seedream 5.0 tattoo image generation.
Blackwork / high contrast (bold and timeless)
Template
[SUBJECT], blackwork tattoo design, thick clean outline, strong silhouette, solid black fill with minimal negative space highlights, high contrast, stencil friendly, no background, no text.
Examples
- “Raven perched on a branch, blackwork tattoo design…”
- “Sacred heart with thorny vines, blackwork tattoo design…”
- “Wolf head front-facing, blackwork tattoo design…”
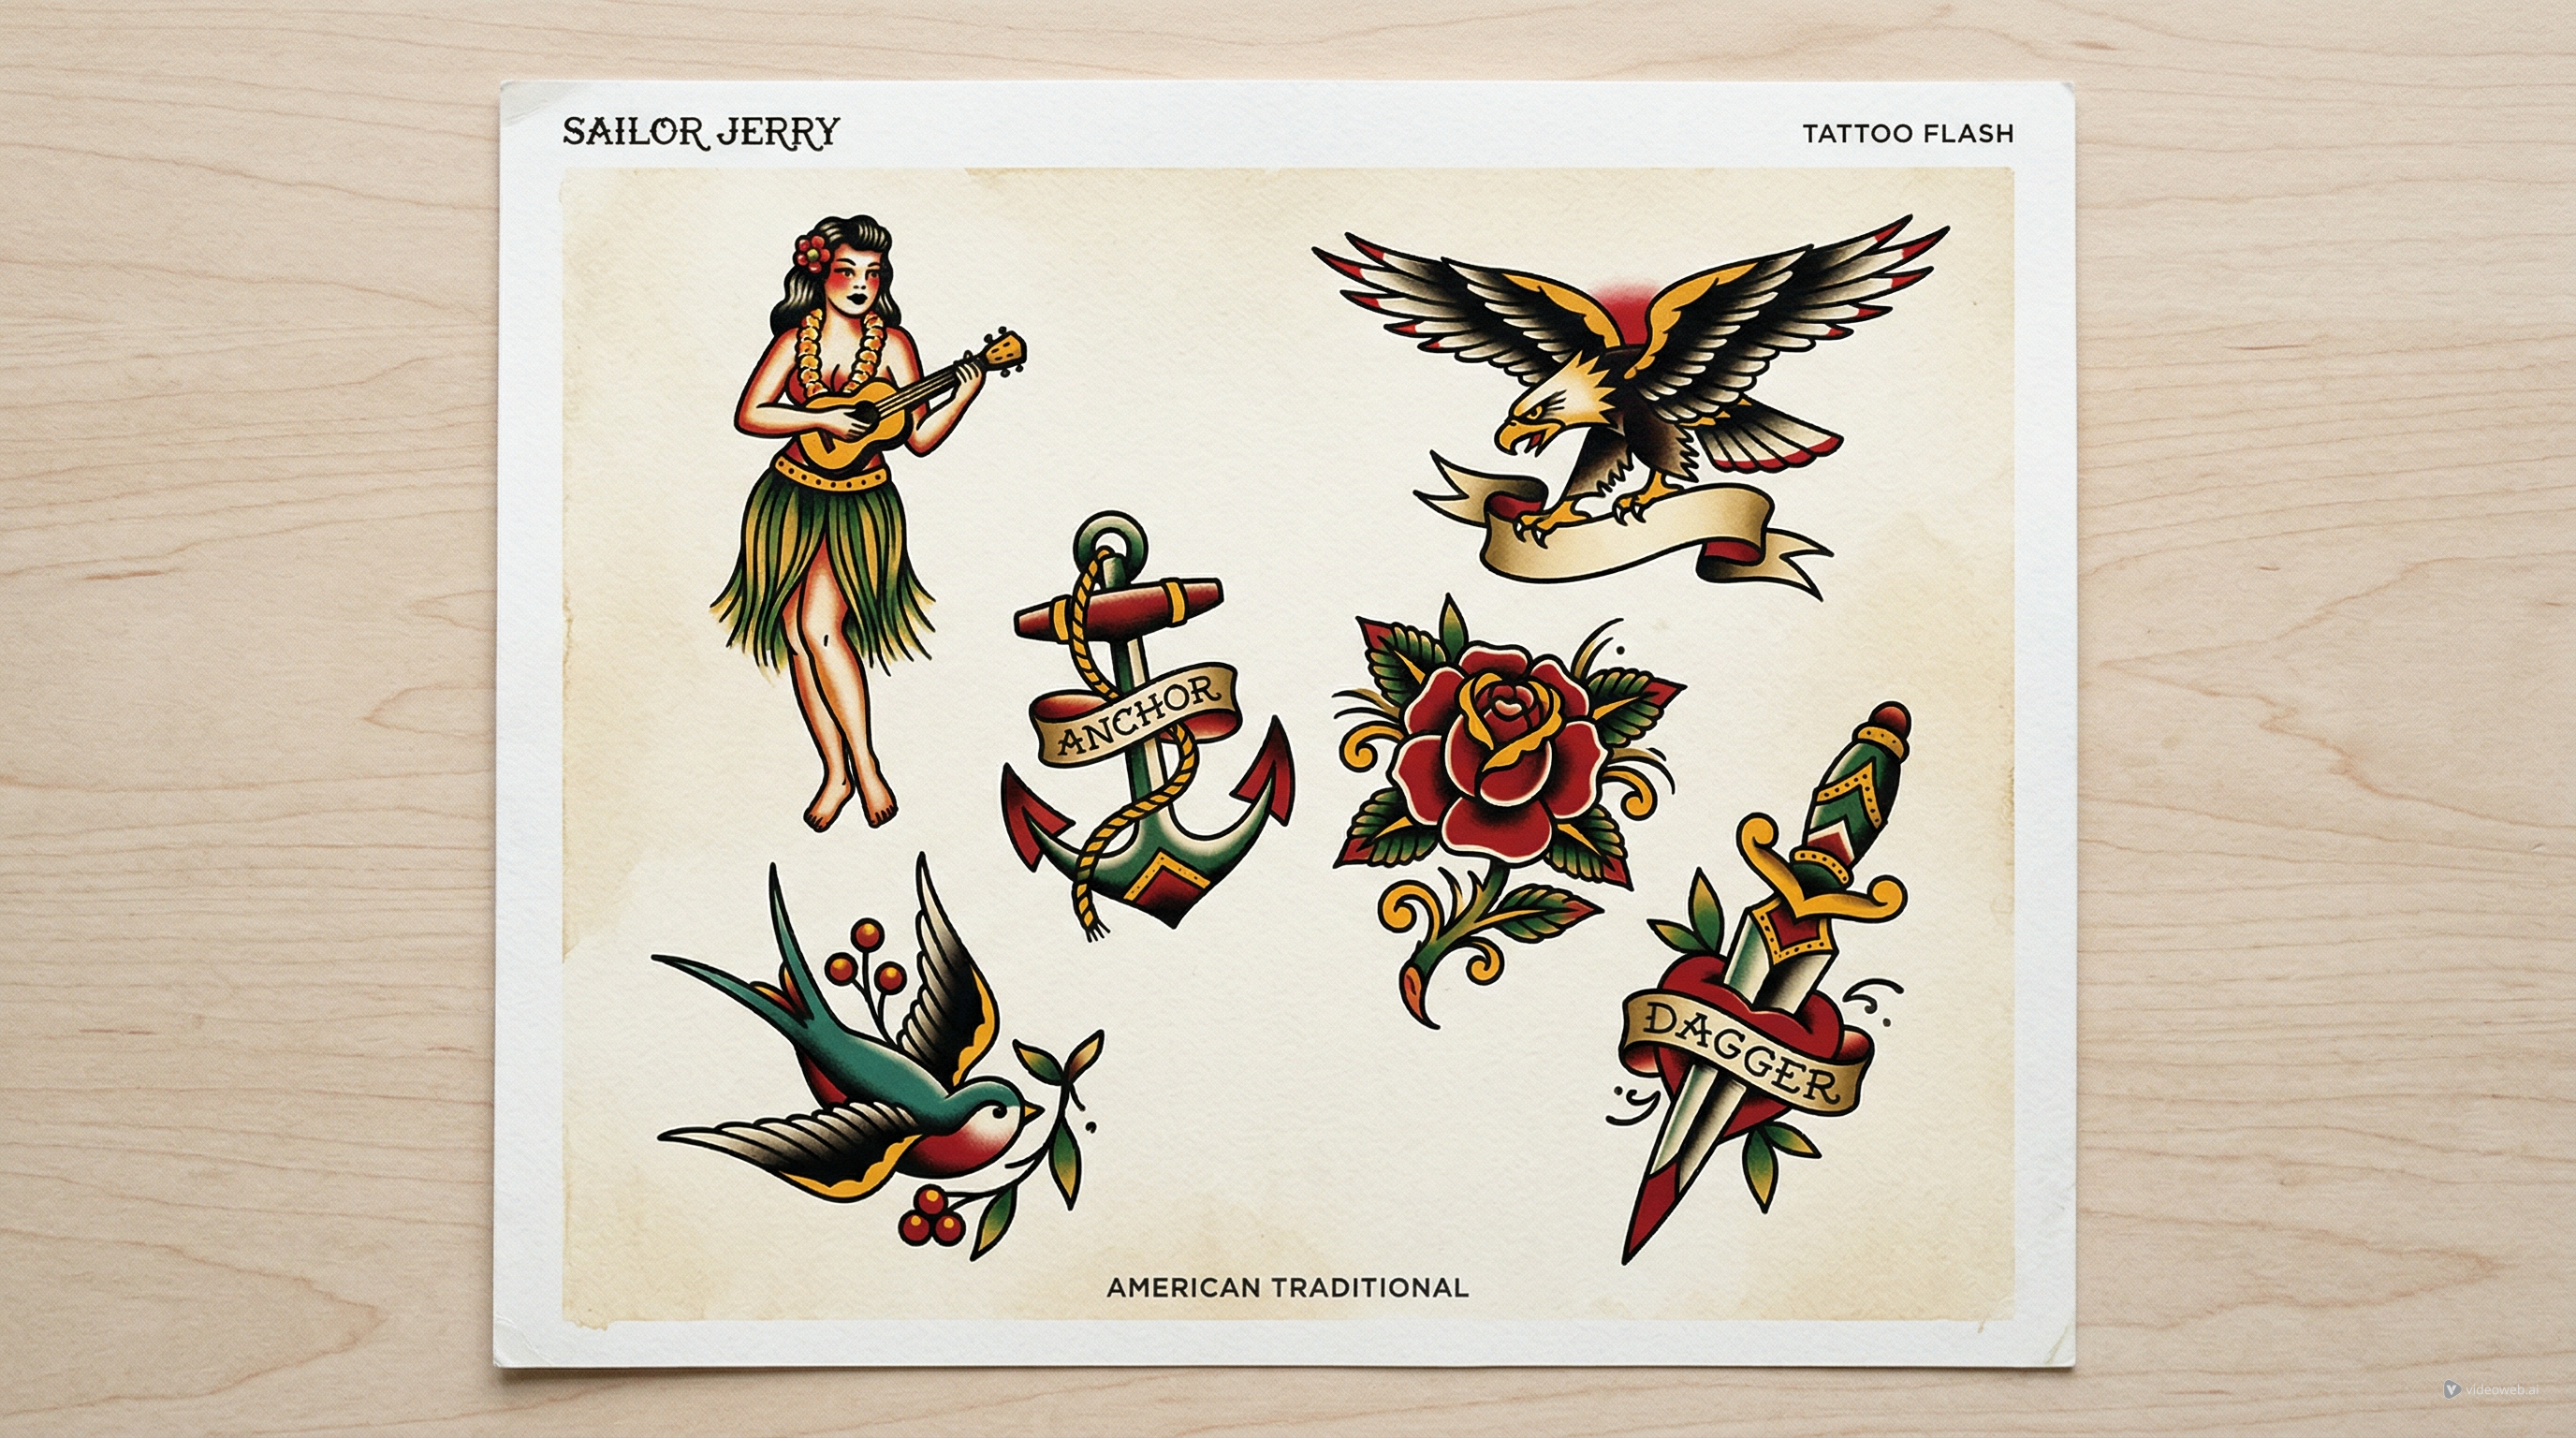
Neo-traditional (classic tattoo energy)
Template
[SUBJECT], neo-traditional tattoo flash style, bold outlines, limited color palette (or black and grey), clean shading, strong focal point, clean background, no text.
Examples
- “Panther head with roses, neo-traditional tattoo flash style…”
- “Rose and snake entwined, neo-traditional tattoo flash style…”
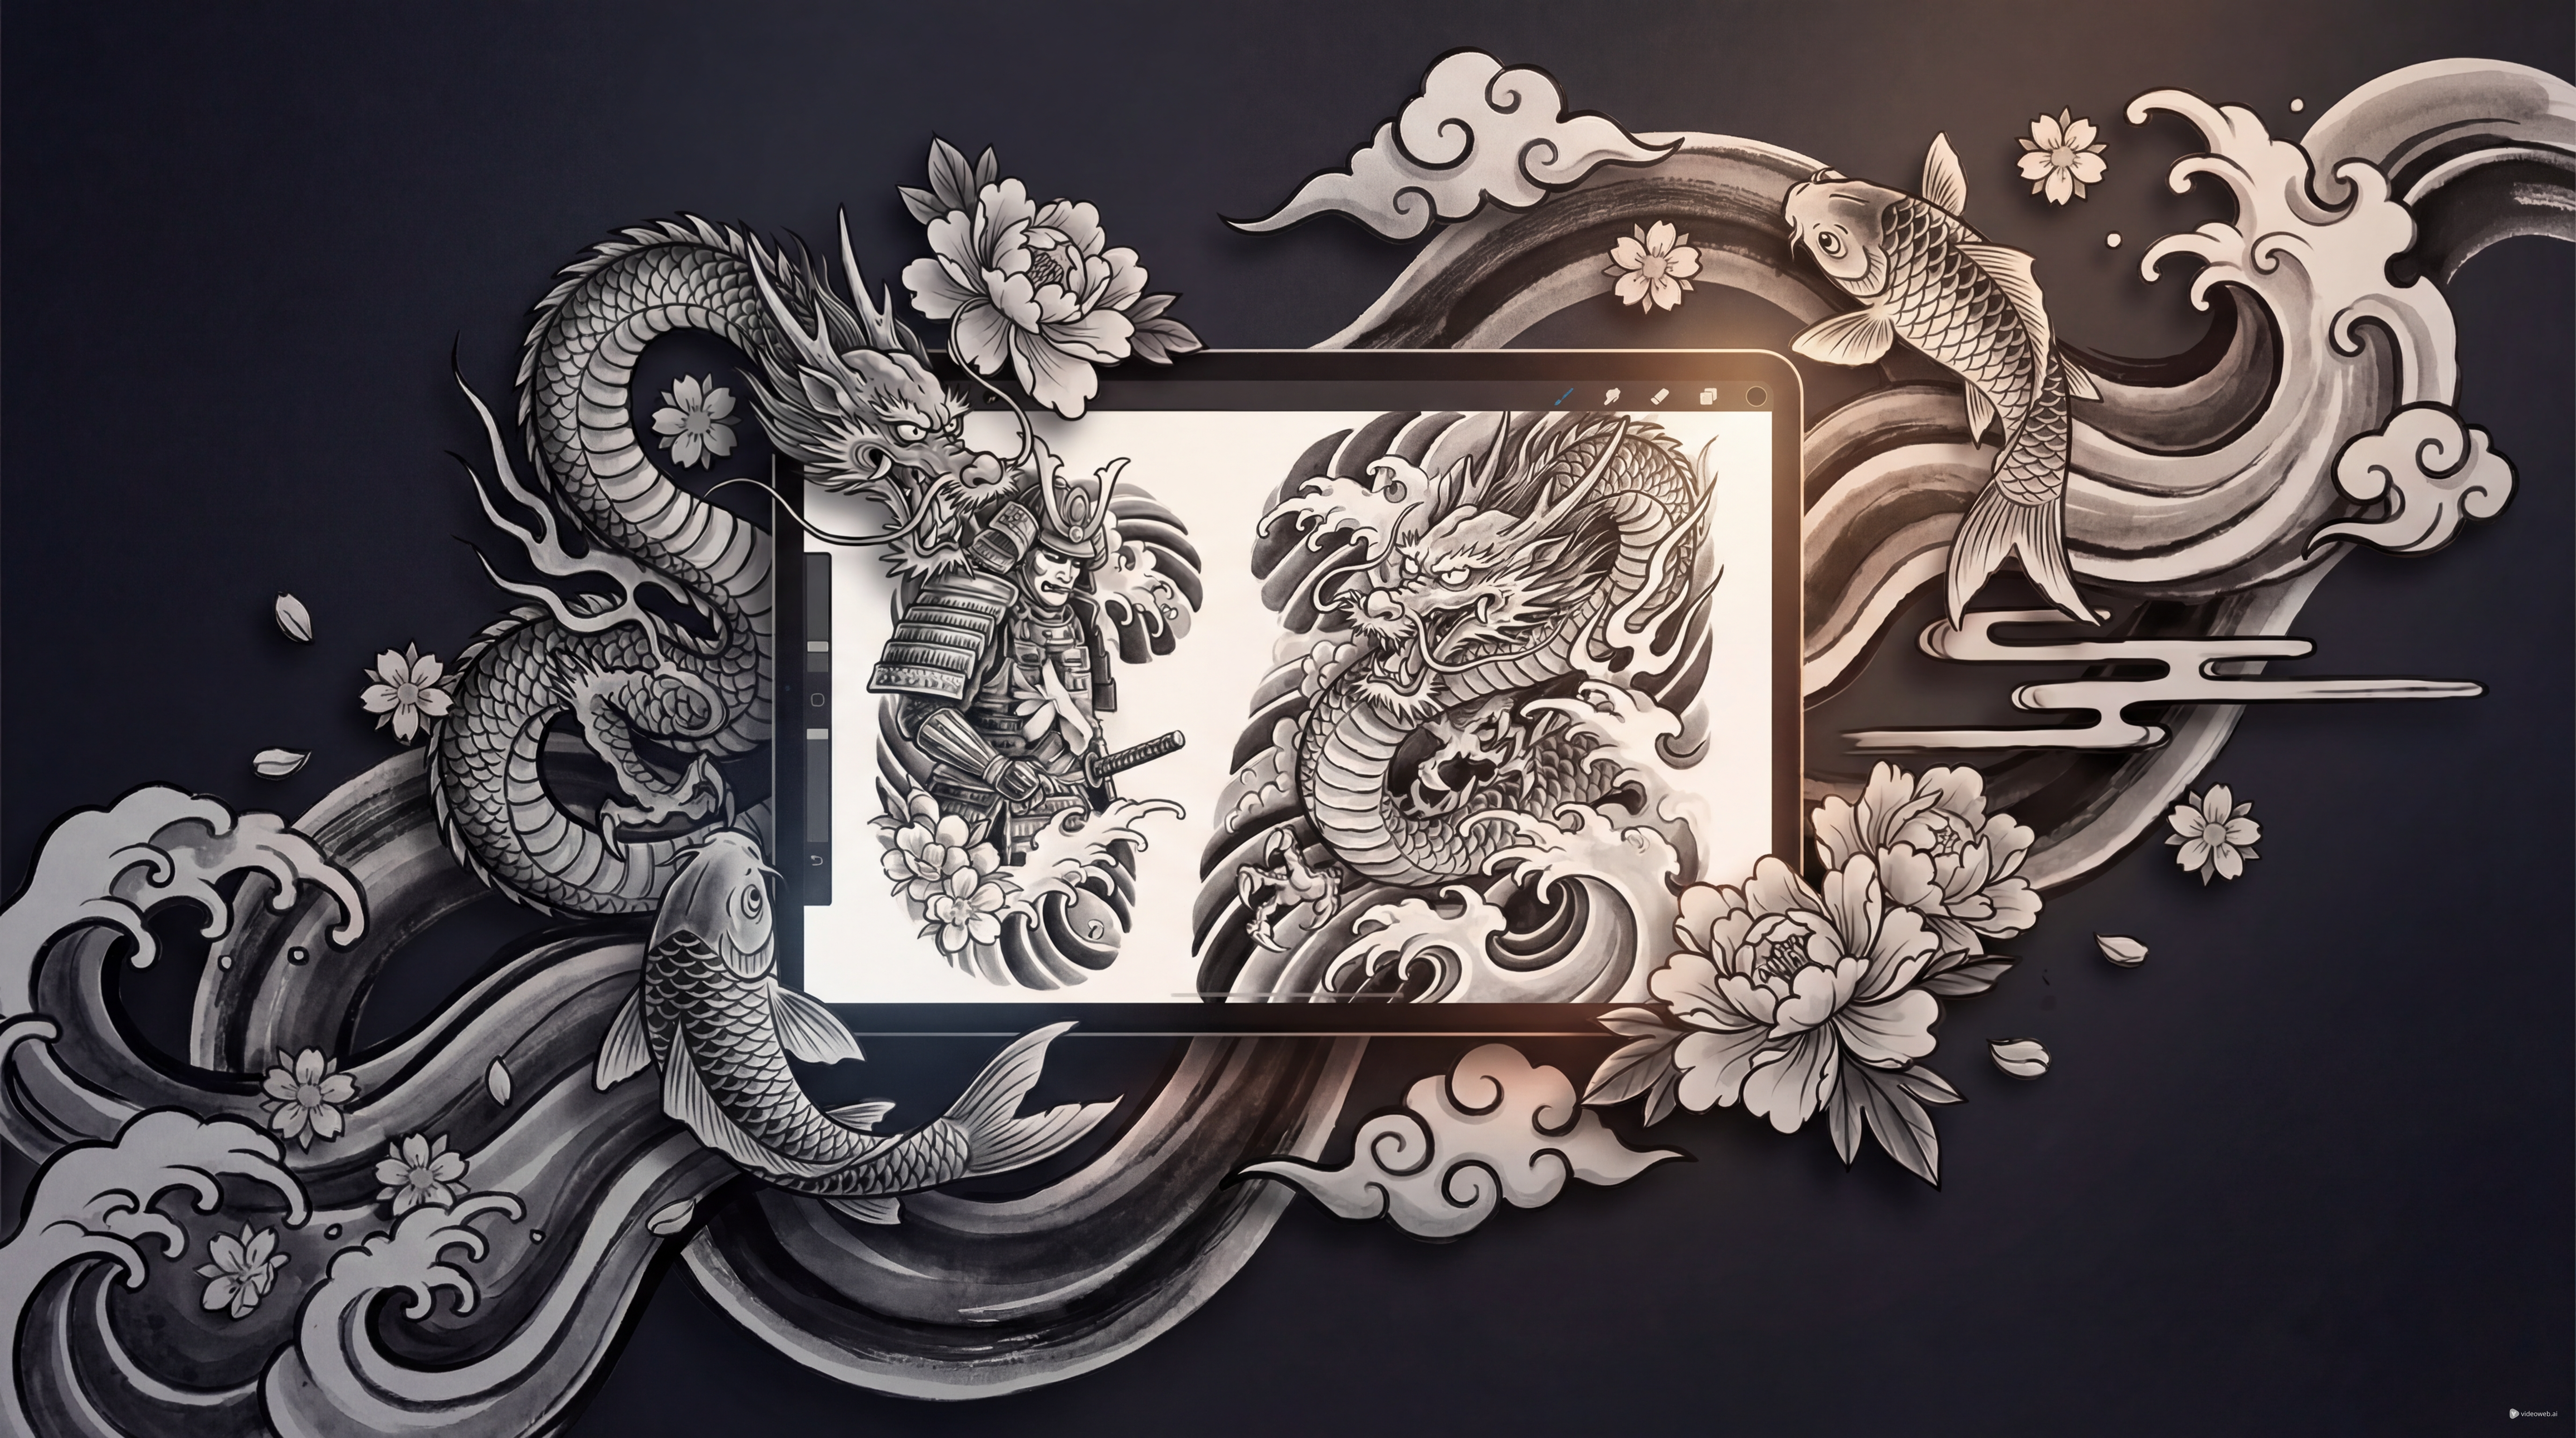
Japanese-inspired (irezumi-inspired)
Template
[SUBJECT], irezumi-inspired tattoo design, bold outlines, wave and wind motifs, dynamic flow, high contrast, limited shading, designed for [PLACEMENT], no background, no text.
Examples
- “Dragon head with waves and peonies, irezumi-inspired tattoo design…”
- “Koi fish swimming upstream with waves, irezumi-inspired tattoo design…”
Keep testing via Seedream 5.0 for tattoo concepts.
Make it stencil-ready: the “linework pass”
Most tattoo designs need a clean linework version before they’re usable. Even if you want shading, you’ll usually start with a stencil.
Prompts for a clean stencil
Try these phrases:
- “vector-like linework”
- “clean ink outline”
- “no gradients”
- “no painterly textures”
- “black ink only”
- “outline + solid fill”
Stencil prompt example
A stag skull with wildflowers, clean tattoo stencil, crisp black ink outlines, vector-like linework, no gradients, no background, no text, stencil friendly.
If you want a tattoo-first iteration workflow, generate and refine with AI Tattoo Generator.
Style control tricks that stop the model from drifting
When a model “drifts,” it usually means the prompt didn’t clearly lock what matters.
Use “must keep” rules
Add a short constraint block:
- “keep the silhouette unchanged”
- “keep the central motif the same”
- “keep symmetry”
- “do not add extra objects”
Use composition controls
These help a lot for tattoos:
- “front-facing”
- “centered”
- “flat graphic style”
- “no perspective distortion”
- “vertical composition”
Use negative constraints
Always include:
- “no text”
- “no watermark”
- “no background clutter”
If you’re generating on Seedream 5.0 image generation for tattoo design, keep your iterations small and consistent. Tiny prompt changes usually beat complete rewrites.
Placement and body flow: prompts that respect anatomy
A tattoo isn’t a flat poster. You want the design to “flow” with the body.
Placement-aware keywords
- Forearm: “vertical composition,” “tapered ends,” “readable at a glance”
- Shoulder cap: “radial composition,” “curved flow,” “wrap-around edges”
- Calf: “tall composition,” “slight curvature,” “bold silhouette”
- Sternum/ribs: “symmetrical,” “center line,” “elongated vertical”
Example placement prompt
A pair of mirrored swallows with a central rose, fine line tattoo, symmetrical sternum placement, elongated vertical flow, clean outlines, minimal shading, balanced negative space, no background, no text.
Before you commit, preview how it sits on skin using AI Tattoo Try On.
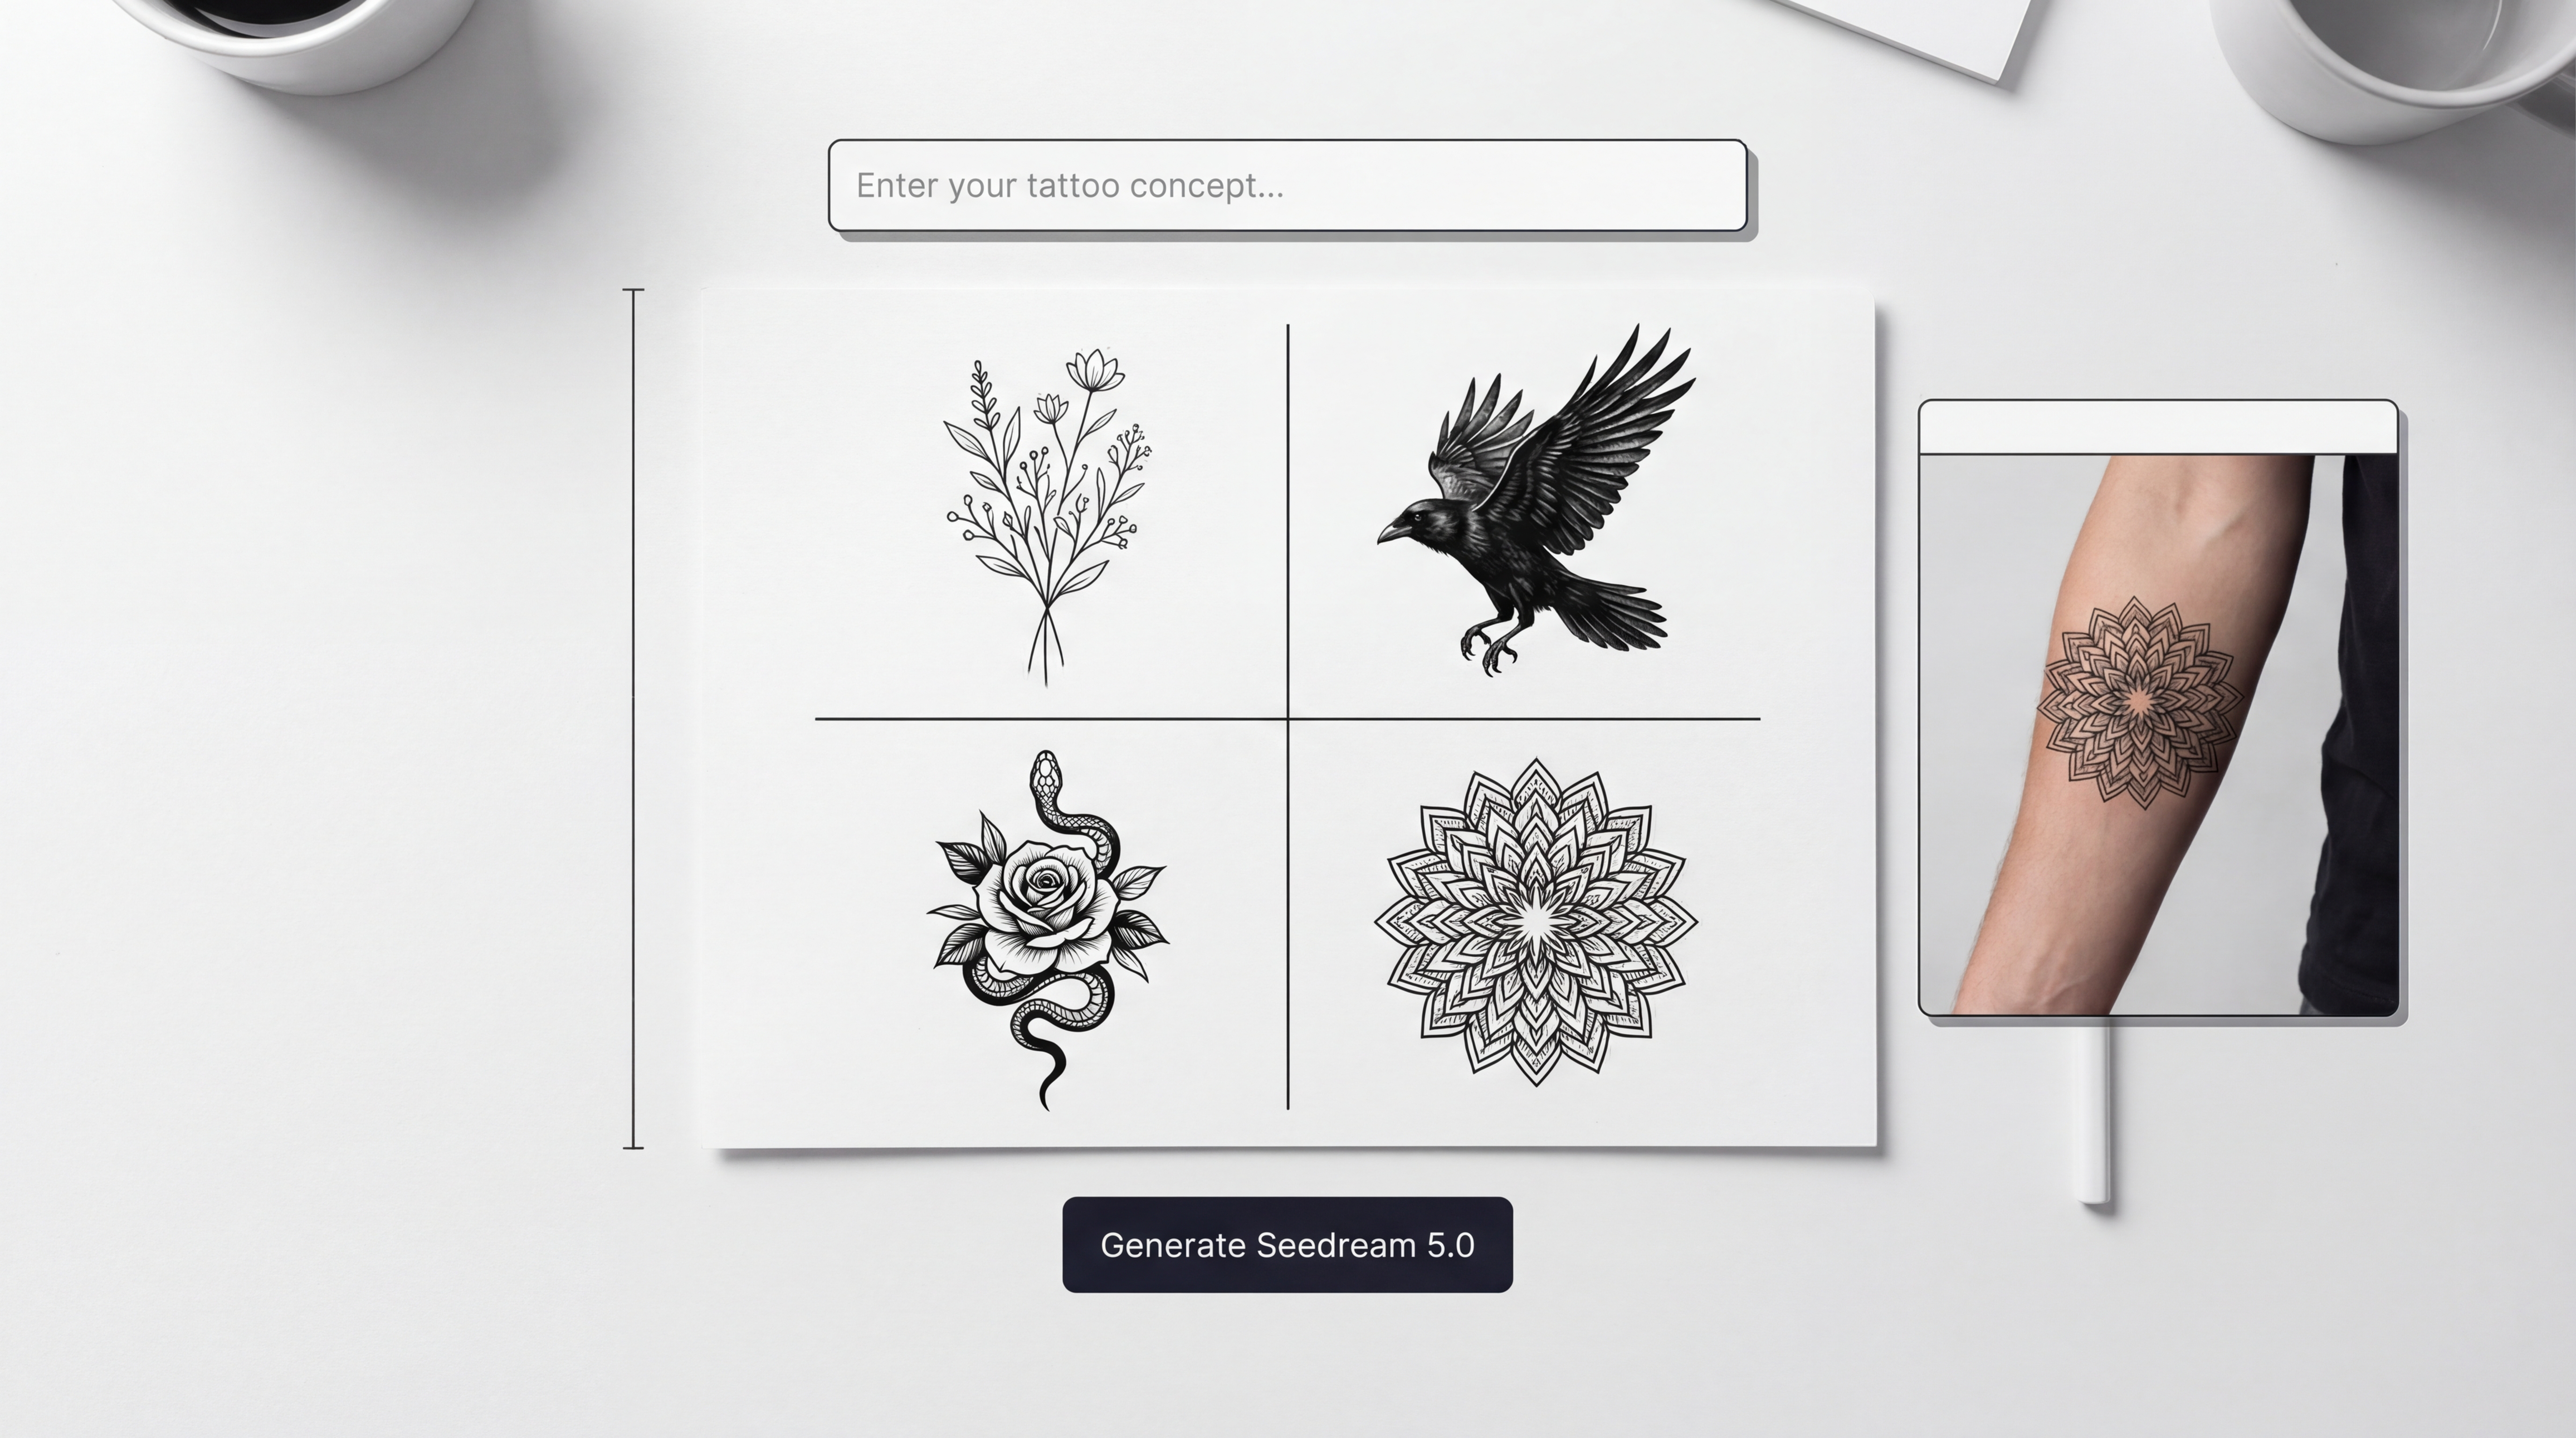
Turn one concept into a cohesive set (series workflow)
Tattoo decisions are easier when you see a design as a set.
A simple “series” method
-
Generate 6–12 variations of the same motif.
-
Keep one thing constant (subject) and vary only one dimension:
- line weight
- shading style (dotwork vs black fill)
- framing (tight vs airy)
-
Shortlist the best 3–5.
-
Bring the shortlist to your tattoo artist.
You can build and organize variations in AI Tattoo Generator, then sanity-check placement using AI Tattoo Try On.
Common mistakes (and how to fix them fast)
Mistake: Too much detail for the size
Fix:
- add “simple shapes, fewer details”
- use “bold outline”
- remove textures
Mistake: Muddy shading
Fix:
- “dotwork shading only”
- “high-contrast shading blocks”
- “no gradients”
Mistake: Unreadable silhouette
Fix:
- “strong silhouette”
- “clear negative space”
- “minimal background”
Mistake: Looks too “AI glossy”
Fix:
- “ink illustration”
- “flat graphic tattoo design”
- “clean stipple shading”
When in doubt, restart with stricter constraints on Seedream 5.0 for tattoo design.
Ethical + practical notes (artist-friendly workflow)
AI is best used for concept exploration, not copying.
-
Don’t replicate an existing tattoo line-for-line.
-
Use cultural motifs thoughtfully—research meaning and avoid sacred symbols casually.
-
Always bring your concept to a tattoo artist for:
- final linework
- placement adjustments
- skin-safe simplification
A professional artist can turn a strong AI concept into something that will age well.
Recommended TattooDesign AI tools to finish your tattoo workflow
Once you have a concept, TattooDesign AI tools make the “decision steps” easier.
- Generate variations and style directions with AI Tattoo Generator
- Preview placement, scale, and contrast using AI Tattoo Try On
- Explore more workflows and styles on TattooDesign AI
- Keep your Seedream-based generation in the toolkit via Seedream 5.0 image generation for tattoo design
Final takeaway
The fastest way to get a tattoo design you’ll actually want is:
- start with clear constraints (placement + size + style)
- generate a small set of variations
- do a stencil-friendly “linework pass”
- preview placement on skin
- bring a shortlist to your tattoo artist
Use Seedream 5.0 for tattoo design for concept generation and style exploration, then finish the workflow with AI Tattoo Generator and AI Tattoo Try On so you can make a confident decision before you book your session.