Patch-style tattoos have become popular because they do something unusual: they make ink look like fabric. A strong design can resemble an embroidered badge stitched directly onto the skin, complete with thread-like texture, bold borders, and bright color separation. That illusion makes the style playful, graphic, and immediately eye-catching.
If you want to experiment with this look before talking to a tattoo artist, TattooDesign AI’s patch-style tattoo generator gives you a practical way to explore motifs, layouts, and embroidered effects. In this guide, we’ll walk through how to generate better concepts, write more useful prompts, and refine your results into references worth saving.
Why Patch-Style Tattoos Stand Out
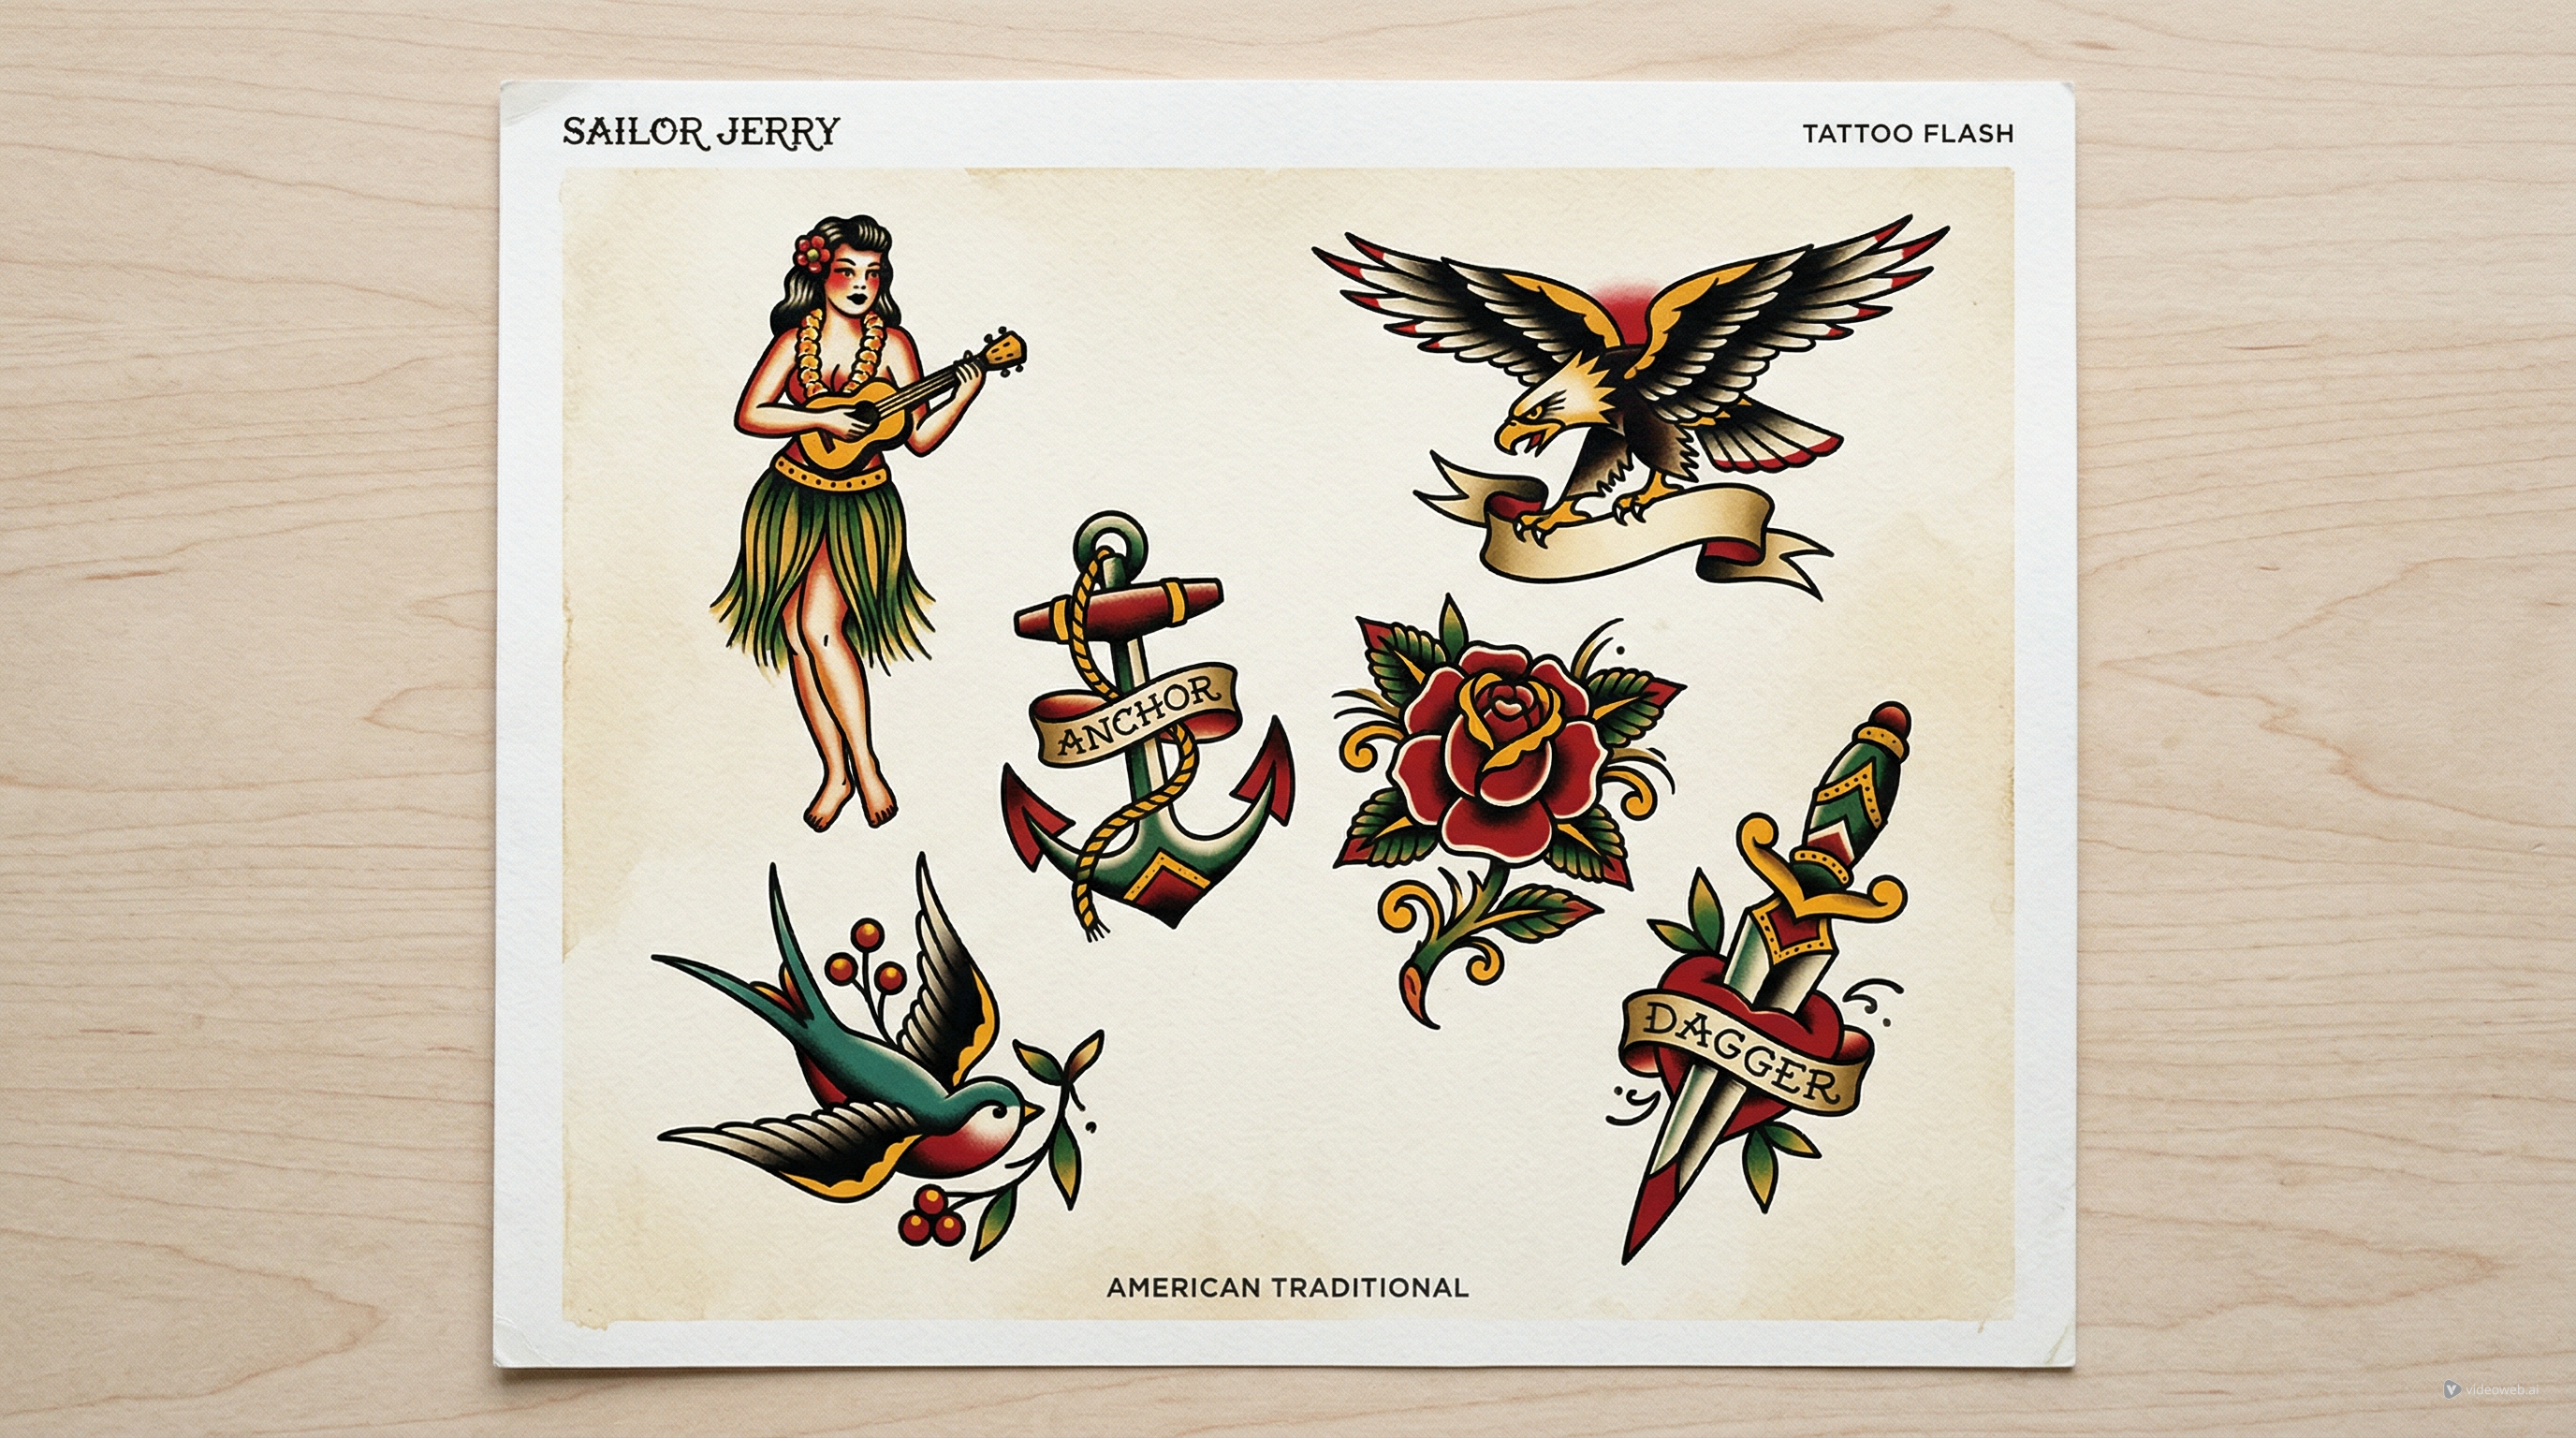
Unlike realism, fine-line work, or classic flash, patch tattoos depend on illusion. The design is supposed to feel as if a stitched emblem, woven badge, or embroidered patch has been placed on the body instead of drawn on it. That means the image needs more than a good subject. It also needs a clear border, strong shape definition, and enough texture to suggest thread and layered fabric.
This is why patch-style concepts work best when the design is simple and graphic. Good candidates include mascots, animals, flowers, military badges, sports emblems, cartoon icons, travel symbols, and decorative crests. These subjects already fit the logic of a patch. They have a recognizable center, a strong outline, and space for color blocking.
When the design becomes too detailed, the patch illusion weakens. Tiny realism-heavy shading or cluttered micro-elements can make the result feel like a normal illustration rather than an embroidered tattoo concept. So the first rule is simple: keep the idea readable.
Start with One Strong Motif
The easiest way to get better results is to begin with one clear concept instead of a vague request. A prompt like “make a cool embroidered tattoo” leaves too much open. A prompt like “tiger head in a circular embroidered badge with thick stitched border” gives the generator a structure to follow.
This matters even more if you are planning a patchwork tattoo arrangement made of several smaller pieces. Each design should still feel complete on its own. Think of every piece as a self-contained badge with a central subject, a border, and a limited palette.
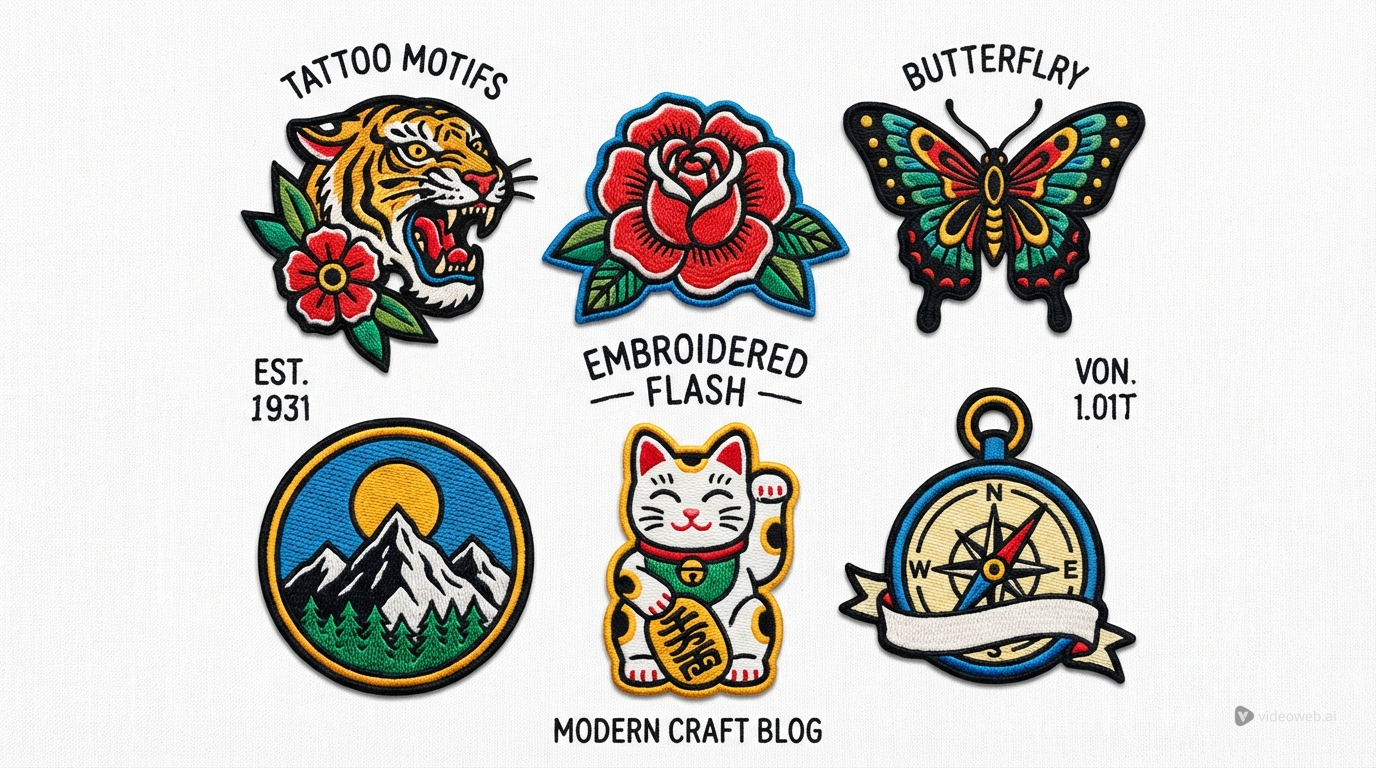
A few motif ideas that work especially well include:
- a rose in a shield-shaped badge
- a lucky cat in a rounded embroidered patch
- a wolf head with banner text
- a butterfly in a decorative stitched frame
- a travel patch inspired by mountains, oceans, or landmarks
- a retro mascot in a sports-emblem layout
Once you choose the subject, the rest of the prompt becomes much easier. You are no longer asking the AI to invent everything at once. You are guiding it toward one strong visual identity.
How to Use the Generator for Better Results
The interface is simple, so the fastest way to get usable results is to follow the settings panel from top to bottom.
- Select a model. Start with the default model, then switch later only if you want a different rendering style.
- Enter your tattoo description. Keep it short and specific, such as “embroidered tiger patch with stitched border and bold red accents.”
- Upload a reference image if needed. This is optional, but helpful for matching a badge shape, color mood, or embroidery feel.
- Choose the ratio. Use 1:1 for most single patch tattoos, since centered badge designs usually read best in a square format.
- Set the resolution. A higher setting gives you a cleaner preview for saving and comparing details.
- Pick color options. Use bold color for a classic embroidered look, or black and grey if you only want a shape-focused concept.
- Set the tattoo background. A white background makes the border, silhouette, and thread effect easier to judge.
- Check the public toggle if relevant. Leave it on or off based on whether you want the image shared publicly.
- Click Generate. Make one version first, then adjust the prompt, border shape, or palette and generate more variations.
Used this way, the patch-style tattoo generator becomes a practical concept tool instead of a random image maker.
Prompt Tips for a Better Embroidered Effect
Prompt writing matters a lot here because the style depends on surface illusion. If you do not mention the embroidered or badge-like qualities, the result may look like ordinary digital art.
Useful phrases include:
- embroidered patch effect
- stitched border
- badge-style composition
- visible thread texture
- woven fabric look
- bold outer edge
- clean centered emblem
- limited color palette
- white background
A simple starter prompt might be:
Fox head embroidered patch, circular stitched border, bold orange and cream color blocks, thread texture, white background.
A more detailed version might be:
Vintage-style mountain travel badge tattoo, shield-shaped embroidered patch, pine trees and sunset, stitched border, woven thread texture, muted red blue and gold palette, clean white background, centered composition.
The best prompts are specific without becoming overloaded. You want the model to know what the subject is, what shape it should live in, and what surface qualities create the patch illusion. That balance becomes especially useful when you want multiple designs that still feel connected as a patchwork tattoo set.
Generate Variations Before Choosing a Favorite
One of the biggest advantages of AI is speed. Instead of stopping after a single result, generate a few versions of the same idea and compare them.
Try changing only one or two things at a time. For example, keep the same tiger subject but test it in a circular patch, a shield patch, and a banner patch. Or keep the same rose design but switch from bright red to a more muted vintage palette. You can also compare thick stitched edges against more subtle border treatments.
This step is useful because patch-style tattoos are highly dependent on silhouette. Sometimes the subject is good, but the border shape is wrong. Sometimes the colors work, but the embroidery effect is too weak. Multiple versions make those differences easier to spot.
If you are planning several pieces across an arm or leg, variation is even more important. You want separate ideas that still share a common visual language. That is how a set of patch tattoos starts to feel intentional rather than random.
How to Refine the Design Before Taking It to an Artist
A strong AI image is still only a concept. Before you save a final version, look at it like a tattoo reference rather than a finished artwork.
Check whether the silhouette reads clearly at a smaller size. Look at the border and ask whether it still feels like a patch instead of a sticker. Make sure the “thread” details are not so tiny that they would blur on skin. Notice whether the color areas are bold enough to survive over time.
This is where practical judgment matters. A great-looking screen image can still be hard to tattoo well if it relies on too many tiny lines or overly subtle texture. The most useful results are the ones that capture the idea clearly: a strong emblem, a convincing stitched edge, and enough simplicity for a tattoo artist to adapt.
That is the best way to use the tool. Generate ideas, save the clearest ones, and bring them to an artist who can translate the concept into real skin-friendly design choices.
Final Thoughts
Patch-style tattoo concepts work well with AI because the look is graphic, structured, and based on recognizable design logic. When you start with one strong motif, use prompt language that emphasizes embroidery, and compare several variations, you can build a surprisingly solid set of references in a short amount of time.
TattooDesign AI is most useful here as a planning tool. It helps you test subjects, border shapes, and layouts quickly so you can move into the real tattoo process with a clearer sense of direction. Whether you want a single badge-like piece or a larger patchwork tattoo arrangement, the strongest results usually come from simple ideas, focused prompts, and thoughtful refinement.
Other Tools to Try
- AI Tattoo Generator
- AI Tattoo Design Generator
- Patchwork Tattoos Generator
- FineLine Tattoo Generator
- AI Tattoo Try On
Related Article
- How to Generate Fine-Line Tattoo Ideas with Tattoo AI Design’s FineLine Tattoo Generator
- How to Generate Japanese Tattoo Ideas with Tattoo AI Design’s Japanese Tattoo Generator
- How to Use an AI Tattoo Generator to Create Needle-Ready Designs in Minutes
- How to Use Seadream 5.0 to Create a Tattoo Stencil
- Seedream 4.5 Unrestricted for AI Tattoo Generation: A Learner Guide
People Also Read
- HeyDream AI Image Generator Guide: Best Models for Text-to-Image and Image-to-Image
- How to Use DreamMachine AI’s AI Video Generator: A Practical Guide for Text and Image Workflows
- Best Prompts of Flux.1 AI for Flux Images
- VideoWeb AI Image Generator 2026: The Creator Switchboard for Fast-to-Final Images
- How to Use Sea Imagine AI’s Image Generator: A Beginner-Friendly Tutorial