If you’ve ever tried to explain a tattoo idea with words alone, you already know the pain: you can feel it in your head, but you can’t quite show it. That’s where AI image generation becomes genuinely useful—not as a replacement for a tattoo artist, but as a fast visual sketchpad for concepts, compositions, and style exploration.
This guide is a viewer-first, step-by-step walkthrough for using Seedream 4.5 unrestricted as an AI tattoo design workflow—especially when you want more freedom to explore themes, styles, and bold compositions.
You’ll learn how to generate tattoo-ready concepts, how to steer the model toward clean linework, and how to produce artist-friendly outputs like flash sheets and stencil-style linework. Along the way, we’ll keep the process responsible: tattoos are permanent, people are real, and good design still needs human judgment.
What “unrestricted / uncensored” should mean in a tattoo workflow
Seedream 4.5 is a modern image-generation model that’s especially good at turning a clear prompt into high-fidelity artwork with strong style control—which is exactly what you want when you’re drafting tattoo concepts.
On TattooAI, Seedream 4.5 uncensored is positioned as full access to the model’s capabilities on this platform. In practice, using the Seedream 4.5 unrestricted AI tattoo generator is most useful for:
- Clean linework concepts (readable silhouettes, crisp edges)
- Style exploration (traditional vs. fine line vs. blackwork direction changes)
- Fast iteration (multiple variations to help you and your artist converge on “the one”)
Think of it as your rapid visual sketch partner—then let a real tattoo artist translate the best draft into something that ages well on skin.
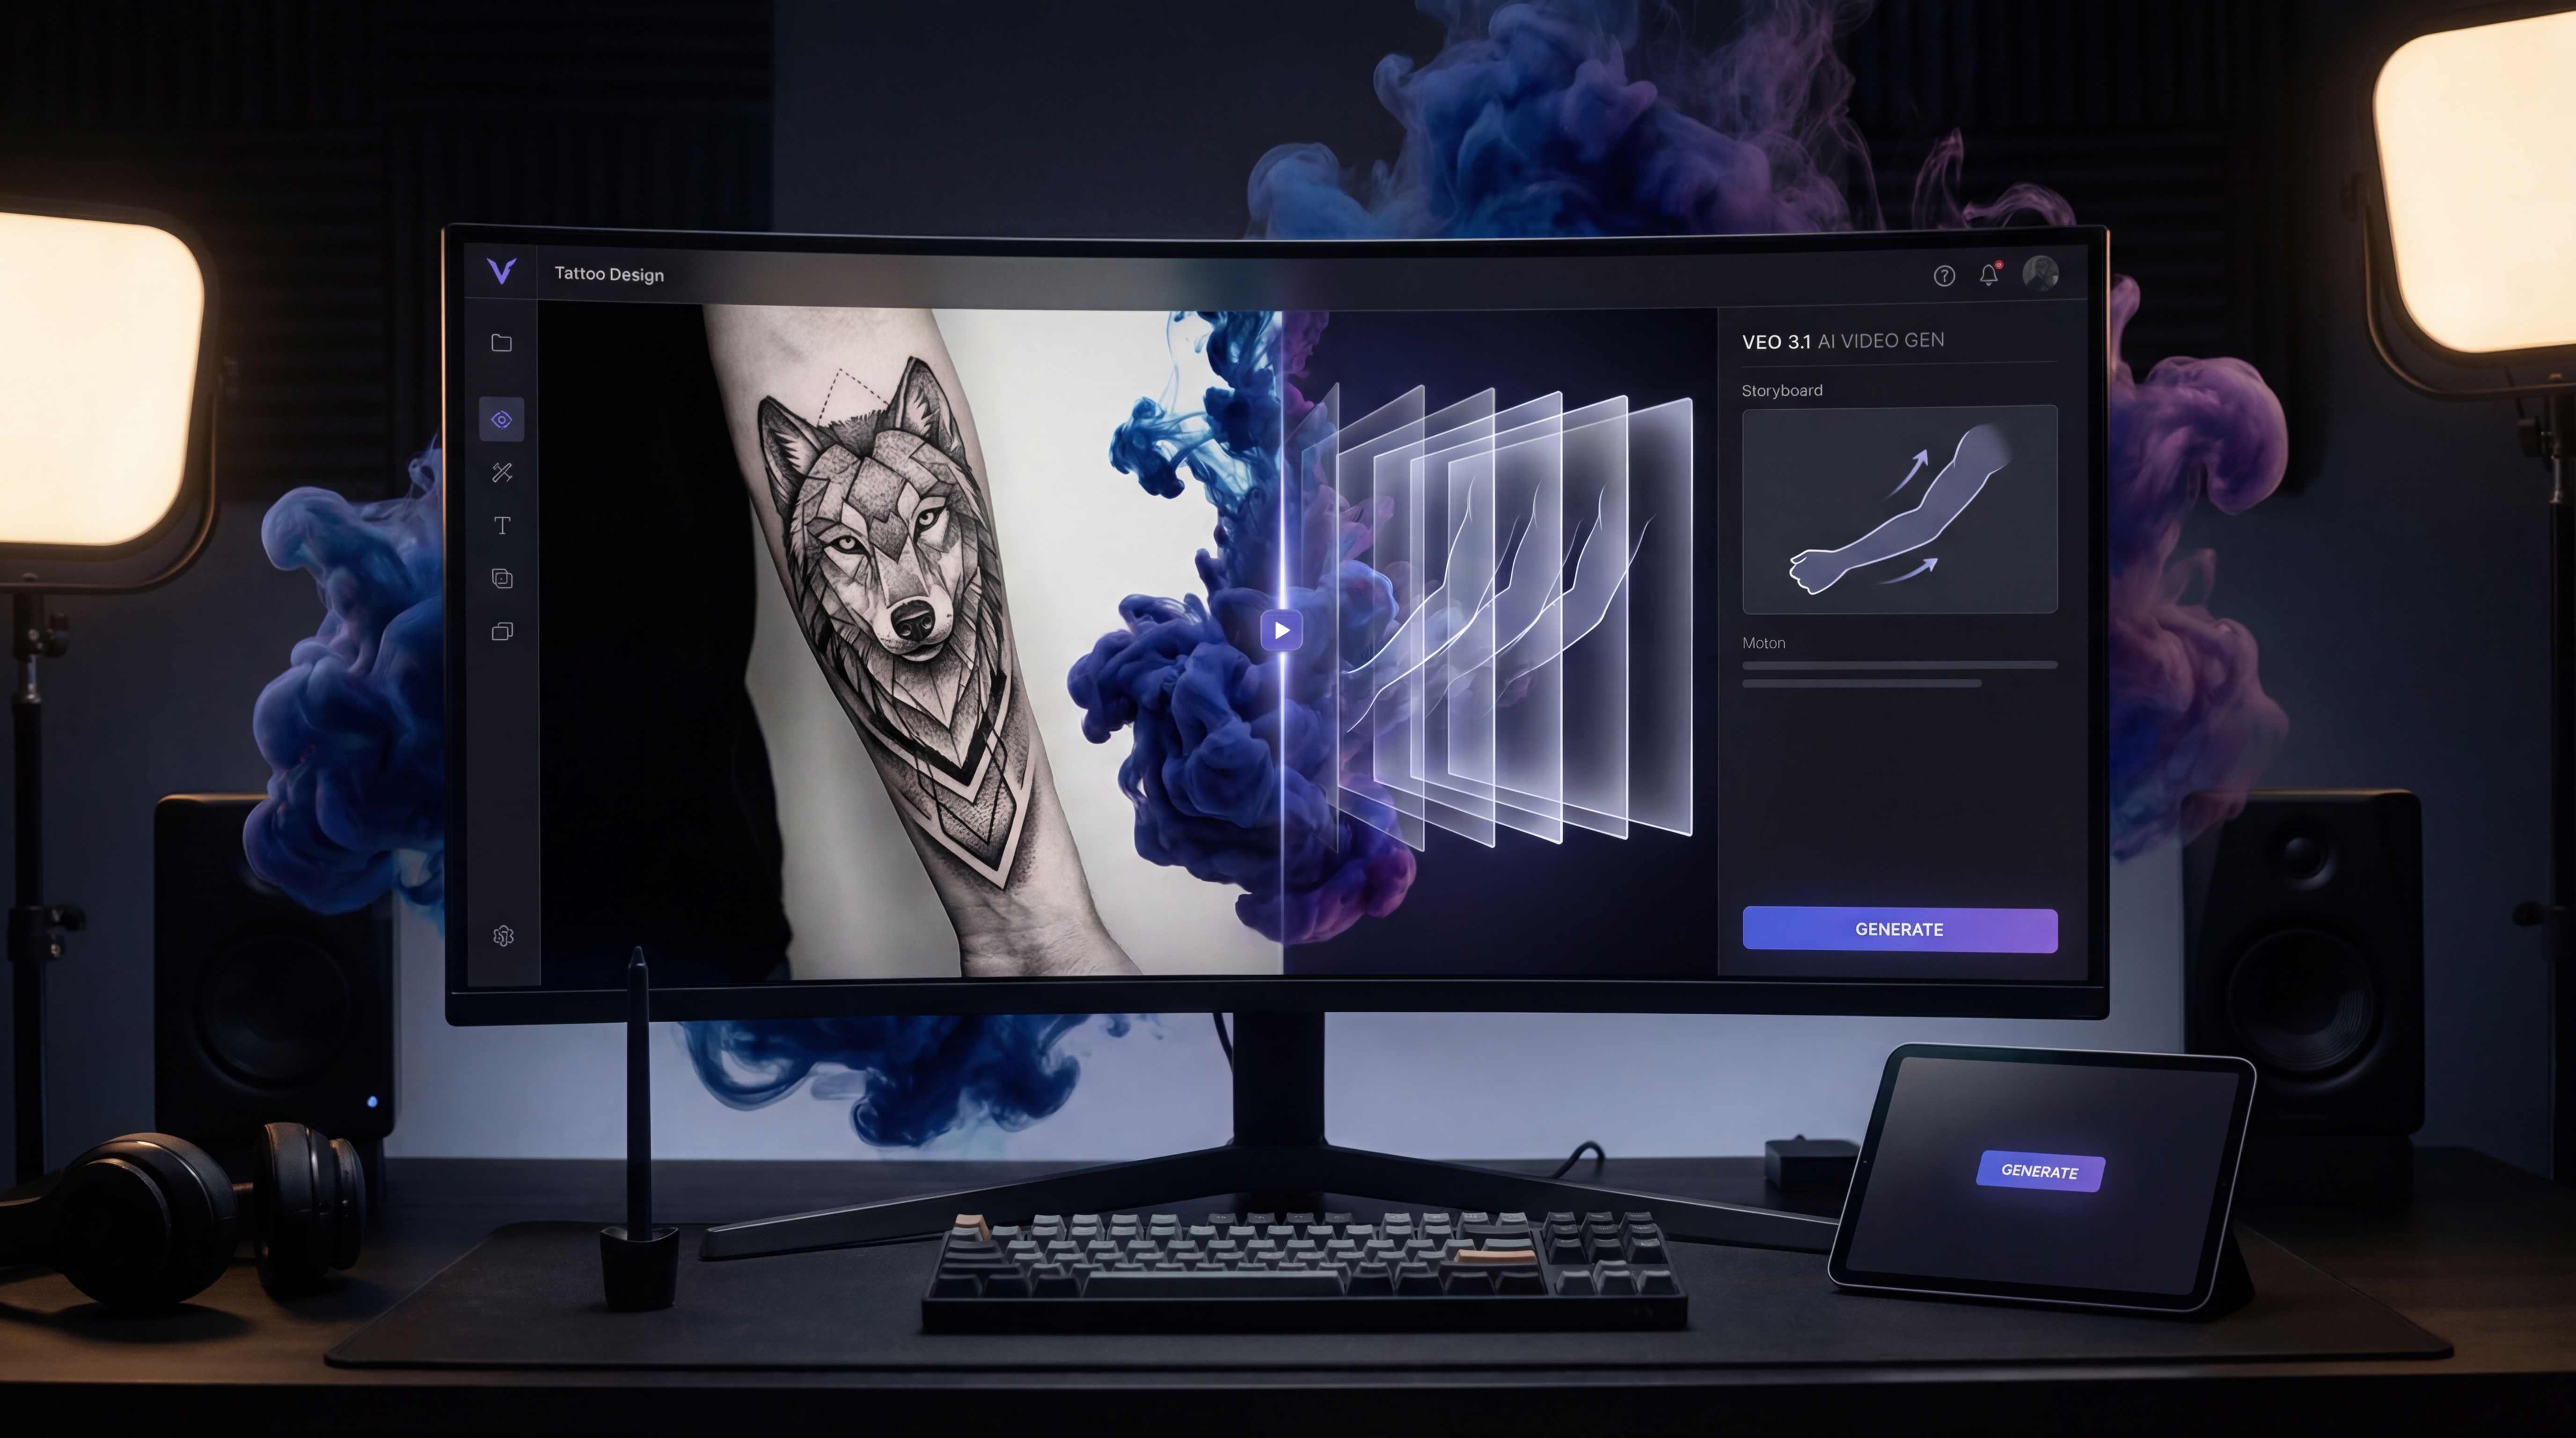
Meet the tool: Seedream 4.5 on TattooAI.Design
On TattooAI.Design, Seedream 4.5 works like a high-quality image generation workspace: you enter a prompt, optionally upload an image reference, choose a ratio, select a resolution, and generate.
In practical tattoo terms, this setup is ideal because:
- Ratio helps you match common placements (forearm, calf, patch, etc.).
- Higher resolution helps linework look crisp instead of fuzzy.
- Image upload helps you lock composition or motif direction once you’re close.
Think of it as a flexible studio that can behave like an AI tattoo generator Seedream 4.5 for concepts—or, with the right prompting, a tool that can output stencil-like linework and cohesive flash.
Before you generate: decide your tattoo “spec”
Most “bad AI tattoo results” come from one thing: no spec.
Before you type a prompt, decide three details:
- Placement + size
- Forearm vertical? Upper arm patch? Calf wrap? Chest centerpiece?
- Style target
- Traditional, fine line, blackwork, neo-traditional, realism, dotwork, etc.
- Output type (pick one primary)
- Concept art: exploring ideas
- Stencil-ready linework: clean outlines that read
- Flash sheet: multiple designs in one consistent theme
When you choose an output type, your prompt gets sharper—and your results improve immediately.
Step-by-Step: AI Tattoo Generator Seedream 4.5 Workflow (Refined)
Step 1 — Open the model page and set “output hygiene” first
- Go to Seedream 4.5 unrestricted AI tattoo generator.
- Ratio: pick a shape that matches placement (vertical for forearm/calf; square for patches; wide only if you’re building a flash sheet layout).
- Resolution: choose 2K (or the highest available) when you want crisp linework and clean edges for printing or zooming.
Step 2 — Decide what you’re generating: concept, stencil, or flash
Before you type anything, choose a single target output so the prompt stays focused:
- “Tattoo concept” (explore ideas)
- “Stencil-ready linework” (clean outlines)
- “Flash sheet” (multiple designs in one set)
Step 3 — Write a tattoo-first prompt (the “artist brief,” not a vibe)
In the Prompt box, include:
- Subject: what it is (e.g., tiger head, dagger + rose, moth, koi)
- Style: traditional / blackwork / fine line (etc.)
- Line rules: bold outline / clean linework / consistent line weight
- Shading rules: solid black, dotwork, minimal shading, or none
- Composition: centered, symmetrical, vertical layout, readable silhouette
- Background rules: “no background,” “white background,” “no texture/no noise”
- Placement/size hint: “forearm piece,” “2–4 inch patch,” “upper arm”
If your UI has Translate, toggle it on when you’re writing prompts in a different language than the model performs best in.
Step 4 — Use “Optimize Prompt” only after you have a clear baseline
- Write your clean baseline prompt first.
- Then (optionally) click Optimize Prompt to polish wording—without changing your core constraints like “bold outline,” “no background,” and “stencil-ready.”
Step 5 — Optional: Upload a reference image to lock the direction
Use Image Upload (jpeg/png/webp) when you want consistency in:
- motif shape (e.g., specific dagger silhouette)
- composition (centered, vertical flow)
- style cues (traditional line weight, dot shading, blackwork density)
Reference images are most useful after you’ve generated 1–2 drafts and you know what you’re trying to “pin down.”
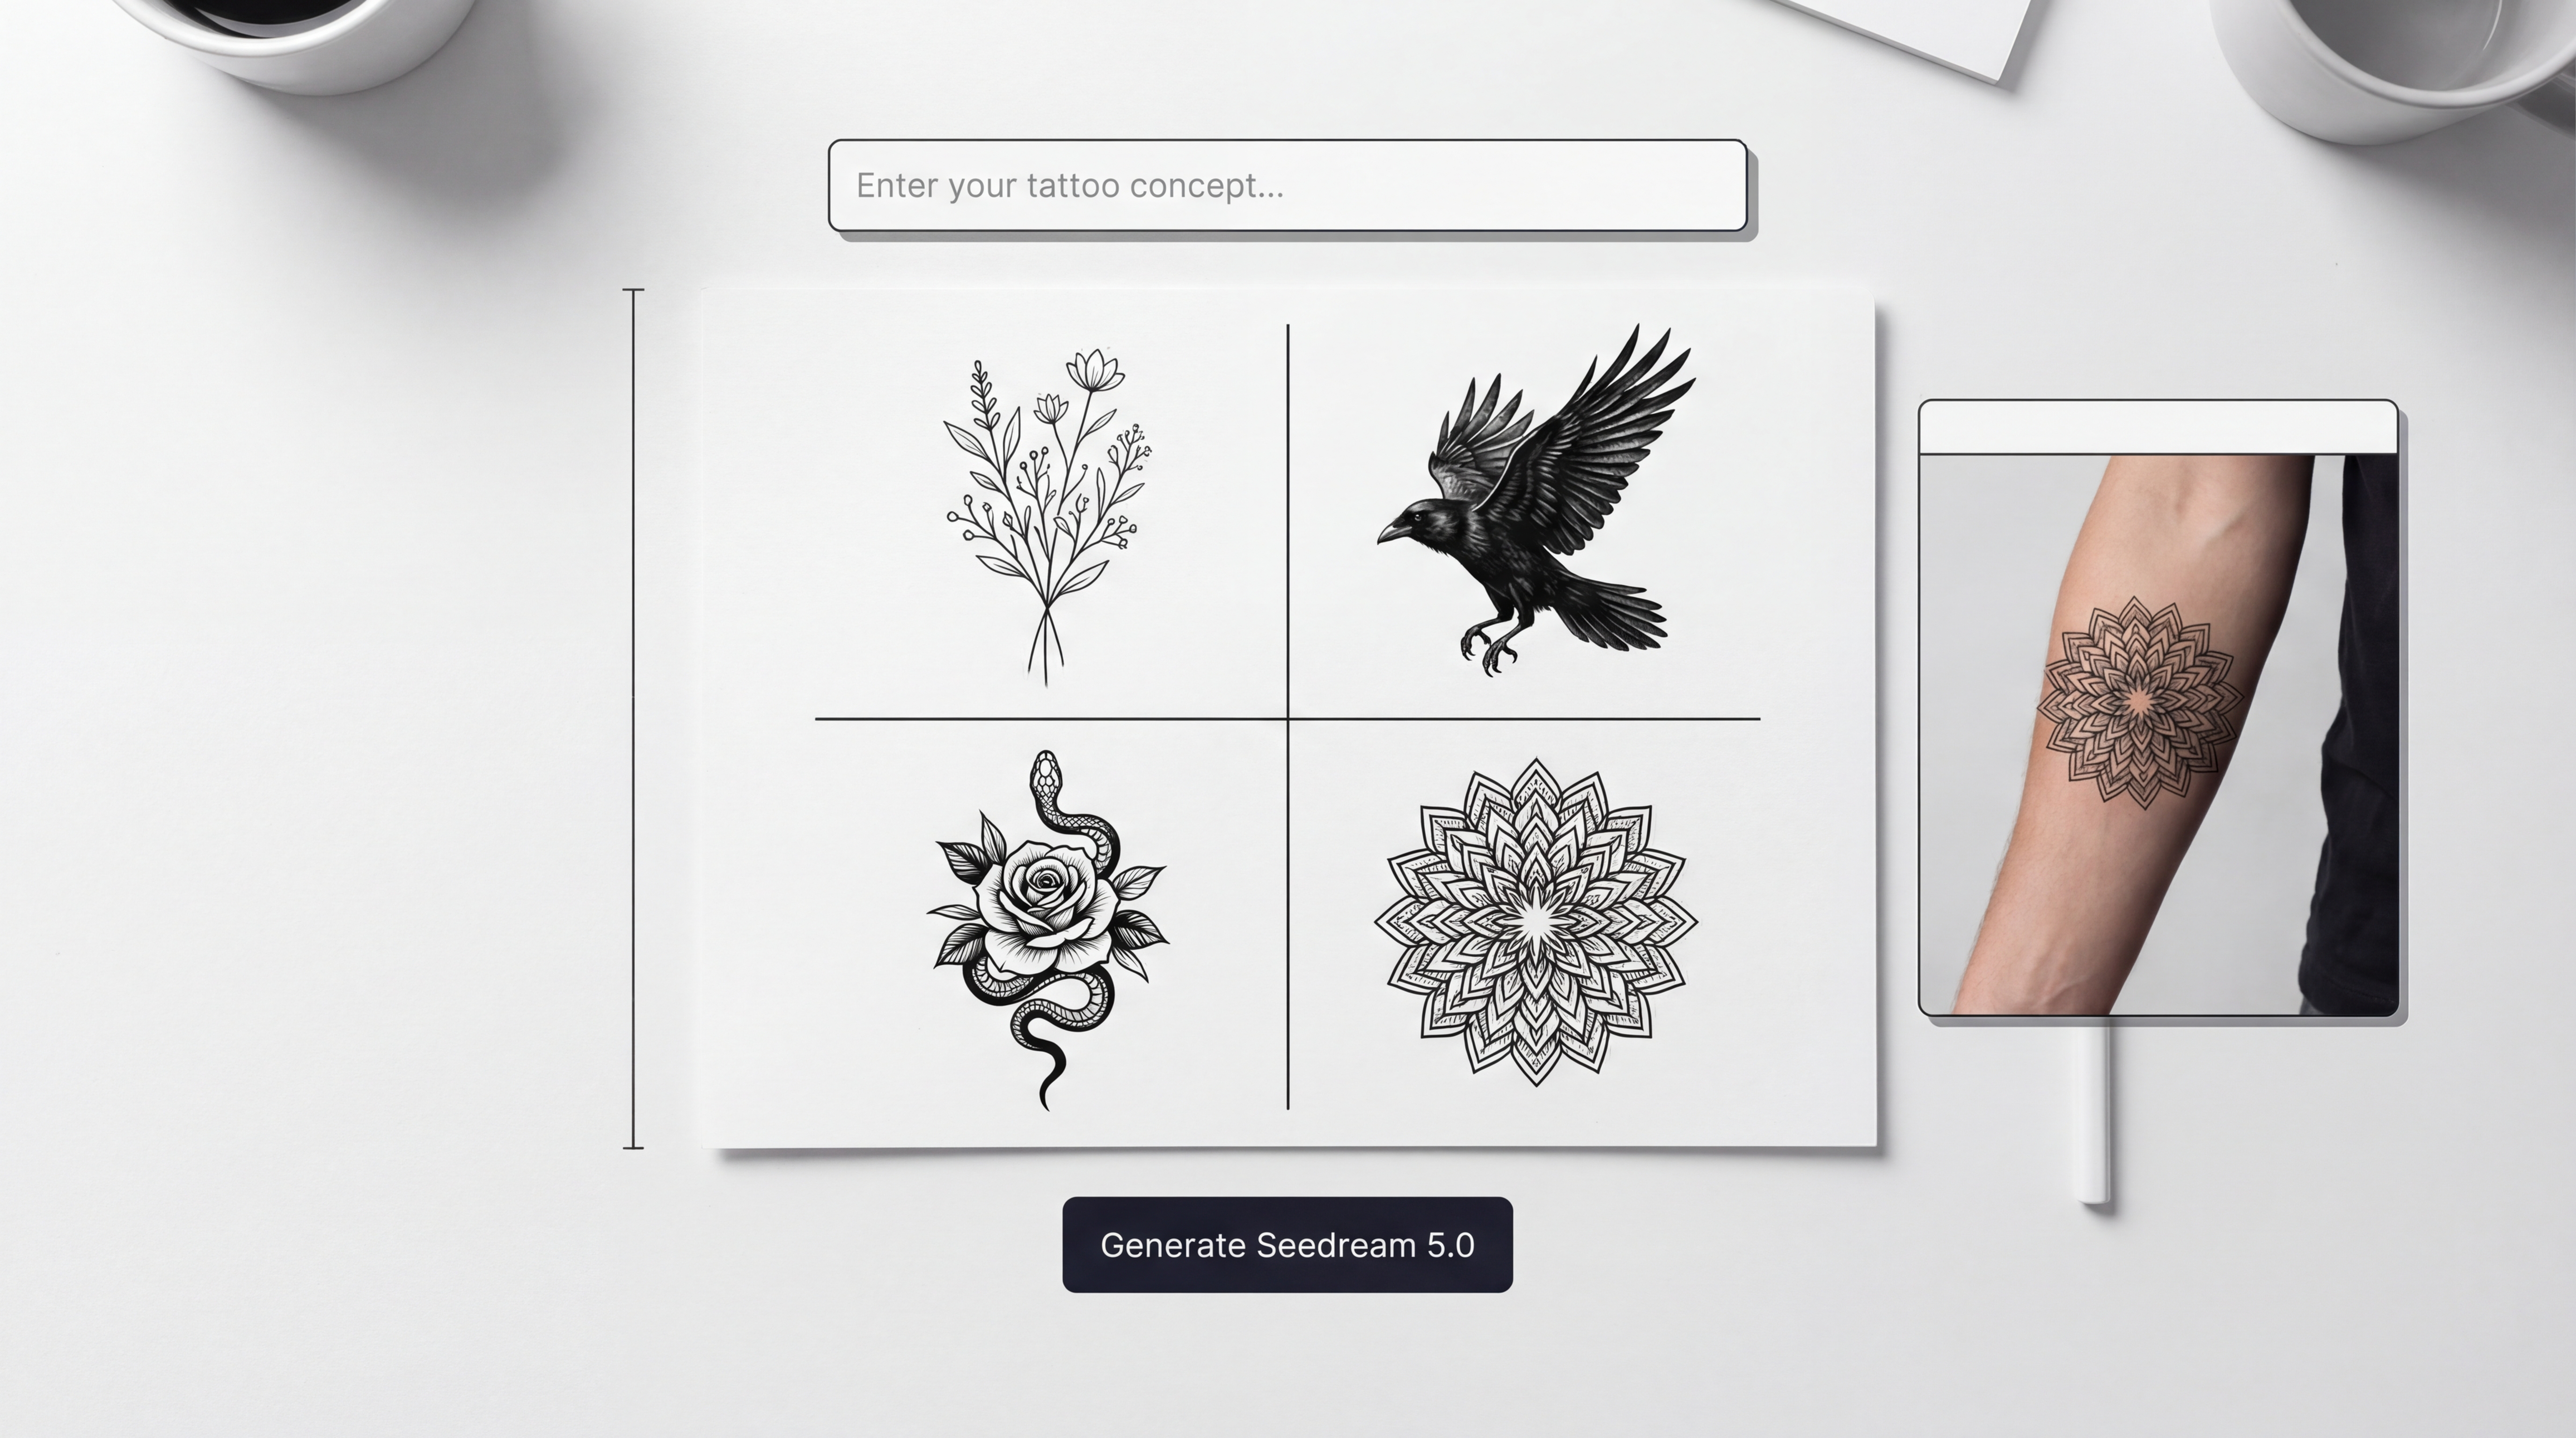
Step 6 — Generate 3–6 variations, then pick a winner using a quick checklist
Click Generate and scan results for:
- Silhouette readability (clear from a distance)
- Tattooable lines (not fuzzy, not hair-thin noise)
- Clean negative space (elements don’t mush together)
- Shading discipline (matches your requested method)
- Placement logic (vertical flow for limbs, balanced center for patches)
Step 7 — Refine with one change at a time (the pro iteration rule)
Do not rewrite everything. Change one variable per reroll:
- Line weight (thicker / cleaner) or
- Shading method (dotwork vs solid) or
- Complexity (simplify shapes) or
- Composition (more centered / fewer elements)
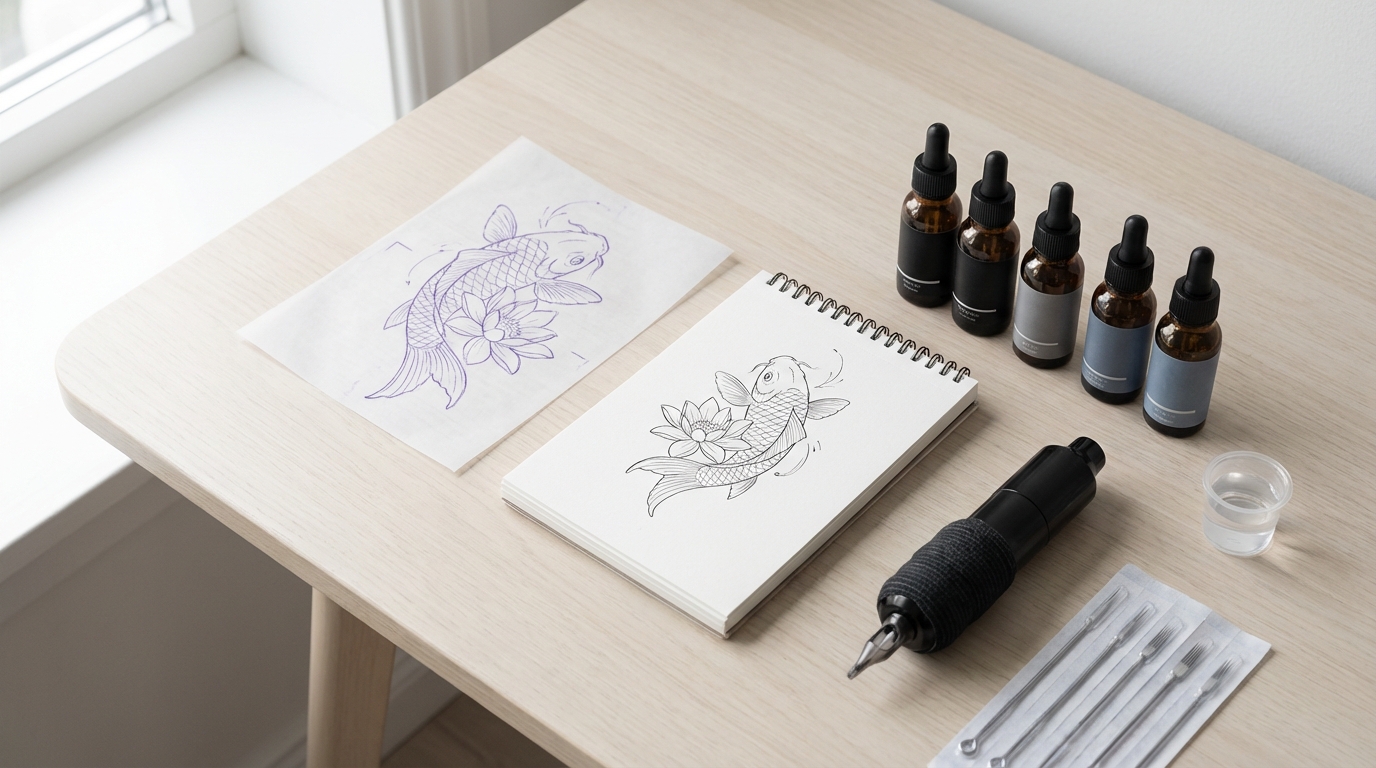
Step 8 — Create your hand-off pack (artist-friendly outputs)
Once you have a hero design, generate two supporting versions:
- Stencil version: “bold outline, high contrast, no shading, no background”
- Flash / alt version: 3–8 variants in the same style (small changes in pose, props, framing)
This gives your tattoo artist a clean concept, a stencil-ready reference, and options—without overwhelming them.
Prompt packs that actually work (copy/paste)
Below are practical prompt starters you can adapt. The key is to keep them tattoo-first: line rules, shading rules, readability, background constraints.
1) Clean blackwork concept (forearm vertical)
Use this when you want a strong silhouette and bold contrast.
“Blackwork tattoo design of a raven perched on a skull, vertical forearm composition, bold clean outline, solid black fills with minimal negative-space highlights, readable silhouette, no background, white background, no texture, no noise.”
2) Fine-line botanical (patch design)
Use this for minimalist, elegant designs—but keep line clarity.
“Fine-line tattoo design of a single peony with simple leaves, clean thin linework but not fuzzy, minimal shading, centered patch composition, high clarity, no background, white background, no grain, no texture.”
3) Traditional dagger + rose (classic composition)
This is a good test of whether the model understands tattoo language.
“American traditional tattoo of a dagger piercing a rose, bold outline, limited shading, simple color blocks (optional) or solid black shading, iconic shapes, strong silhouette, centered vertical composition, no background, white background.”
If you’re specifically chasing that classic look, treat Seedream like an AI traditional tattoo generator by consistently requesting bold outline + simplified shapes.
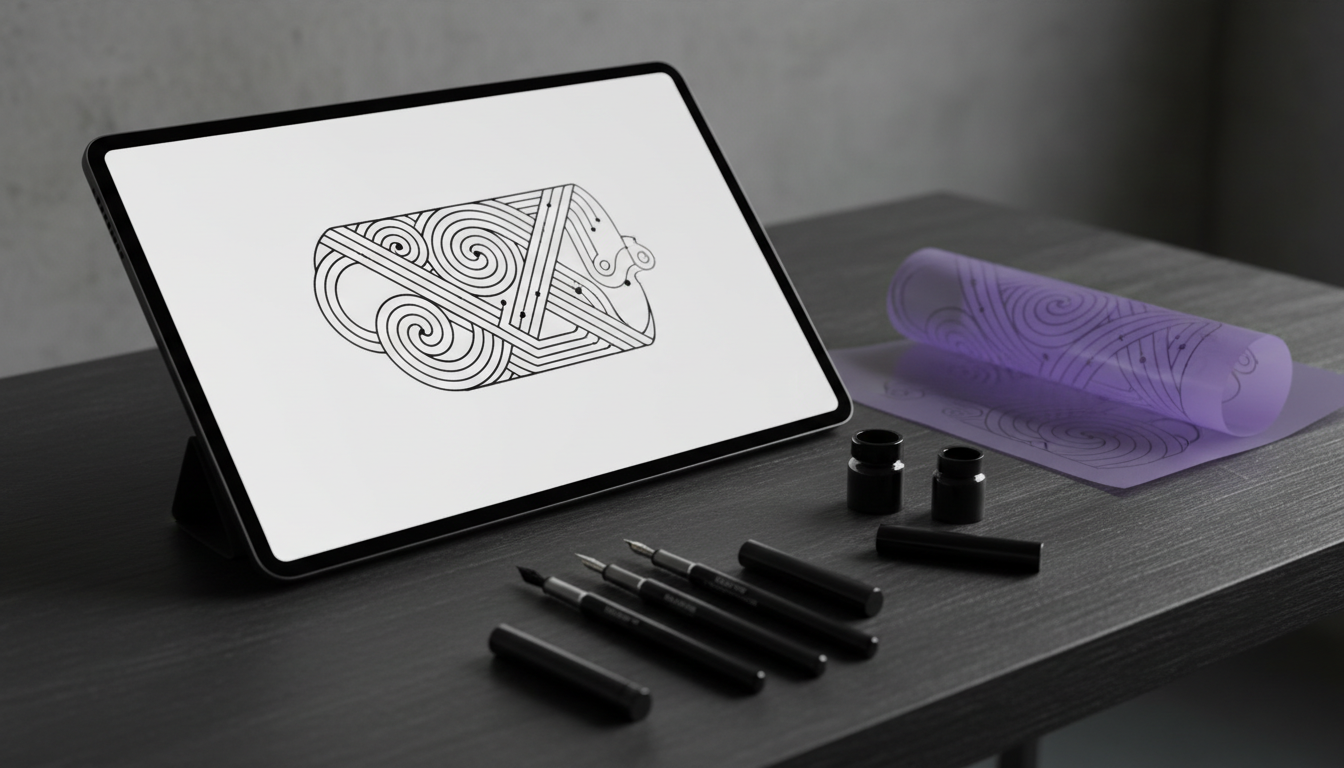
Make stencil-ready linework (so it prints clean)
A good stencil isn’t “pretty.” It’s clear.
When you want a stencil-like output, prompt as if you’re briefing an AI tattoo stencil generator:
- “bold outline”
- “consistent line weight”
- “no shading” (or “minimal shading only”)
- “high contrast”
- “no background”
- “white background”
- “no noise / no texture / no grain”
A simple stencil prompt:
“Stencil-style linework of a tiger head, bold clean outline, consistent line weight, no shading, high contrast, centered design, no background, white background, no noise.”
Stencil checklist (fast):
- Edges look clean when zoomed in.
- Shapes do not merge into blobs.
- Important details are big enough to survive aging.
Build a flash sheet (cohesive options, one theme)
Flash is where AI becomes extremely useful: you can generate a set quickly, then curate like an artist.
If you’re making flash, treat the prompt like an AI tattoo flash generator request:
- Ask for multiple designs in one style
- Define spacing and simplicity
- Keep backgrounds clean
Flash prompt formula:
“Create 8 matching tattoo flash designs in one image: (theme), consistent bold outline, simple shading, strong silhouettes, evenly spaced, white background, no texture, no noise.”
Example:
“Create 10 matching traditional flash designs in one image: snakes, daggers, roses, swallows, lucky horseshoes, consistent bold outline, minimal shading, iconic shapes, evenly spaced, white background, no texture.”
Once you have a sheet you like, pick 2–3 designs and regenerate them individually at higher resolution for clean edges.
Troubleshooting: fix the most common AI tattoo problems
When results are off, don’t rewrite everything. Make one change and reroll.
“It’s too detailed / noisy”
- Add: “simplify shapes, reduce micro-detail, fewer lines”
- Ask for: “readable at 2–4 inches”
“The shading looks muddy”
- Switch shading method: “solid black only” or “dotwork only”
- Add: “no gradients, no painterly shading”
“The lines look fuzzy”
- Add: “crisp edges, clean vector-like linework, no grain”
- Increase resolution if available
“The design doesn’t flow for the body”
- Specify placement composition: “vertical forearm flow, centered spine line, avoid warped perspective”
“It’s not readable”
- Emphasize silhouette: “strong silhouette, fewer elements, clear focal point”
These small edits steer Seedream back toward tattooable output.
How to hand off AI designs to a real tattoo artist (the respectful way)
Your artist’s job isn’t to print an image and trace it. Their job is to make it work on skin, for years, on a real body.
When you hand off your AI results, share:
- One “hero” design
- Two alternates (different framing or small variations)
- A stencil-style linework version
- Notes: placement, size (in inches/cm), black vs color, and any “must keep” elements
Then say the magic sentence:
“Feel free to redraw and adjust for placement, line weight, and longevity.”
This signals collaboration, not entitlement.
Example workflows (pick one and run it)
A) One-hour client consult workflow
- Generate 12 quick concepts
- Pick top 3
- Generate 3 variations of each
- Create one stencil-style version of the final pick
B) Sleeve planning workflow
- Generate motif set (3–5 symbols that belong together)
- Choose one consistent shading rule (blackwork, dotwork, or minimal)
- Generate vertical panels per section (forearm, upper arm, shoulder)
- Hand off the motif pack to your artist
C) Minimalist patch workflow
- Generate 6 silhouette-focused options
- Pick one
- Create a stencil-style output
- Generate 3 “micro variants” (angle/leaf count/shading amount)
Wrap-up: a repeatable system that stays tattooable
If you want a simple loop you can reuse forever:
Start with Seedream 4.5 unrestricted for fast ideation.
That’s the real win: faster visual exploration, cleaner communication, and better collaboration—without pretending the AI is the tattooer.