Anchor tattoos have stayed popular for years because they are simple, readable, and full of meaning. They can look classic, minimal, emotional, or bold depending on how you style them. That makes them a strong subject for AI-assisted tattoo ideation. With the Anchor Tattoo Generator, you can quickly turn a rough concept into visual samples, test different art directions, and refine details before bringing your favorite idea to a tattoo artist.
This guide walks through the process in a practical way. It explains the symbolism behind anchor designs, shows how to use the interface step by step, and gives prompt ideas for different looks, from a clean small anchor tattoo to a bold american traditional anchor tattoo.
Why Anchor Tattoos Still Work So Well
One reason anchor tattoos remain so popular is that the symbol is easy to understand at a glance. Even people who know very little about maritime imagery usually connect anchors with steadiness, safety, and loyalty. That is why searches around anchor tattoo meaning remain common. The image feels timeless, and it works equally well as a minimalist design or a larger statement piece.
Many people also ask, what does the anchor tattoo mean? In most contexts, it represents stability during difficult times, staying grounded, or holding onto something important. For some people, it also carries a spiritual or family meaning. In tattoo design, that symbolic flexibility is useful because you can keep the core icon simple while changing the details around it to tell a more personal story.
How to Use the Tool Based on the Interface
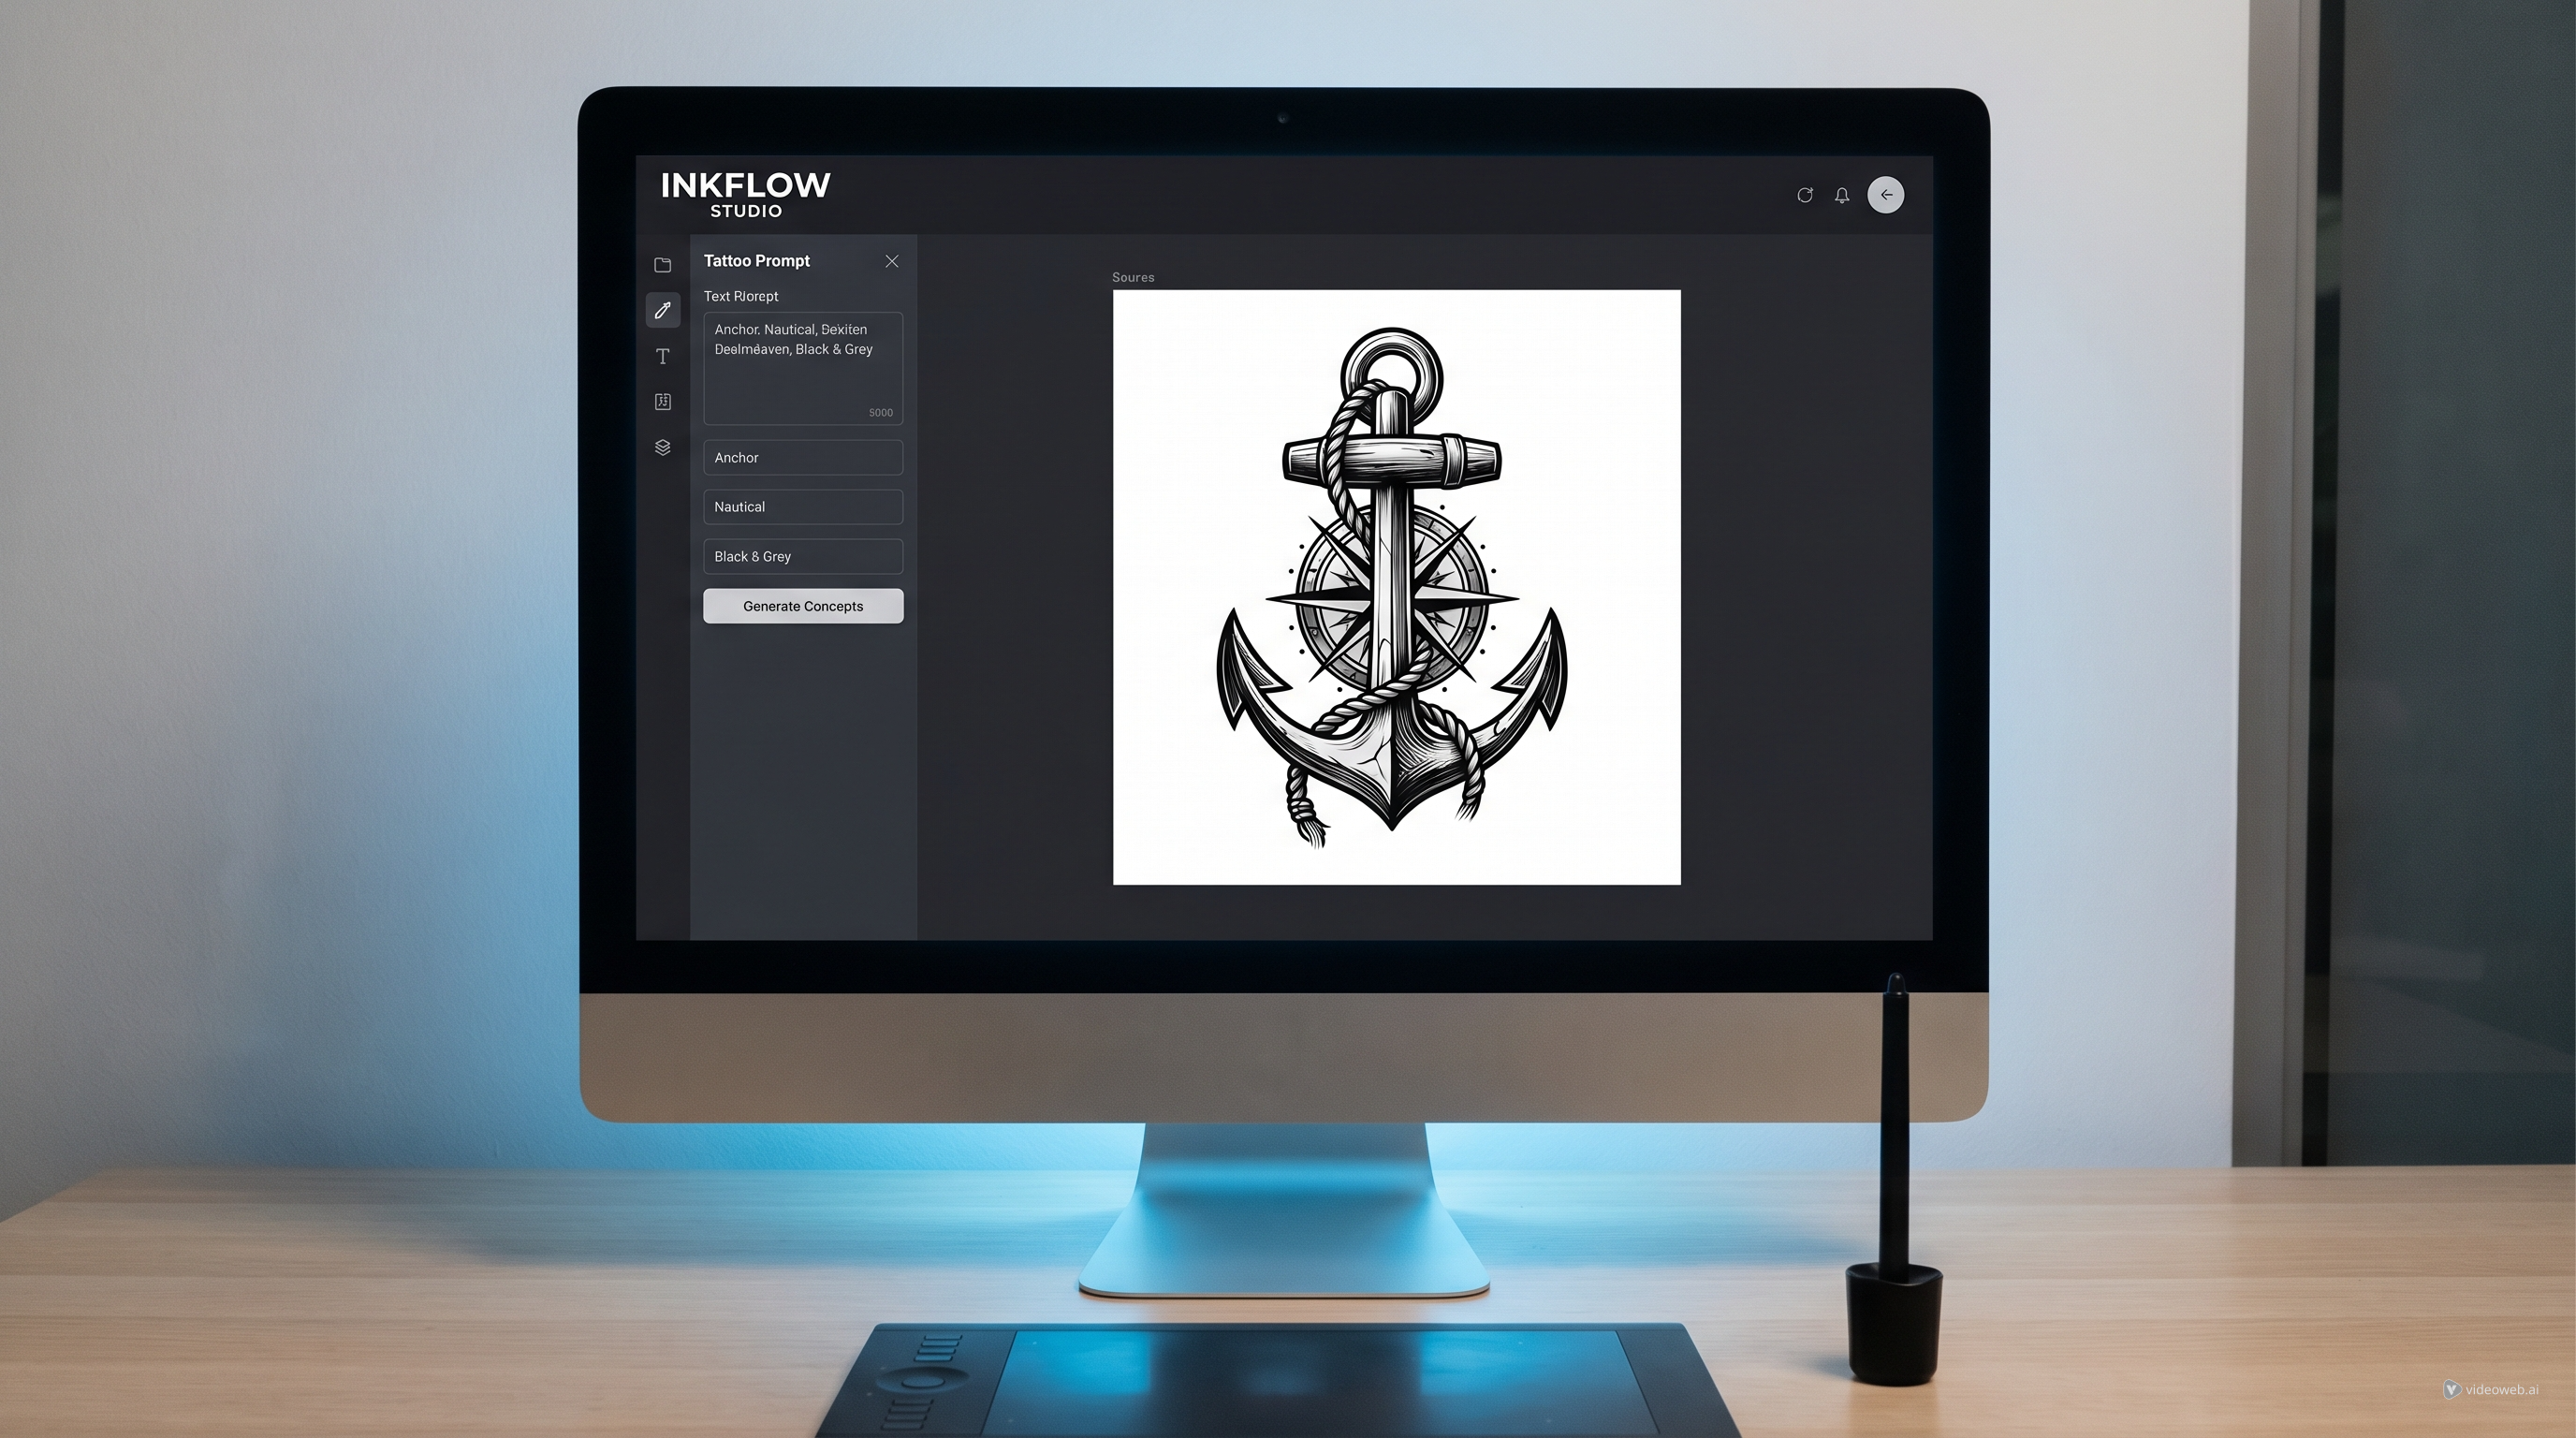
The interface is straightforward, which makes it beginner-friendly. First, open the TattooDesign AI tattoo generator and confirm that the style or subject is set to Anchor Tattoo. Then choose your model from the Select Model dropdown. In the interface shown, Nano Banana Pro is selected, which suggests a higher-end generation option for more polished visuals.
Next, move to the Tattoo Description box. This is where you should type the full design idea. Be specific. Instead of writing only “anchor,” describe the style, composition, line quality, shading, placement, and mood. If your first language is not English, the Translate toggle can help interpret your prompt more smoothly.
After that, decide whether you want to upload a reference image. The Upload Reference Image option is marked optional, but it can be very useful if you already have a sketch, a visual motif, or another tattoo example you want the generator to loosely follow. Then choose the image Ratio, such as 1:1 for square samples, and set the Resolution. If you want sharper visual references to inspect detail, selecting a higher output like 2k can be helpful.
Below that, choose your Color Options. For anchor concepts, black and grey is often the easiest place to start because it reflects real tattoo decision-making more closely. You can also set the Tattoo Background. A white background is useful if you want clean, easy-to-review samples. Before generating, decide whether to leave the Public toggle on or off. Then click Generate to create the image. Once your results appear, compare them, review the Image History, and refine your prompt rather than starting from scratch every time.
Start with Size and Placement
A good tattoo prompt does not begin with decoration. It begins with structure. That means deciding where the design goes and how large it should feel on the body. For example, a small anchor tattoo usually needs a clean silhouette, limited detail, and spacing that will still read clearly once inked. Tiny ropes, text, or excessive texture may look nice in a digital image but become muddy as a real tattoo.
Placement matters just as much. If you want an anchor tattoo on hand, the design should be bold, centered, and instantly readable. Hands are visually busy and highly exposed, so simple shapes often work better than intricate compositions. A prompt like this gives the generator better direction: “Bold anchor tattoo on hand, compact old-school silhouette, black and grey shading, clean outline, readable from a distance, tattoo flash sample on white background.”
Explore the Main Anchor Tattoo Styles
Once the structure is clear, the next step is deciding how the design should feel. A black anchor tattoo is often the safest starting point if you want something classic and versatile. Strong contrast, simple shading, and crisp outlines make the icon look powerful without needing extra decoration.
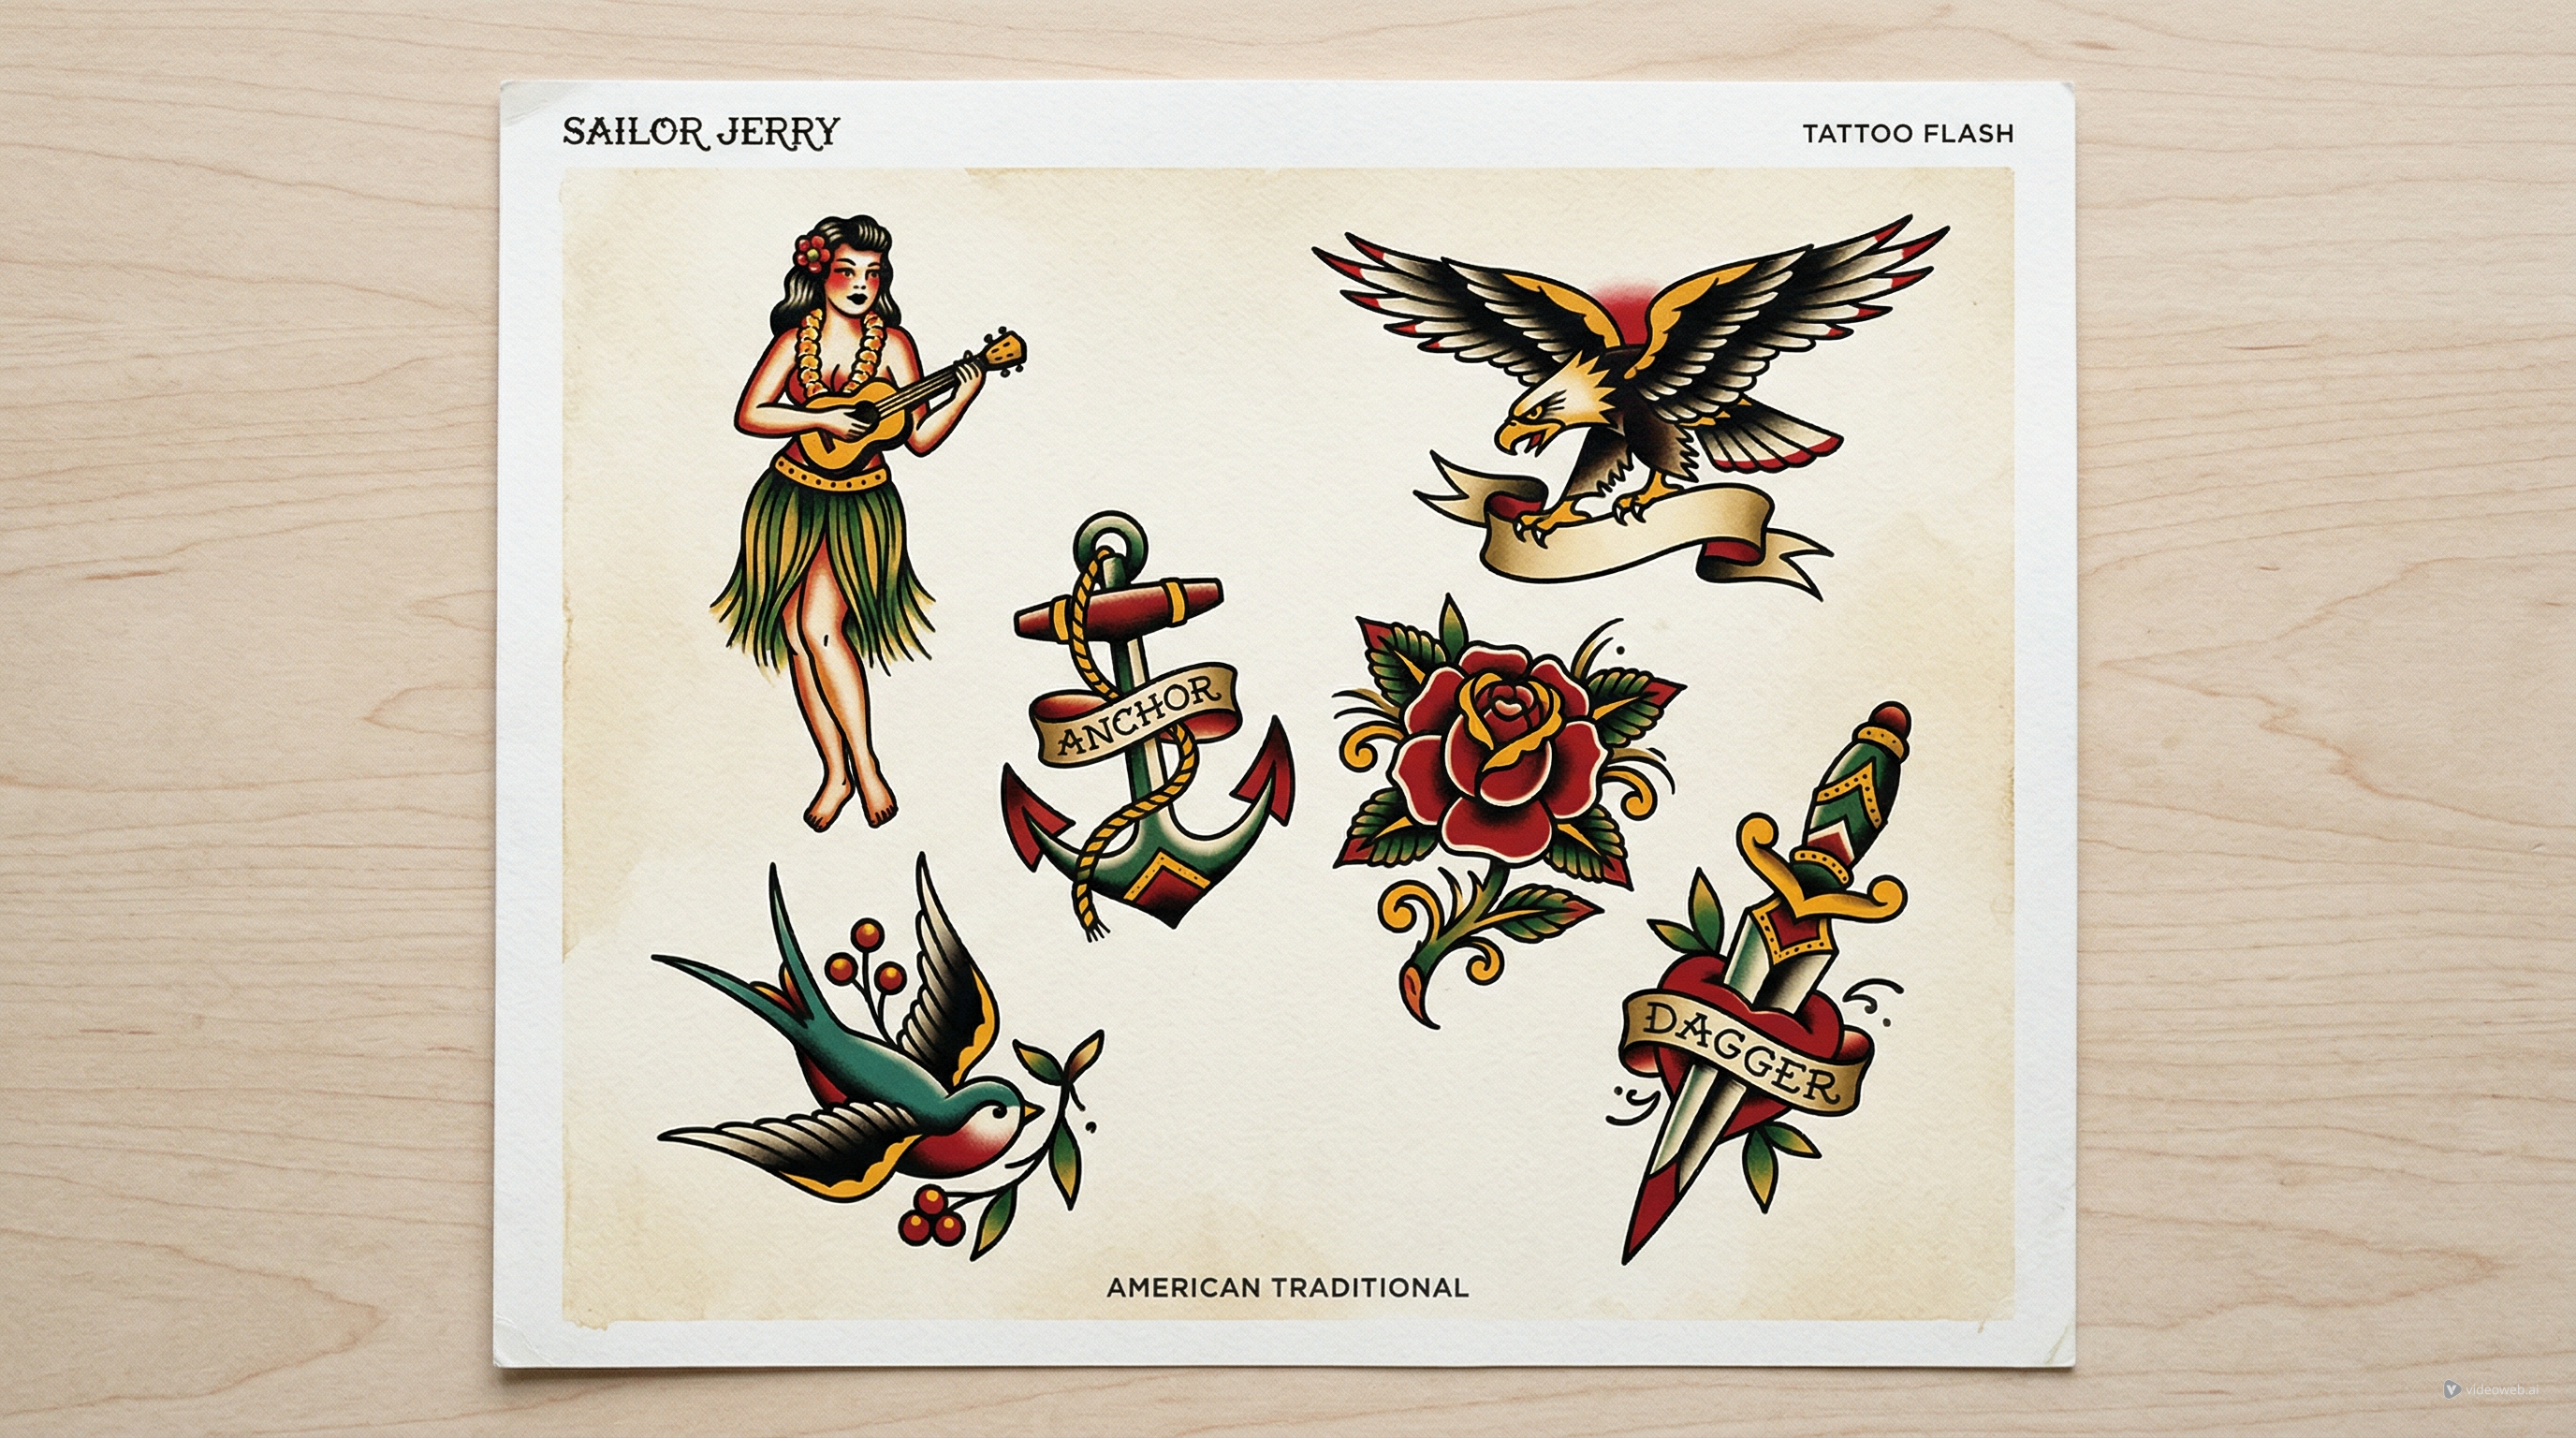
If you want a more traditional tattoo-shop look, try an american traditional anchor tattoo. This style usually uses thick outlines, limited but strong color, and classic sailor-era design language. Ropes, banners, roses, swallows, and wave motifs often pair well with it. A prompt such as “American traditional anchor tattoo, bold flash art, thick black outlines, red and gold accents, vintage sailor composition, high readability” can produce stronger results than a vague description.
You can also experiment with retro character influence. A popeye tattoo concept, for example, can add playful old-school energy, especially if you want a design that leans more toward classic sailor culture than abstract symbolism.
Add Meaning with Personal Symbols
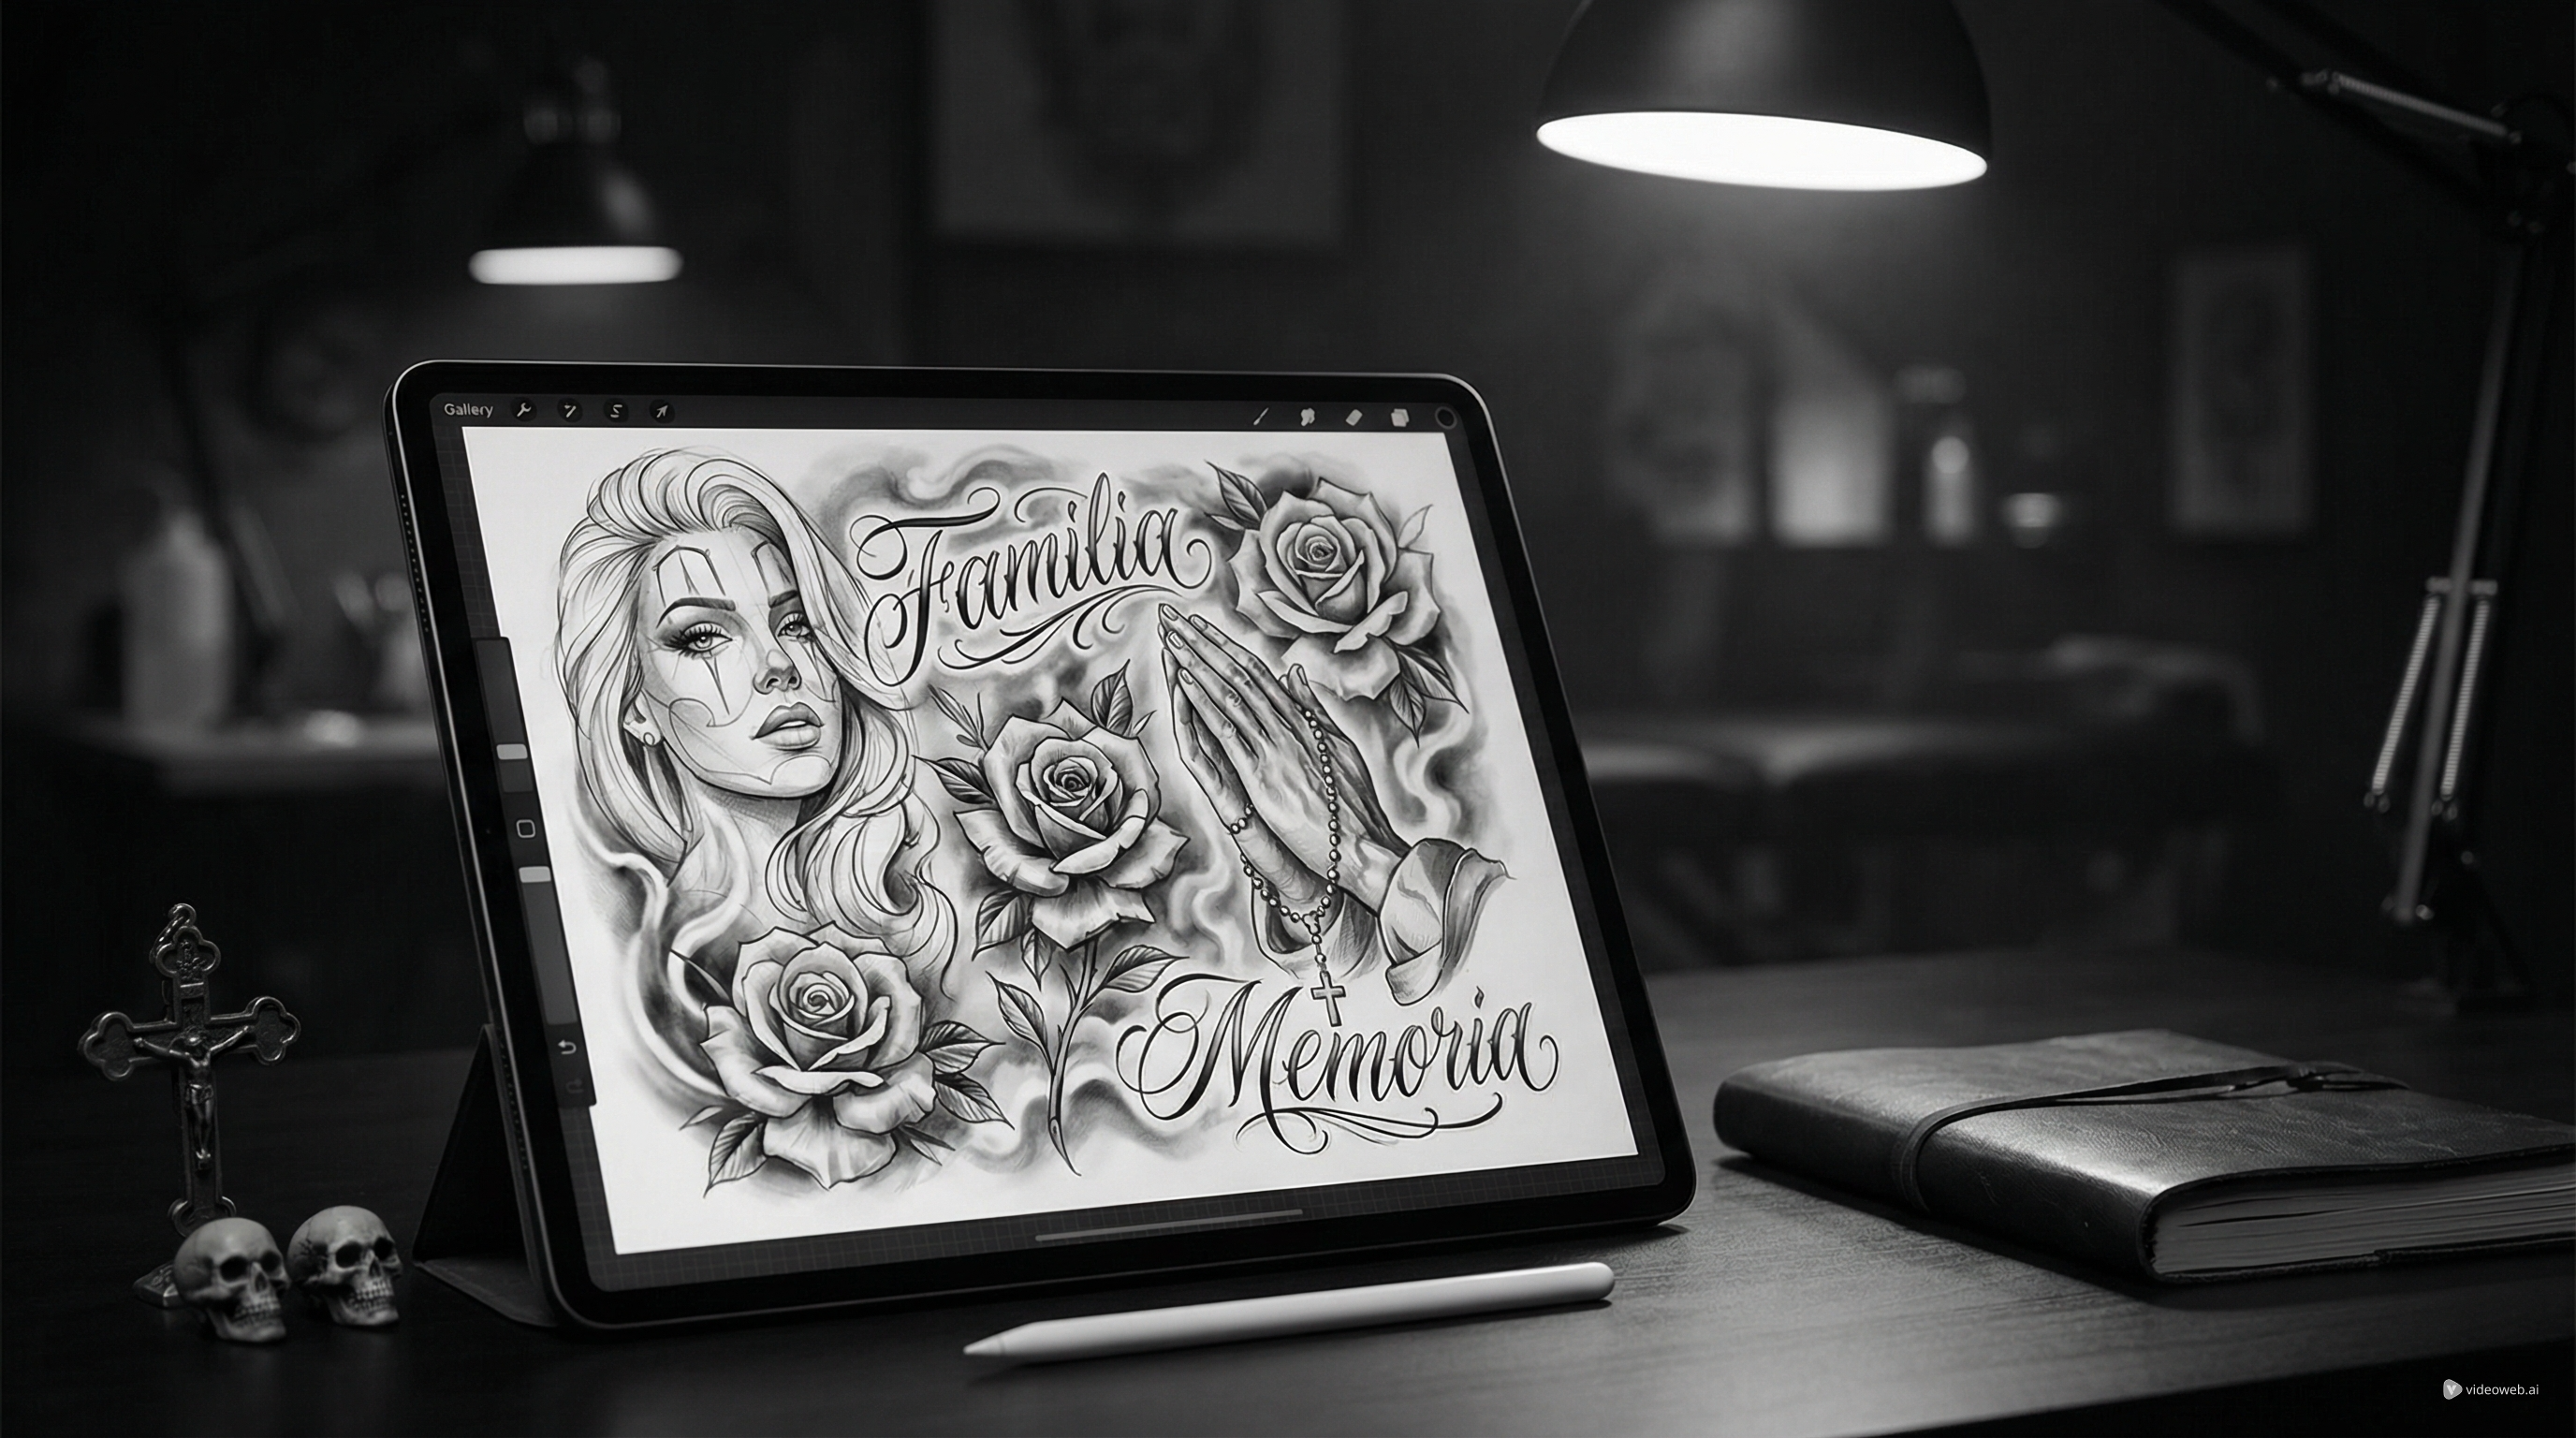
Anchor tattoos become more memorable when they connect the core symbol to something personal. This is where symbolic combinations work especially well. A heart anchor cross tattoo blends love, faith, and stability into one composition, which makes it a common choice for memorial or family-inspired concepts.
Similarly, an anchor and cross tattoo can shift the design toward a more spiritual reading. The anchor keeps the maritime or grounded feeling, while the cross adds a layer of devotion or endurance. In prompt writing, it helps to explain both the visual relationship and the emotional tone. For example: “Anchor and cross tattoo, balanced sacred composition, black and grey shading, elegant symmetry, meaningful memorial design, clean stencil-ready layout.”
These layered prompts usually perform better than short keyword lists because they tell the generator what matters most: not just the objects, but the emotional goal of the image.
Refine the Results into Better Tattoo References
The first generation is rarely the final one. Treat it like a sketch round. Look at each result and ask simple questions: Is the silhouette clear? Does the design still work if it is reduced in size? Are the lines too busy? Does the style match the mood you wanted? This is the stage where AI is most useful. It helps you compare directions quickly.
A smart workflow is to generate three versions of the same concept: one minimal, one black-and-grey, and one traditional flash-inspired. Then choose the strongest composition and refine only one or two variables at a time. You might adjust the rope detail, simplify the shading, or shift the symbol balance. That process gives you more usable tattoo references than endlessly typing unrelated prompts.
In the end, the goal is not to replace a tattoo artist. It is to arrive with a clearer idea. The AI tattoo generator is most valuable when you use it to explore symbolism, placement, and style before the real design conversation begins. A strong anchor tattoo starts with a simple symbol, but the best result comes from thoughtful prompting and careful refinement.
Related Articles
- How to Create Classic Sailor Jerry Tattoo Ideas with TattooDesign AI
- Fineline Tattoo Generator with Tattoo AI Design
- Neo Traditional Tattoo Generator with Tattoo AI Design
- Forearm Tattoo Generator with Tattoo AI Design
People Also Read
- How to Turn Images Into Better AI Prompts with HeyDream AI
- Nano Banana Pro on DreamMachine AI: A Practical Way to Create Better AI Images
- Best Prompts of Flux.1 AI for Flux Images — February 27, 2025
- Harnessing the Power of Flux AI Image Generator: A Comprehensive Guide to Next-Gen Visual Creation
- How to Use Sea Imagine AI’s Image Generator: A Beginner-Friendly Tutorial